

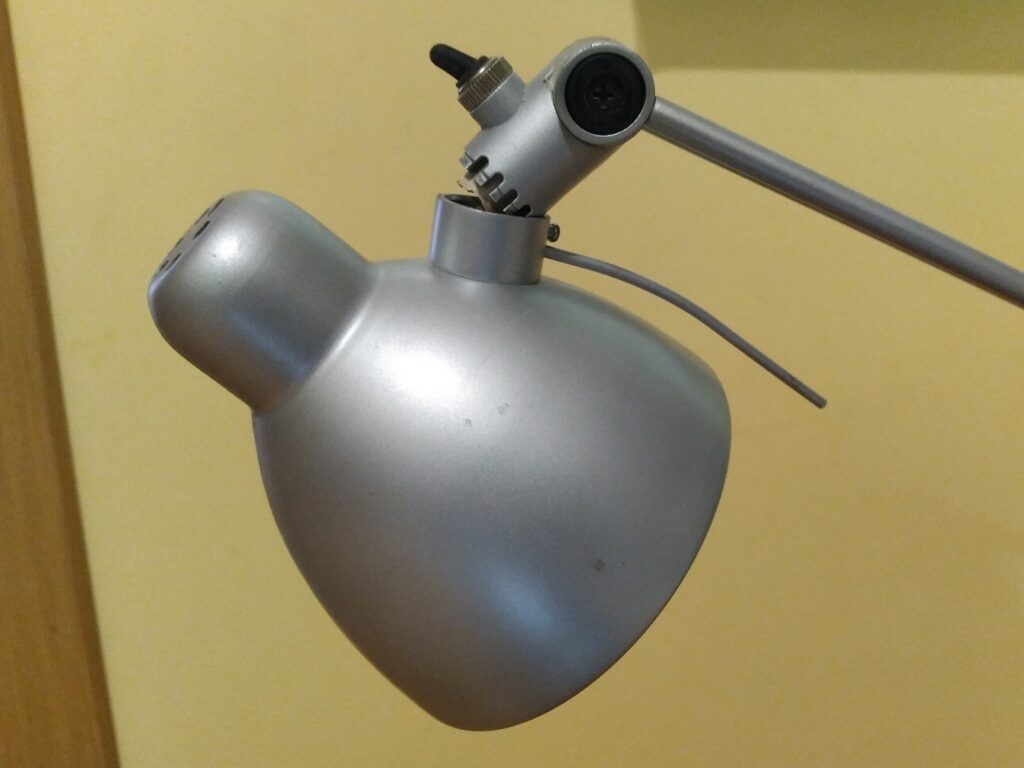
My son has an older desk lamp that still uses a 12V 50W halogen bulb. It has a sleek, well-designed build and remains incredibly handy and practical to use. The lamp features two sets of parallel conductive arms that elegantly carry power from a slim cord at the base to the head. The transformer is tucked neatly out of sight.
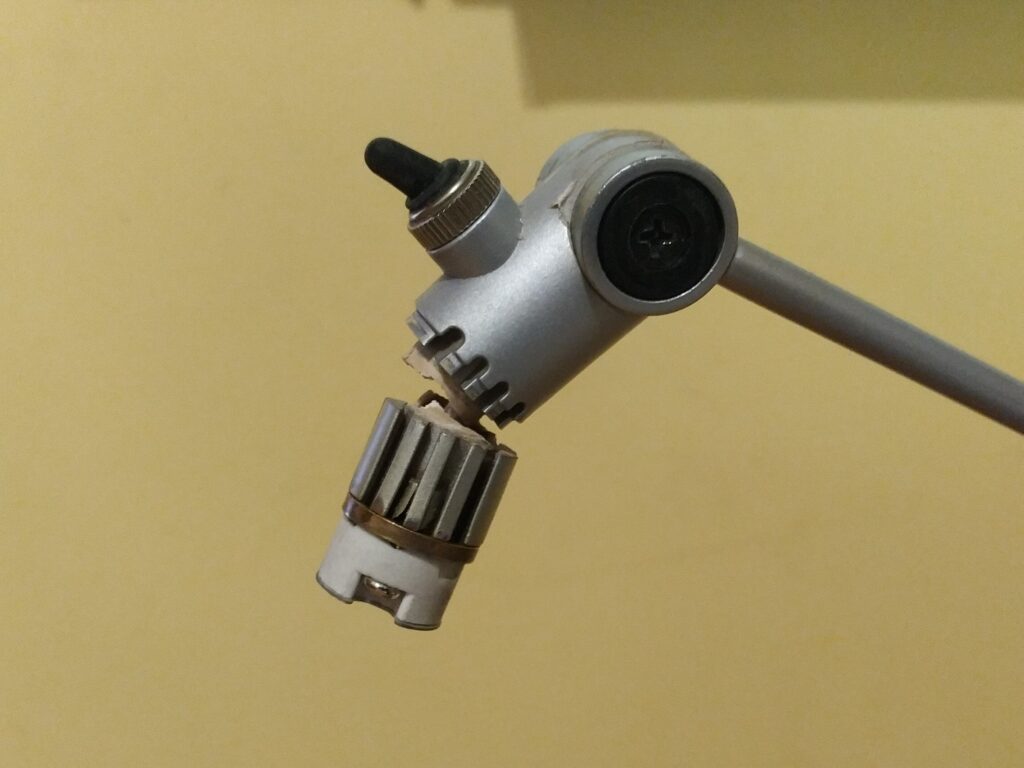
Unfortunately, the plastic piece connecting the socket and shade to the arms couldn’t withstand the heat from the bulb. Over time it became brittle and eventually snapped, leaving the lamp literally hanging its head.
Upgrade?
For a moment I considered replacing the halogen bulb with an LED and converting the lamp entirely. However, since my son doesn’t use it very often and I had other projects queued up, I decided to simply repair it for now. Converting it to LED later would still be straightforward if needed.
I did make one improvement, though: I relocated the on/off switch. Originally, the switch was located inside the broken plastic joint near the shade, on the 12V low-voltage side. This meant the transformer stayed powered all the time.
I moved the switch to the 230V mains cord instead. This way, the transformer is completely switched off when the lamp isn’t in use, and it also makes replacing the broken joint much simpler.
Repair
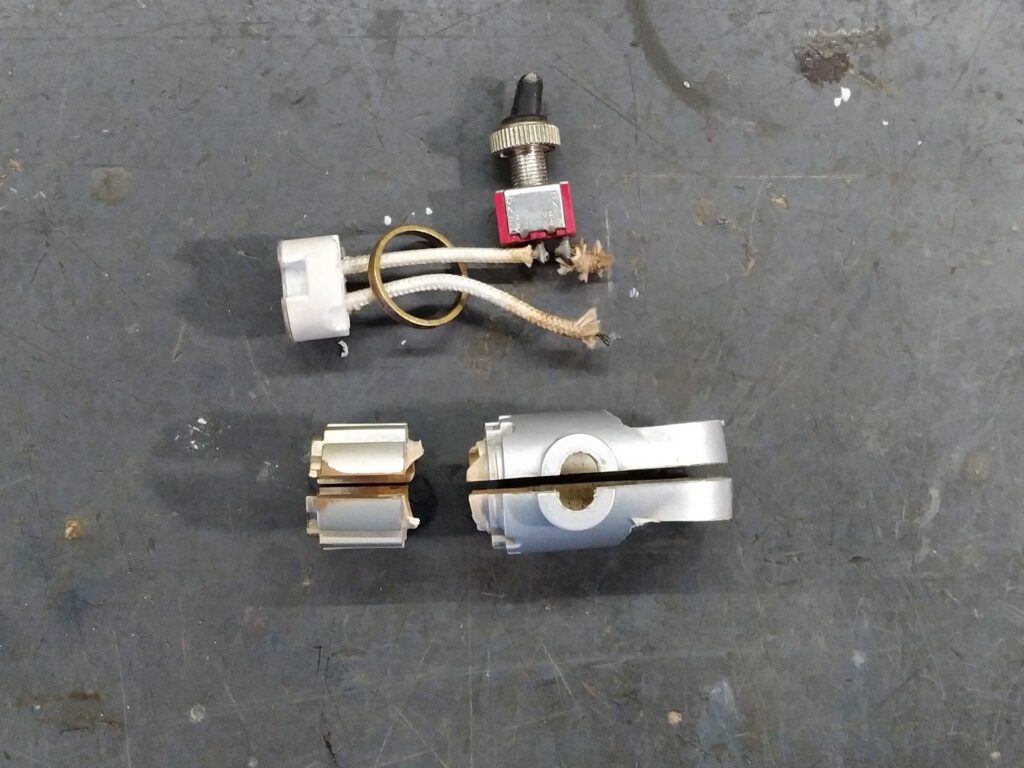
Here’s a photo of the broken joint piece, including the internal wiring. I had already cut off the two washers that make contact with the conductive arms before taking the picture.
The piece is designed so that the lamp-side end is cylindrical and matches the diameter of the Gu5.3 socket. This allows the shade to rotate freely around it. The other end is flattened vertically, which lets the parallel arms clamp securely against it using a central bolt.
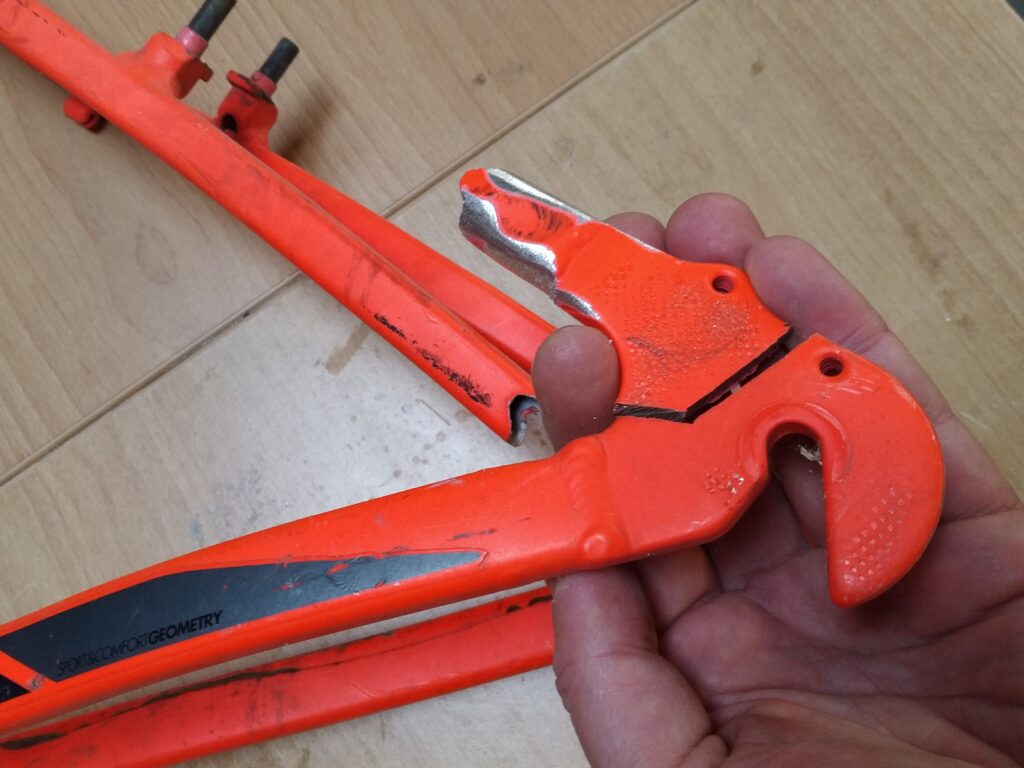
Considering the heat generated by the 50W halogen bulb, I didn’t want to risk using plastic again. Aluminium was clearly the better material for the job. I went through my scrap aluminium stock but couldn’t find anything suitable without major work. Then I remembered an old aluminium bike frame I had saved. I was able to cut out a section that was already cylindrical on one side and flattened on the other — almost perfect for the joint.
Next, I secured the piece in the vise and began shaping it. First, I checked whether I would be able to make the cylindrical section fit inside the lamp shade. Once I was confident it would work, I drilled the holes for the wires and test-fitted the socket. When it became clear that the most challenging parts were working out well, I refined the shape further until it reached its final form.
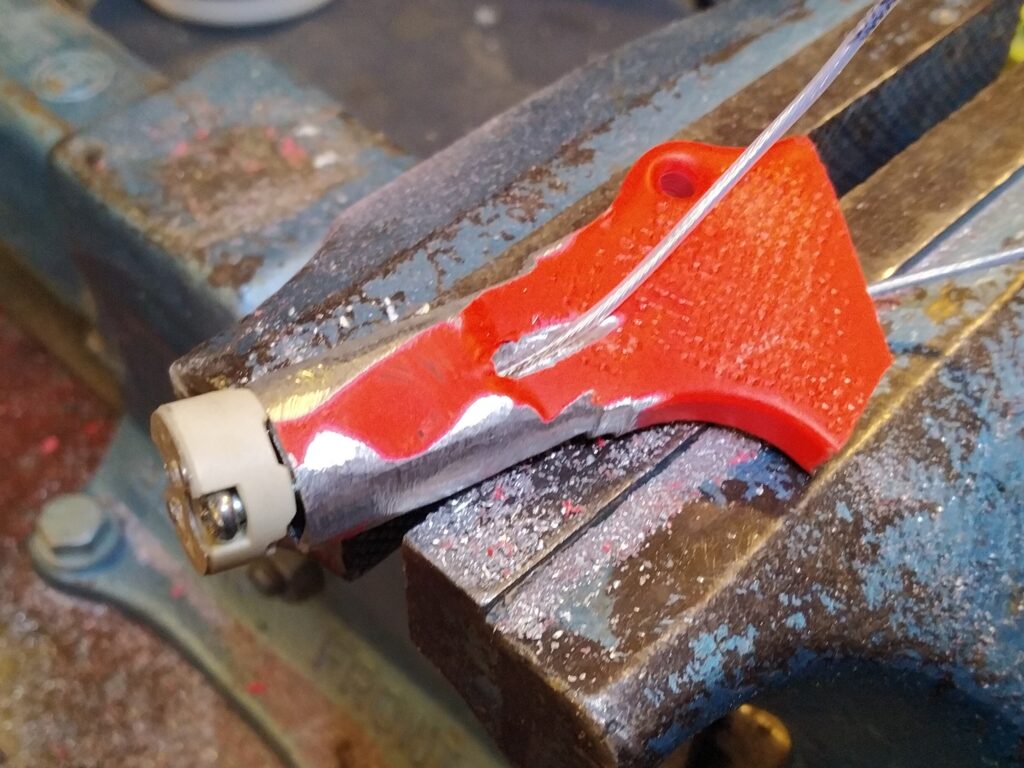
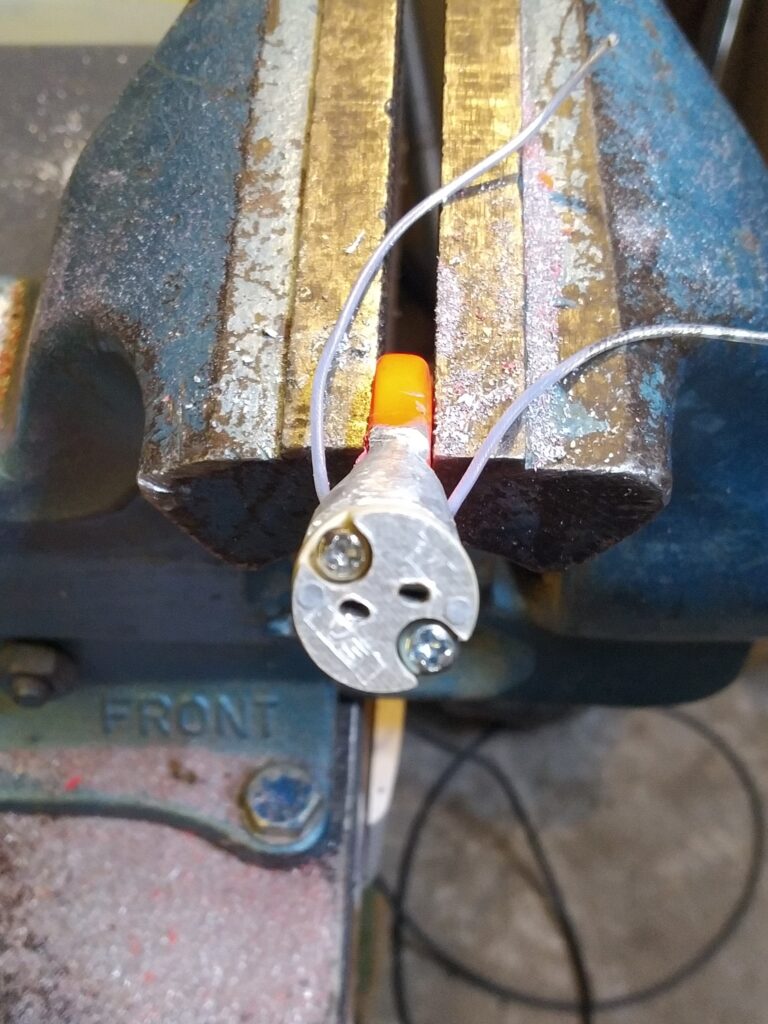
I found a spare GU5.3 socket, which saved me from having to reuse the original one with its very short power leads. I screwed the new socket onto the aluminium joint and soldered the wires to the washers to ensure reliable contact with the conductive arms.
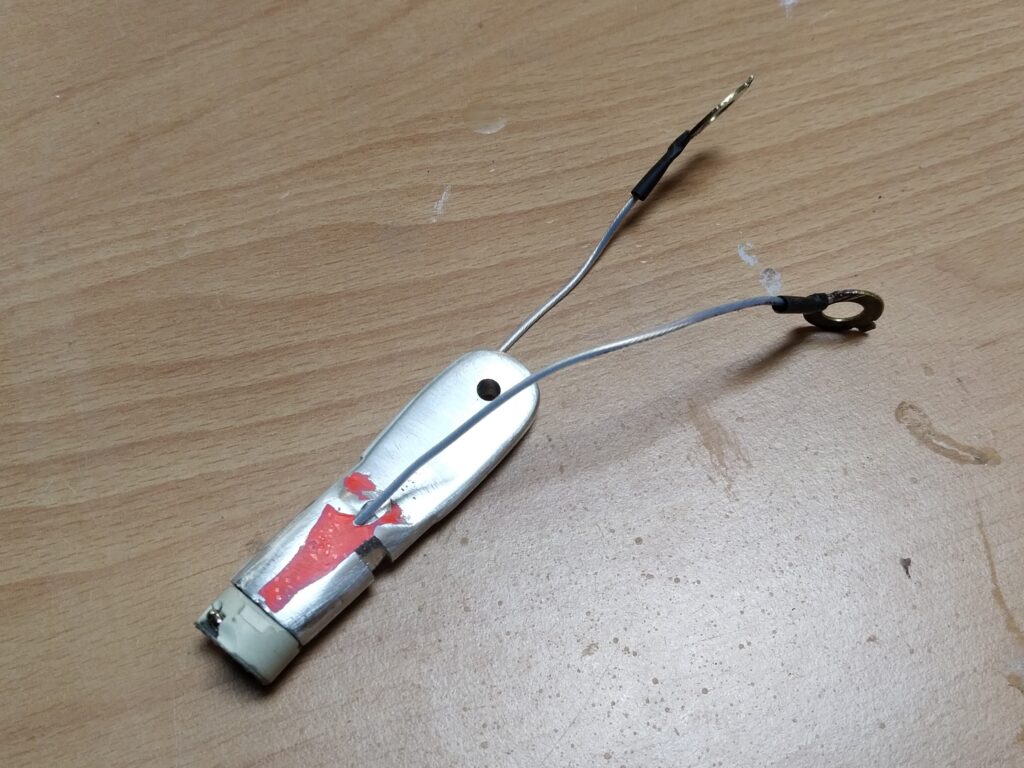
Assembly
I found two sturdy rubber washers that fitted perfectly. They electrically isolate the metal washers from the central aluminium joint while also providing enough friction to prevent the head from sagging or rotating downward under the weight of the lamp shade.
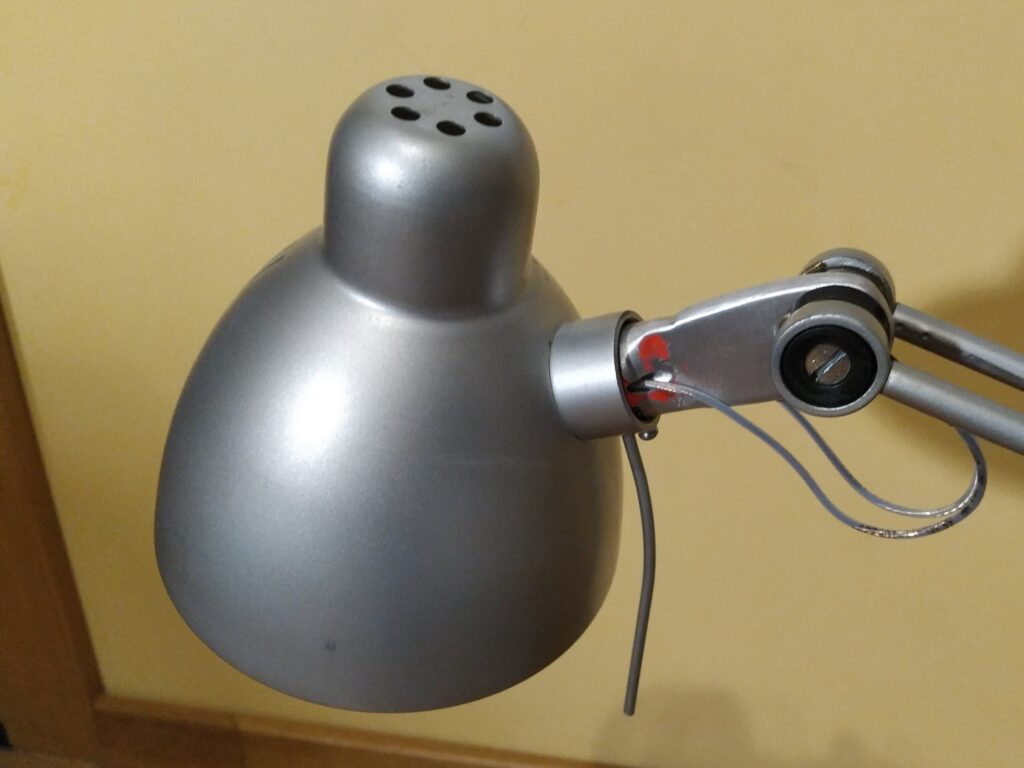
I assembled everything, fitted the bulb and the lampshade, and finished the project by installing the on/off switch in the 230V power cord, before the transformer.
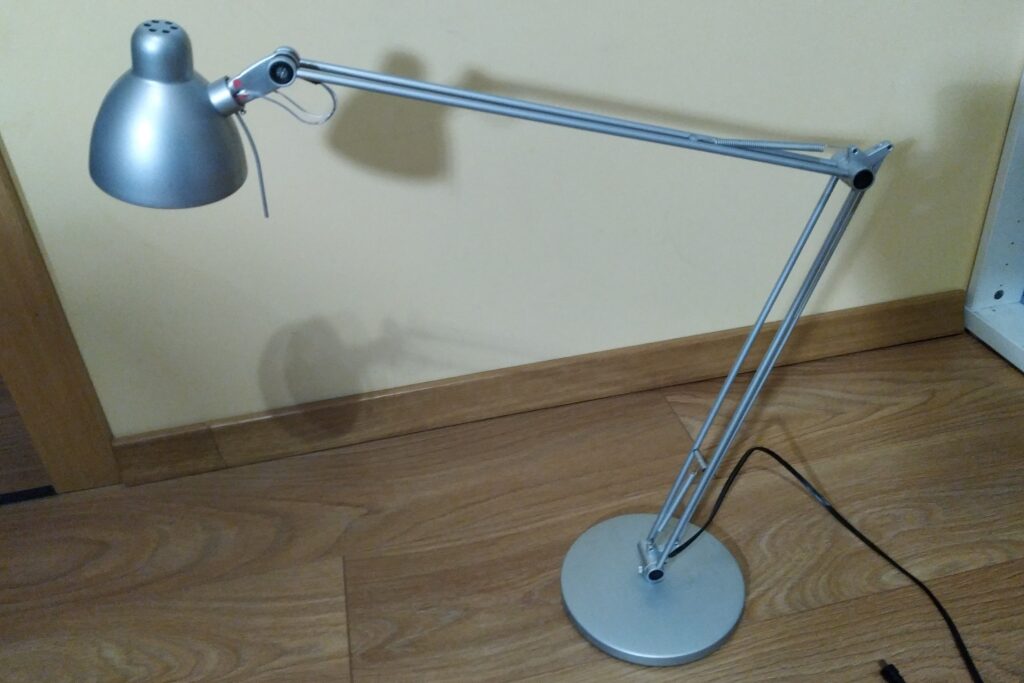
The lamp is now significantly stronger and more durable than the original, while keeping the same sleek look and feel. Moving the switch to the 230V cord before the transformer was a definite improvement too. This trusty desk lamp is ready to serve us for many more years. And when the bulb finally dies, it’ll be the perfect chance to upgrade it to LED. Until then — keep on shining!