It all started with a lamp desperately trying to keep up appearances...
My son spotted a modern table lamp in a shop, its minimalistic design practically begging for attention. But upon closer inspection, I shockingly discovered – those warm, wooden-looking tripod legs? A complete sham! Just metal, wrapped in a faux wood finish desperately pretending to be the real deal. And to further offend my sensibilities, there’s an ugly power cord dangling shamelessly from the lamp’s socket, mocking the very concept of elegance. I couldn’t help but think, ” I could craft something far better myself – real wood, a hidden cable, the works!” The challenge was on!
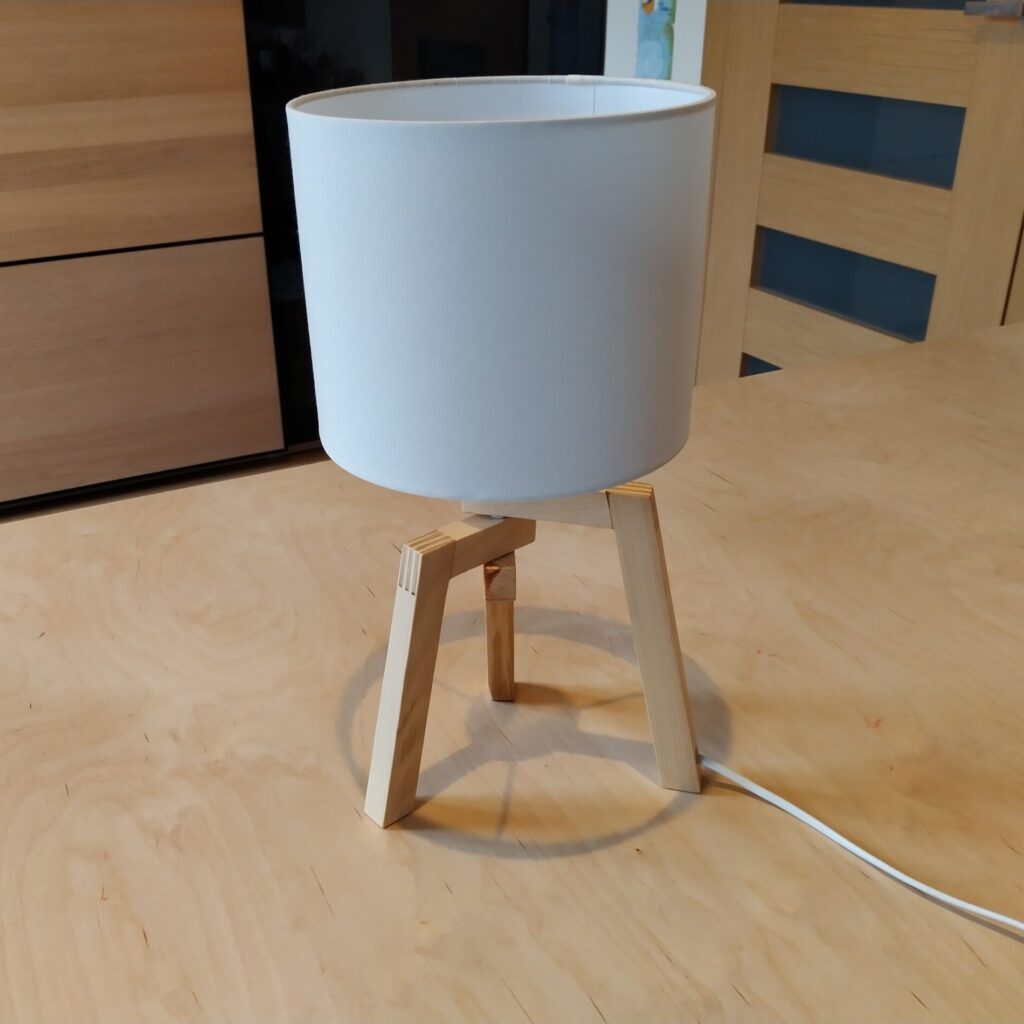
So instead of leaving the shop with 2 bedside lamps we left with only two white cylindrical shades and a rough plan in my head.
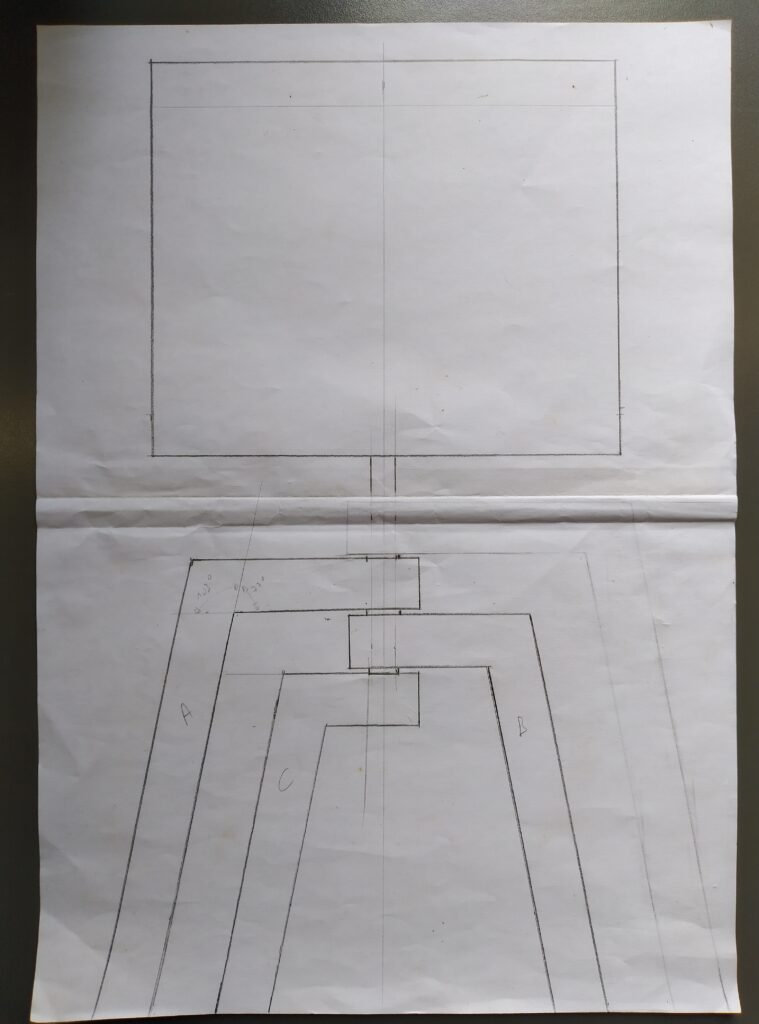
Sketch 1 - the 'erased' leg can still be seen and the lamp in its initial height
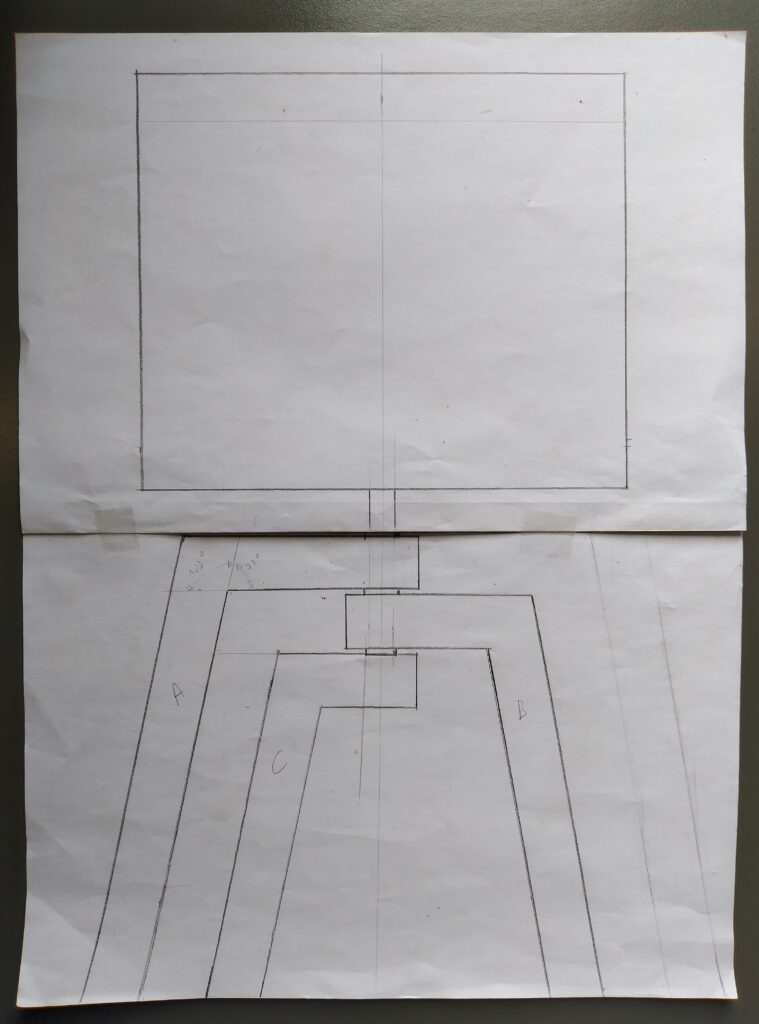
Sketch 2: smaller legs and a folded paper result in an overall slightly smaller lamp
For the first lamp I took a pencil and a big paper and started drawing a centerline and the lamp shade in real size. I had 8 triangular pieces of pine which were offcuts from a previous project. I decided that I would try to make the legs out of these pieces. With these pieces of wood in mind I started drawing a bedside lamp. I was happy with the overall shape of the legs but they were a little big to my feeling so I erased the biggest leg and added a smaller leg on the inside and folded the paper on itself to make the extra height from the missing leg disappear.
For the second lamp I had a straightforward tripod in mind. Being a lot simpler in design and construction I was planning on doing this one on the go.
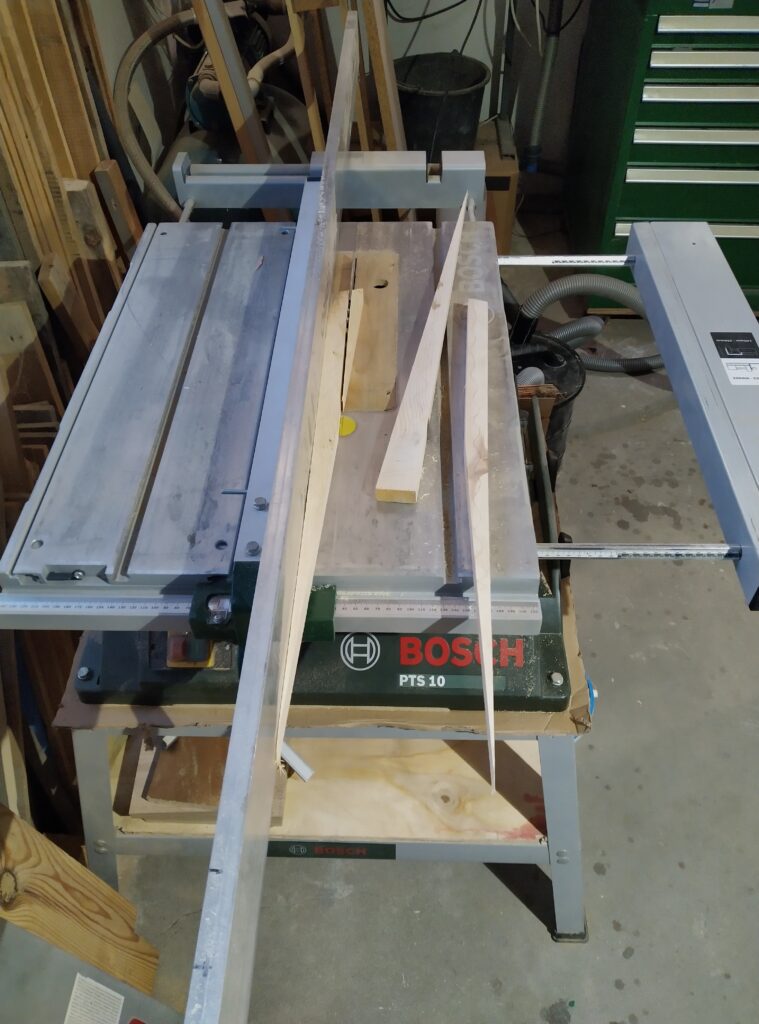
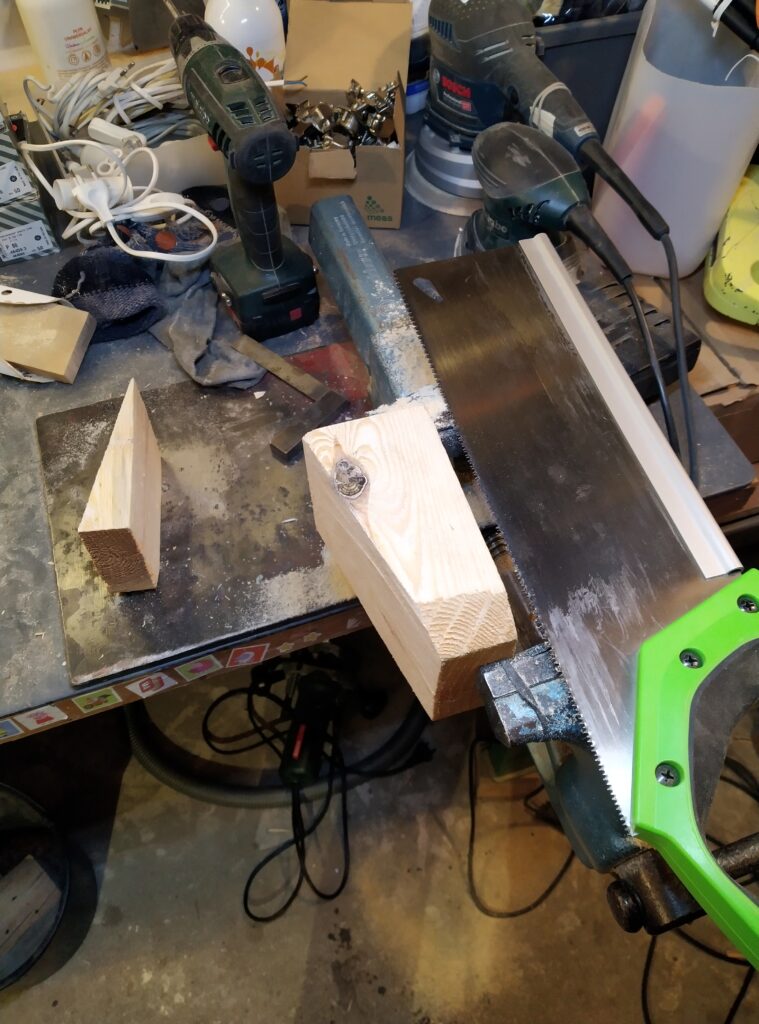
First job was to cut these triangular offcuts from a previous project to size. As I was going to make 2 lamps, I immediately cut 6 pieces. The legs for both lamps were going to have the same section.
For the first lamp I cut the horizontal and inclined parts for the legs a little longer than is required. The plan is to cut them all down to length once they are assembled to make sure they all are the same length.
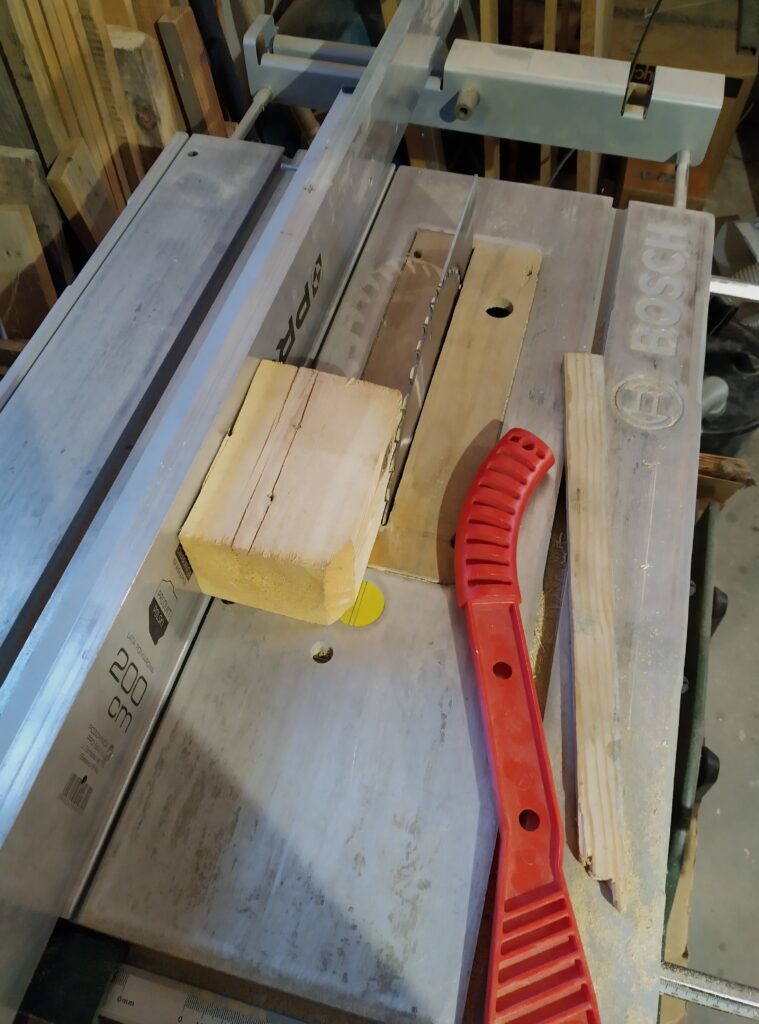
I squared a scrap piece of wood on my table saw
Transferring the correct angle to the block
Due to its size I decided it would be safer to use a hand saw to cut the block for the fence
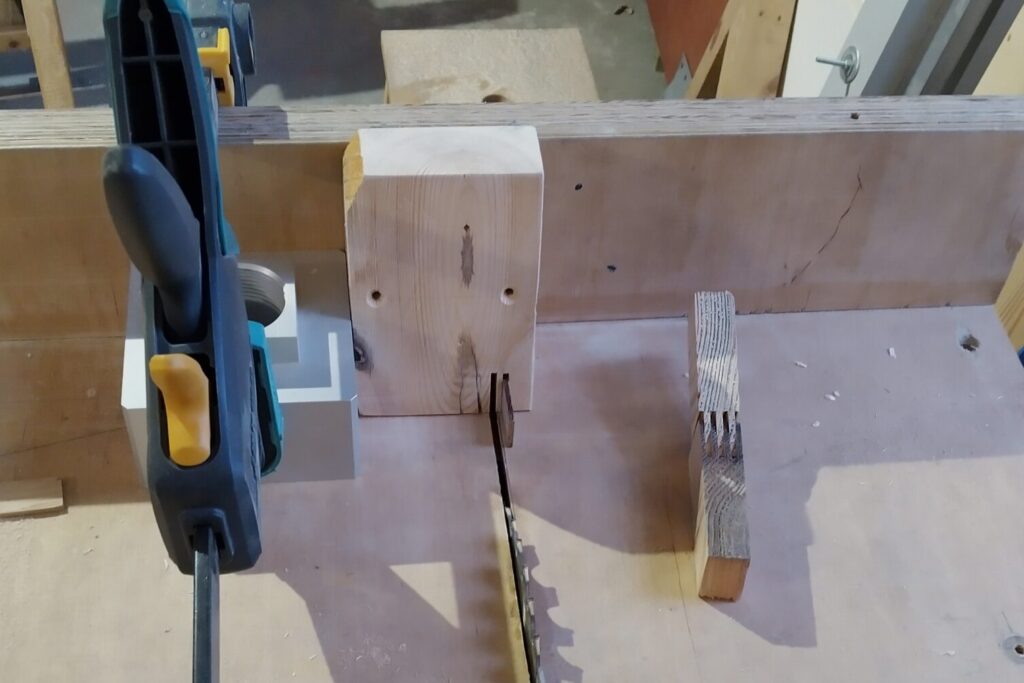
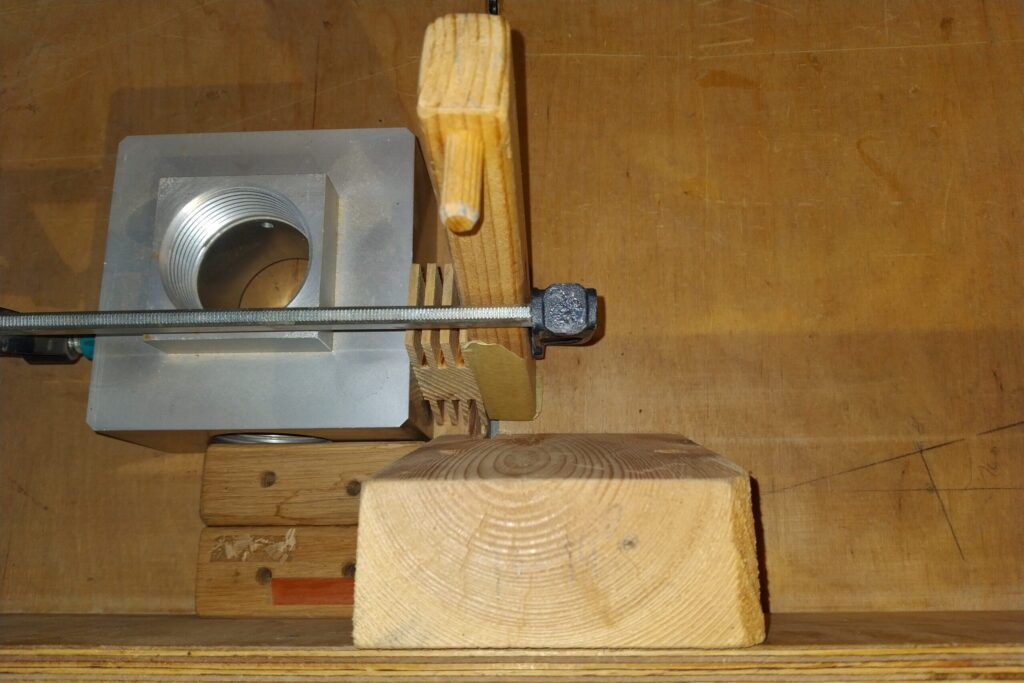
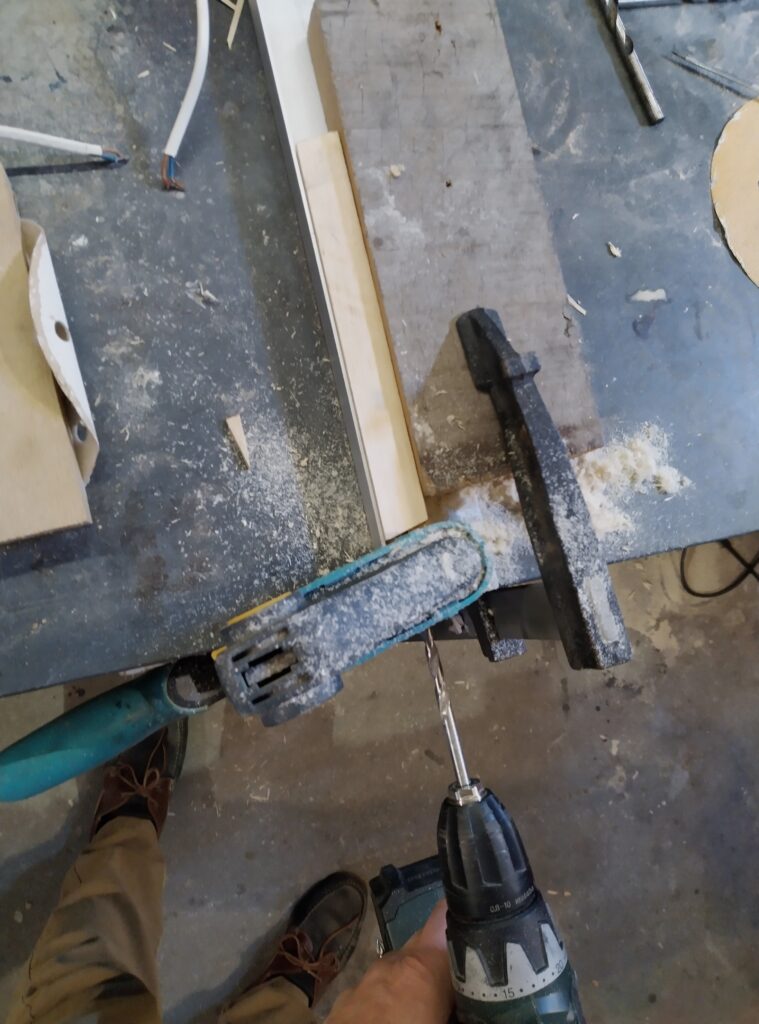
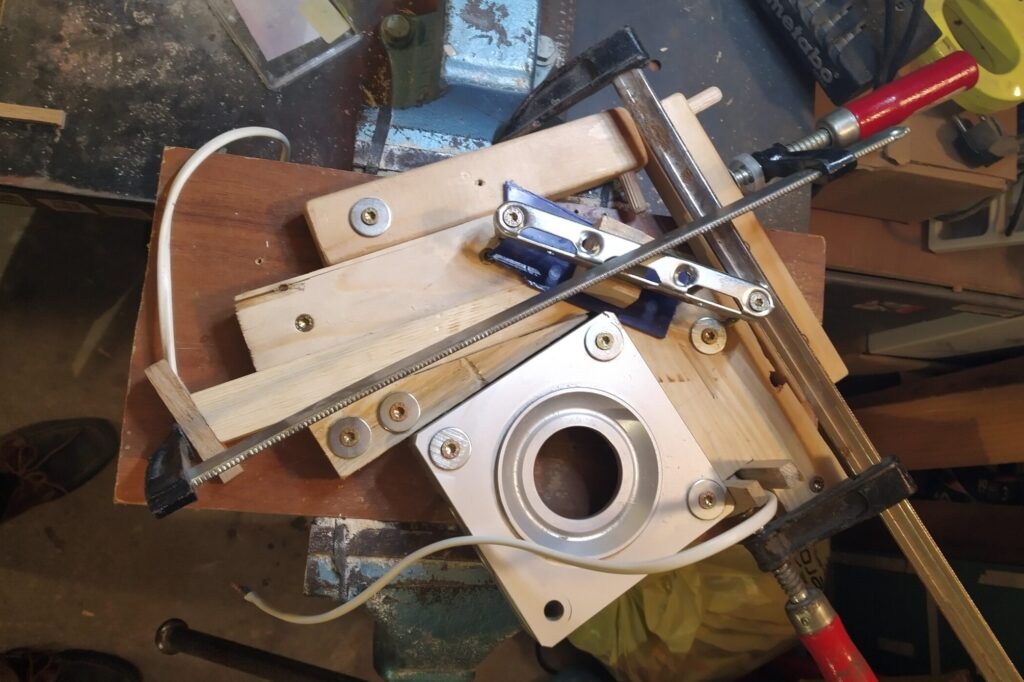
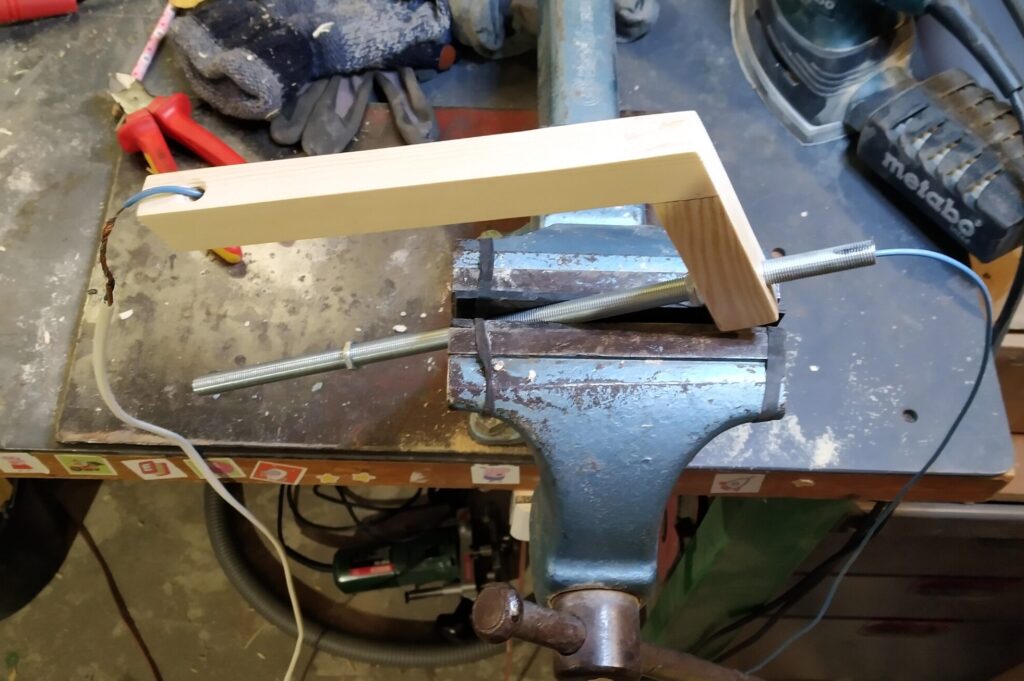
To join the horizontal and angular part of the legs I am planning on using finger joints. Due to the angle on the leg, the finger joints also have to be cut under an angle so I had to make a fence which will hold the leg up inclined. I started with squaring out a scrap piece of wood. After which I sawed off a part in the right angle (about 13-14 degrees).
It is not important to get this ‘real’ angle absolutely exact to the drawing but it is important to use this ‘real’ angle consistently throughout the fabrication. For this purpose I will use the triangular offcut later on when making a jig for the glue-up of the legs.
Installing the angled finger joint jig
Cutting the finger joint in an inclined leg
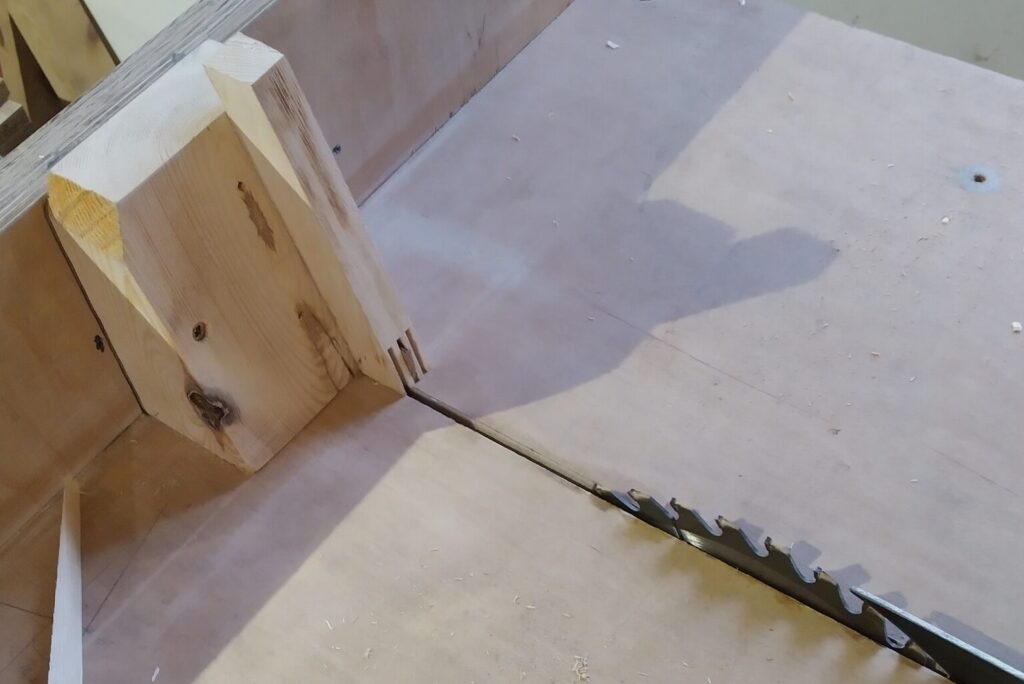
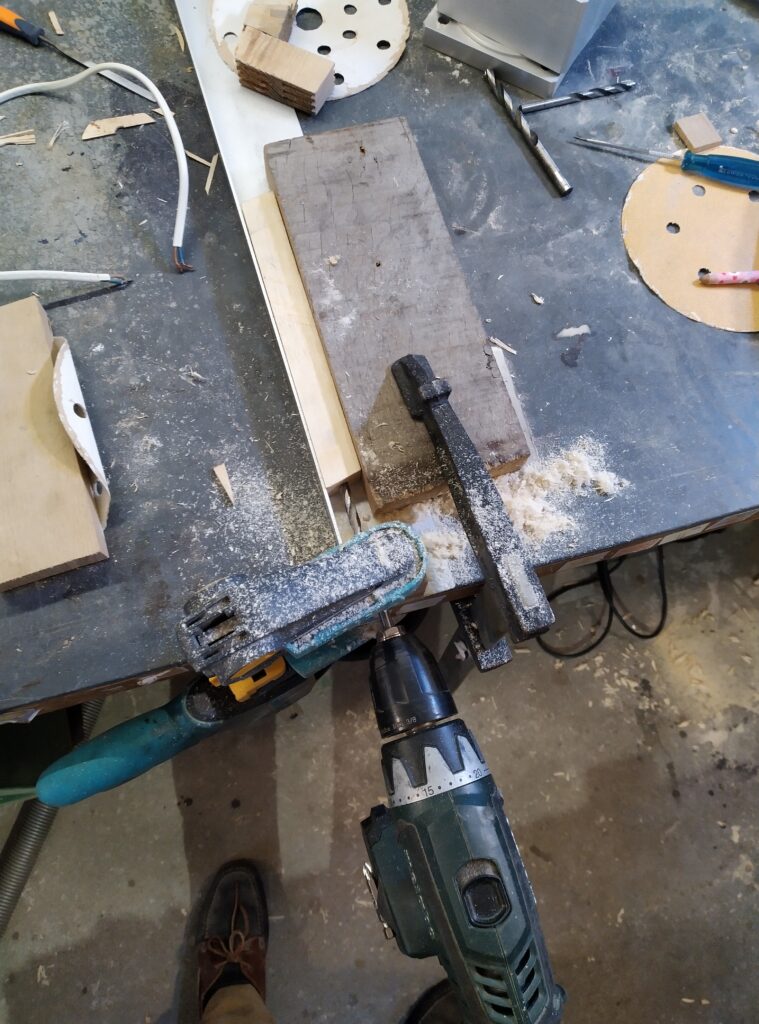
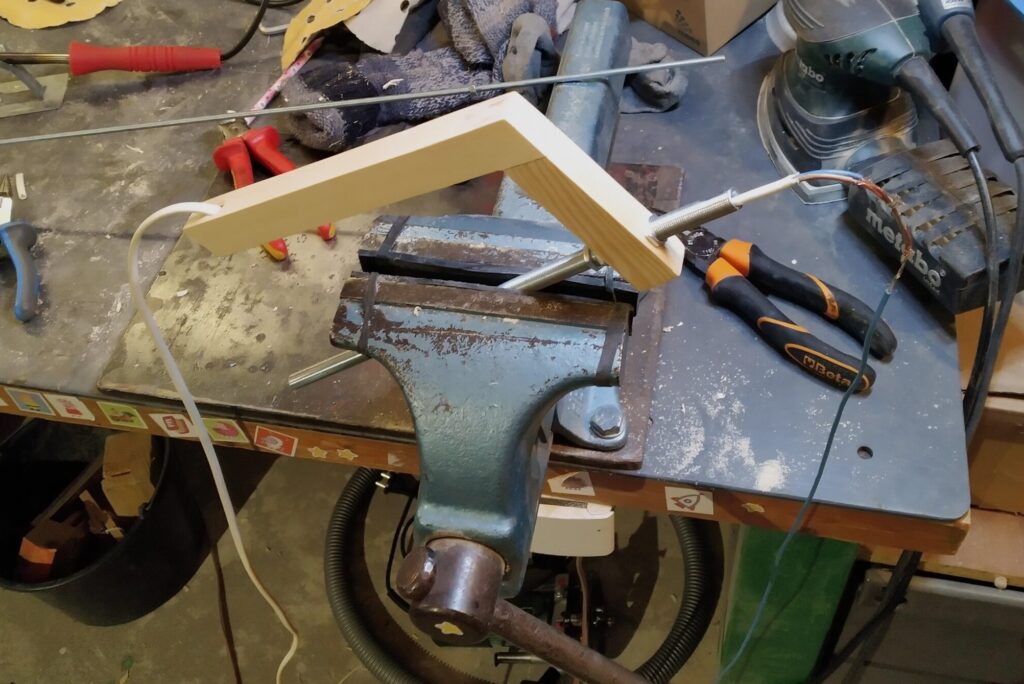
I made a first cut in the jig and at a distance equal to the thickness of my blade I made a second cut and glued a wooden slat the thickness of my blade in place in the first. (For a more detailed instruction on how to make a finger joint jig, please search the web or wait for my specific post on the subject.)
I screwed the angled finger joint jig to my crosscut sled and made a trial cut. I quickly realized that I hadn’t thought this through enough… For the inclined part of the legs I had to clamp them at an angle ‘away’ from the blade. For the horizontal part I would have to clamp them at an equal angle but ‘towards’ the blade to make the joint fit.
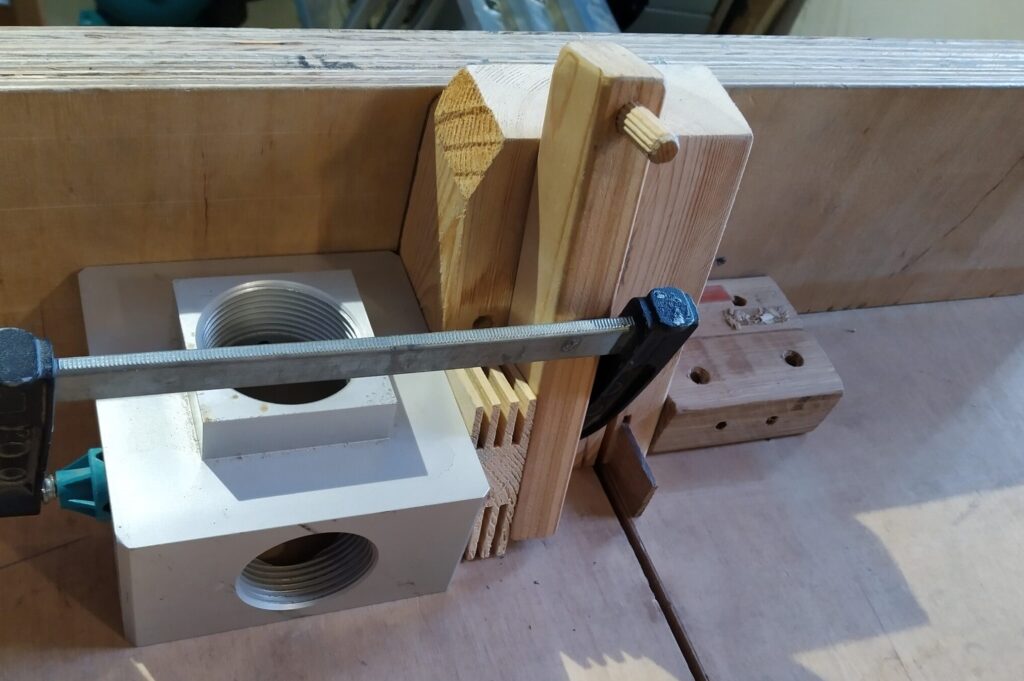
I could have just flipped the jig upside down and made a new ‘inverse’ jig but instead I decided to clamp the horizontal part in the correct angle to a block and cut the reservations like this. (I forgot to take pictures of this step – my full brain capacity was used tackling this unforeseen hiccup… So below are some pictures from a simulation I made afterwards to illustrate the process.)
Simulation: I used the finger joint jig to clamp the horizontal leg under the correct angle. (the wood with dowel substitutes for the horizontal part of the leg. The other wooden part substitutes for the already cut joints of the inclined part of the leg)
Simulation: Eoncrafts bedside lamp I flipped the block over to the other side to have the leg lean towards the lamp under the correct angle (painters tape applied at the rear of the 'horizontal' leg to reduce tearout)
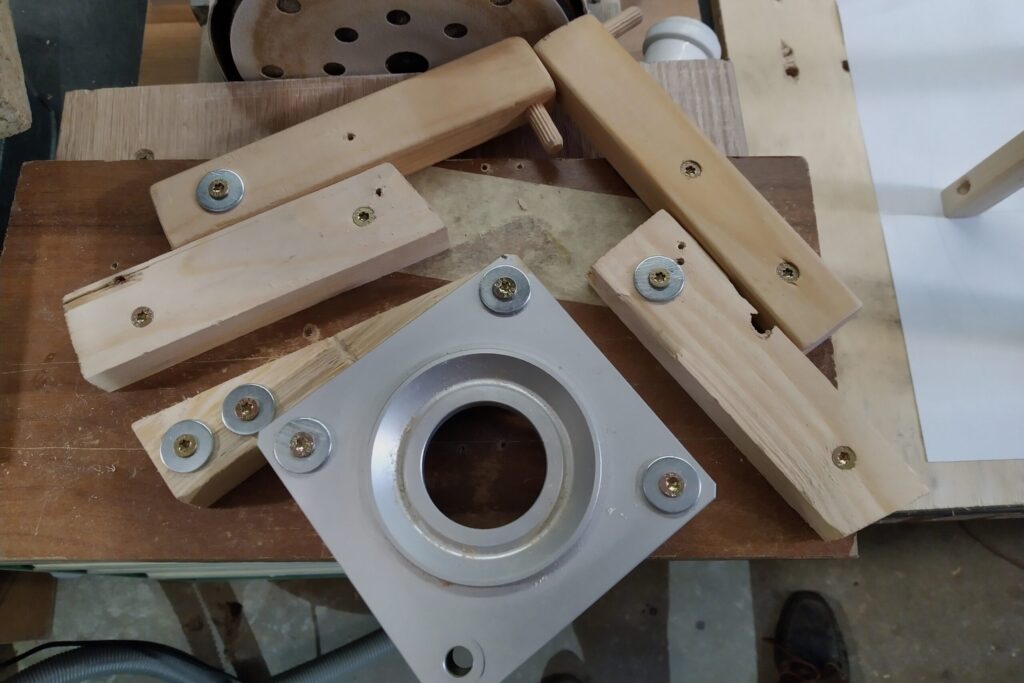
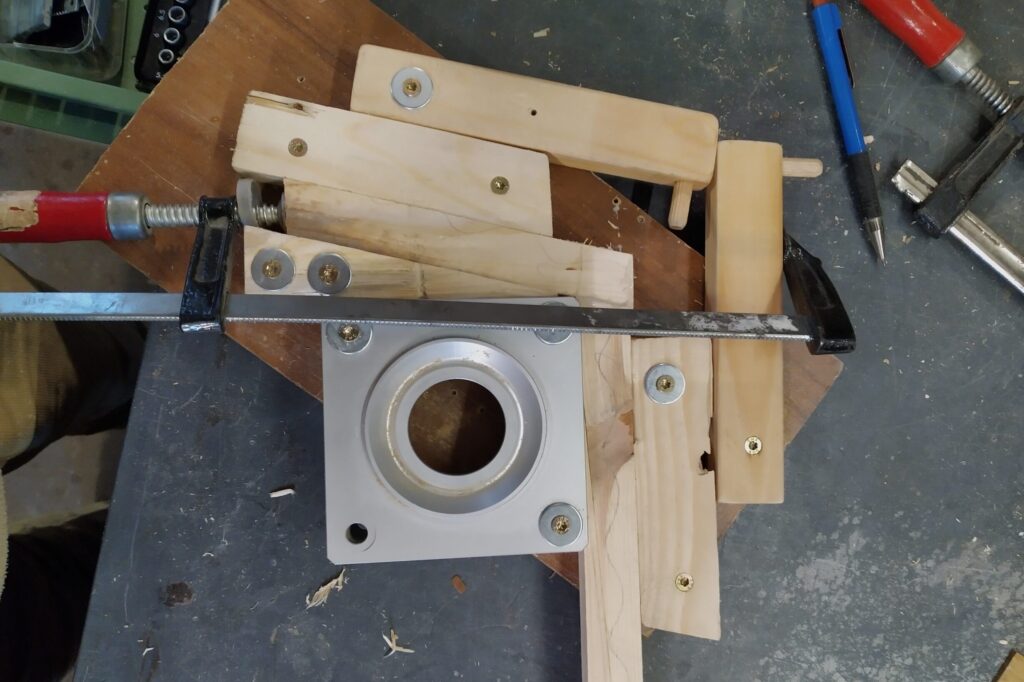
Legs glue up jig
Glue up of one of the smaller legs
To make sure the legs are glued up consistently under the same angle I made a dedicated jig. To consistently use the same angle from the finger joints in the legs I repurposed part of the offcut from finger joint jig fabrication. In this jig I glued up both smaller legs. Before glueing up the biggest leg I first had to take care of the power cable routing.
The biggest challenge was cable management!
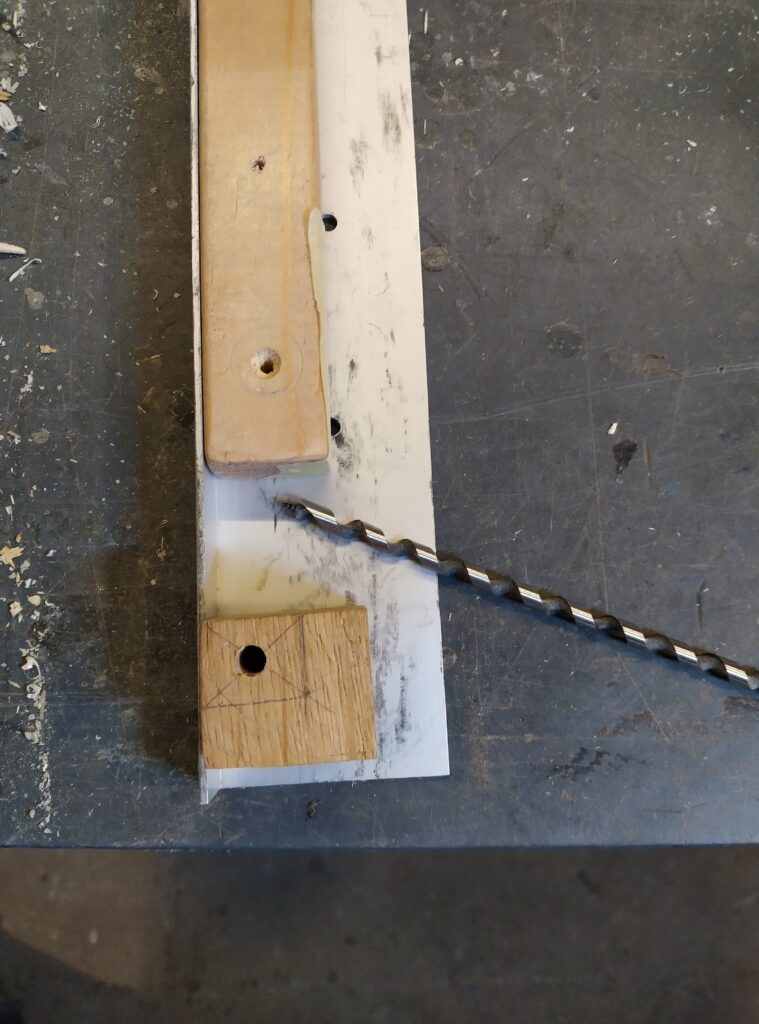
1. A hardwood block with 6mm pilot hole
2. Setup to drill deep holes 3. Transferring pilot hole to leg
4. Pushing out the leg and start to drill the hole
5. Drilling the hole in a leg
I was now reaching the most difficult part of the job: routing the power cable through the structure of the lamp so it will only be visible once it exits at the bottom of the leg. I had already thought of a process and the required steps which should allow me to do this but there were quite a few difficult steps and I wasn’t sure if it was going to work out.
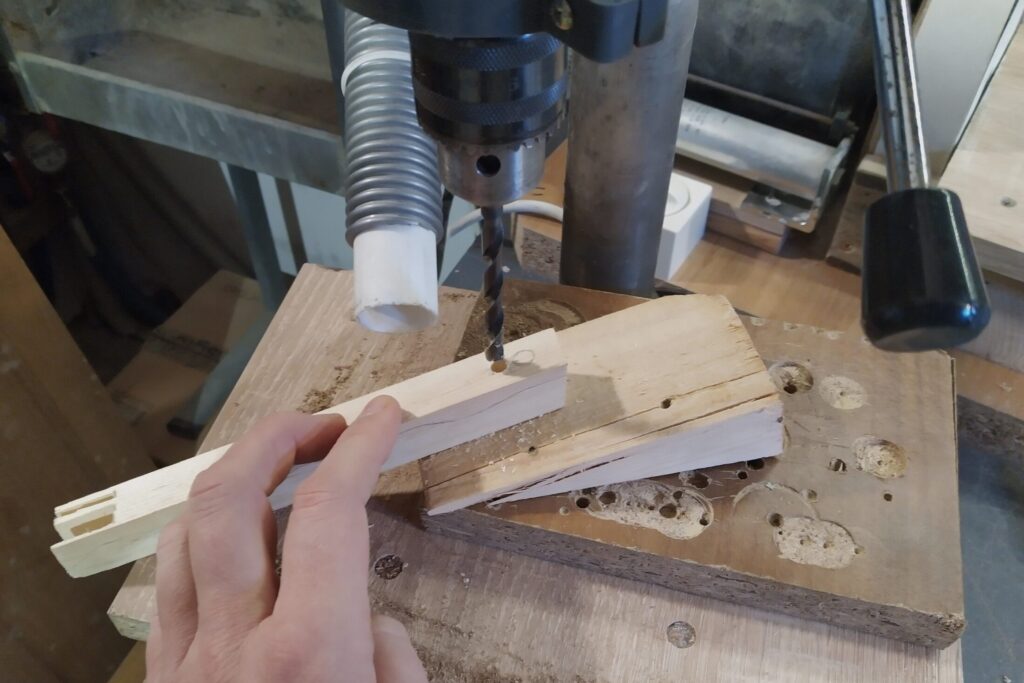
The first challenge was drilling a longitudinal hole through one of the legs. The width of the wire was just below 6mm so I decided to drill a 6mm hole. If it would be too small I could always drill a bigger hole later.
Lacking a lathe I had to come up with a method to drill a 6mm hole 19cm deep in a wooden stick with a section of 24x22mm without the drill exiting the stick somewhere along its length…
The first step was drilling a 6mm hole at the center of the stick in a hardwood pilot block.
Together with some guide rails I clamped the pilot block at the edge of my workbench.
With the stick against the pilot block I drilled a shallow hole in the stick.
I then moved the stick and drill up so the chuck of the electric drill would be right up against the pilot block.
Then I drilled the hole in the stick by moving it down and up while gently pushing it against my workbench.
The drilling itself was hard. It was difficult to both push the leg against the workbench and at the same time make it advance towards the drill…
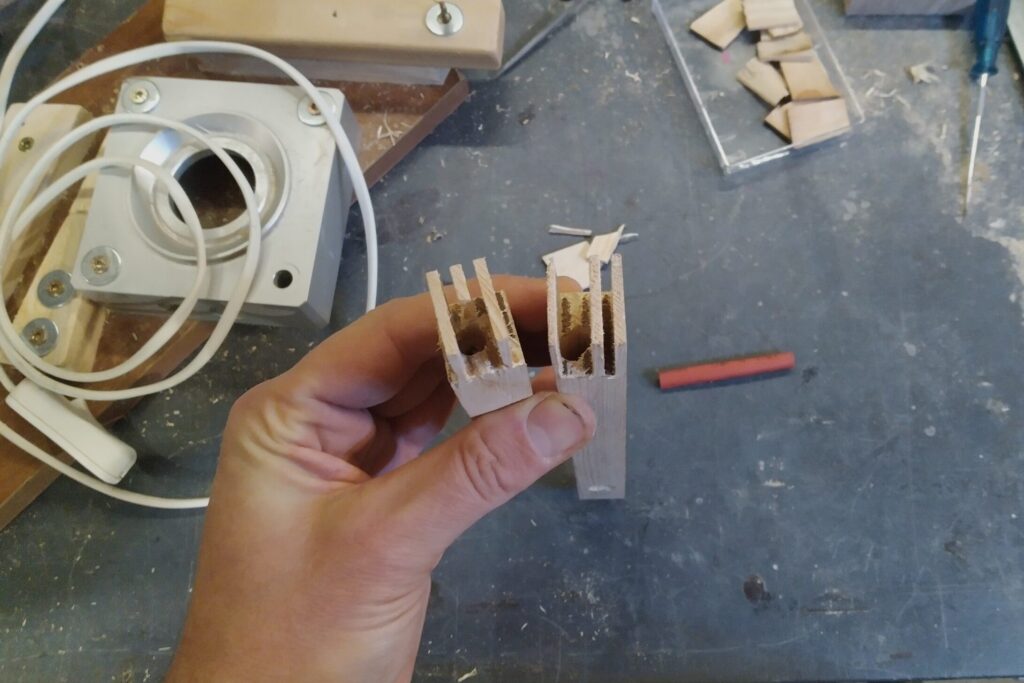
Here you can see how well I managed to keep the drill in the center of the wood… For the shorter horizontal part (on the left) it only deviated a little. In the longer part (on the right), the hole was already more off center… Some of the teeth of the finger joint had broken off due to the drilling but a sufficient amount remained so I didn’t worry about being able to make a sufficiently strong joint. (I kept the broken off pieces so to reconstitute the joint visually during glue up)
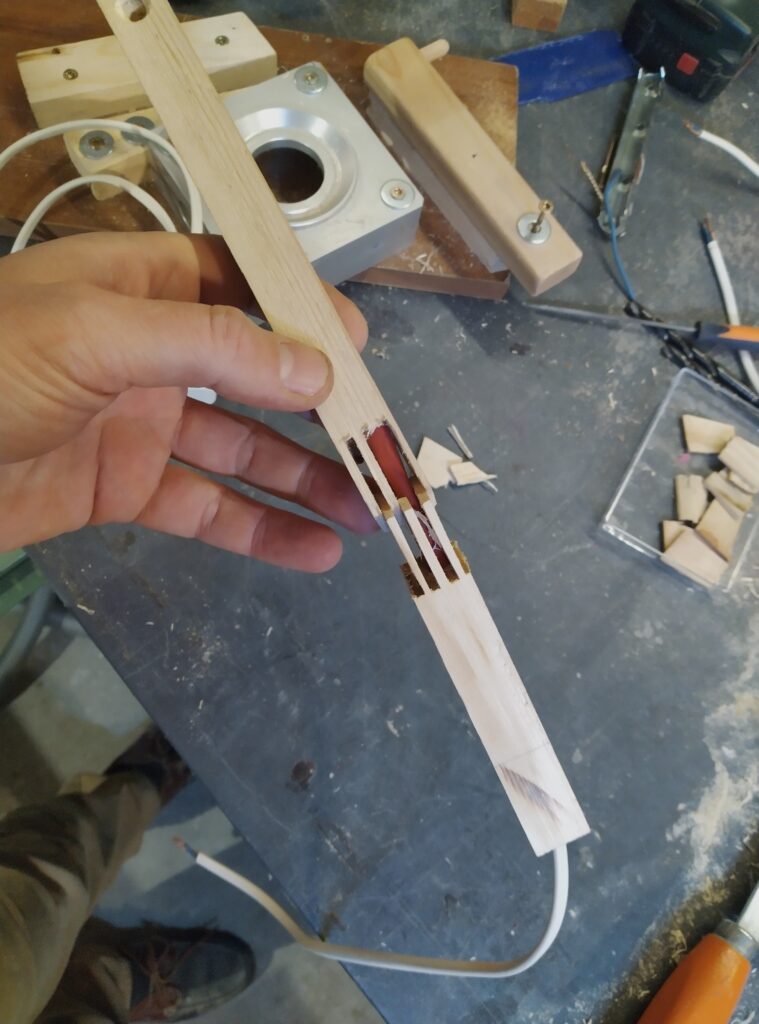
To ensure the power cable wouldn’t be glued up in wood glue when glueing the finger joint I am going to put it through a sleeve at the height of the joint. A piece of heat shrink tube seemed ideal for the job. To make room for the sleeve I widened the holes at the joint to 8mm, about 2cm deep. And finally I had to drill a hole at the lower end in the side of the leg so the cable would come out through the side and not via the bottom.
Before starting with the glue up I did a trial run without glue and assembled both leg parts with sleeve and power cord in place and put the broken pieces of the finger joints back in place. I could still move the power cord back and forth so I was reassured to try the glue up.
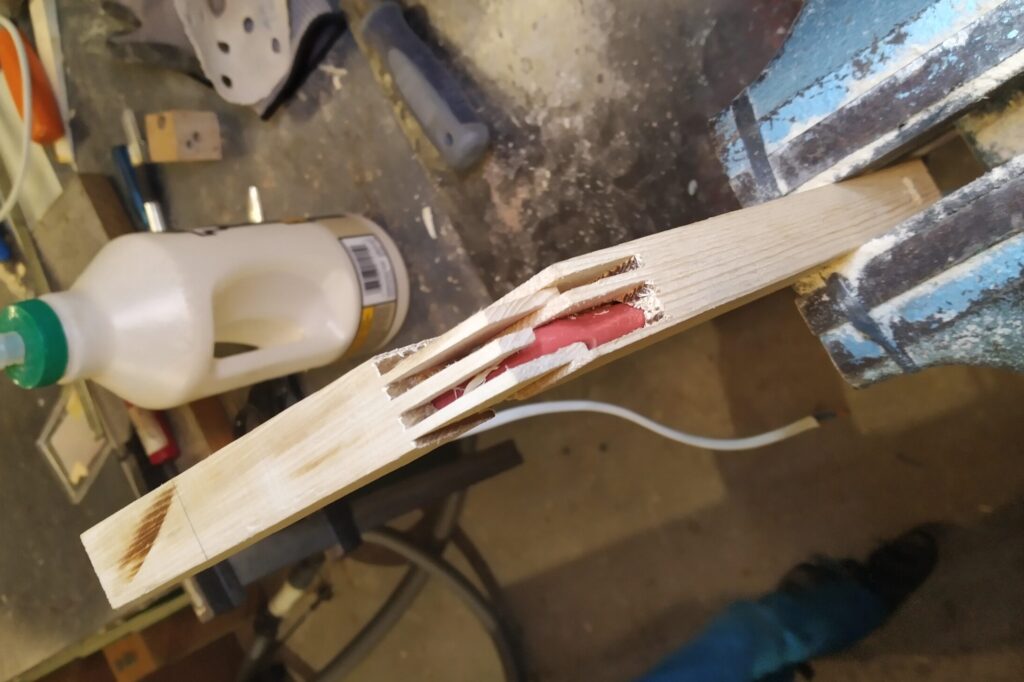
For the real glue up I first clamped the lower part of the leg in a vise then I installed the power cord with sleeve and the horizontal part of the leg I approached to just till the edge of the lower leg part. I made sure that the sleeve was slightly inserted in both the lower and upper parts of the leg so no power cord was visible. Plan was that when both parts are pushed together, the sleeve would slide in the widened holes which I made before with an 8mm drill.
I applied glue liberally and pushed it between the joints with a card and then I gently pushed together both parts. I put the leg in my glue up jig and I inserted the broken off parts of the joint.
Afterwards I put the jig in my vise and started pushing together the leg parts with clamps. I added small slats at the ends where the cord came out so I would still be able to move the power cord back and forth. As I clamped the jig in the vise I could now use my both hands to move the power cord back and forth. I pulled it a few times sufficiently back and forth and made sure that my trick with the sleeve had worked and now glue had seeped thrue to the power cord.
As this joint was formed with some earlier broken off pieces and a lot was going on inside, I decided to push it together some more and added a metal ‘bridge’ over it to press down on it.
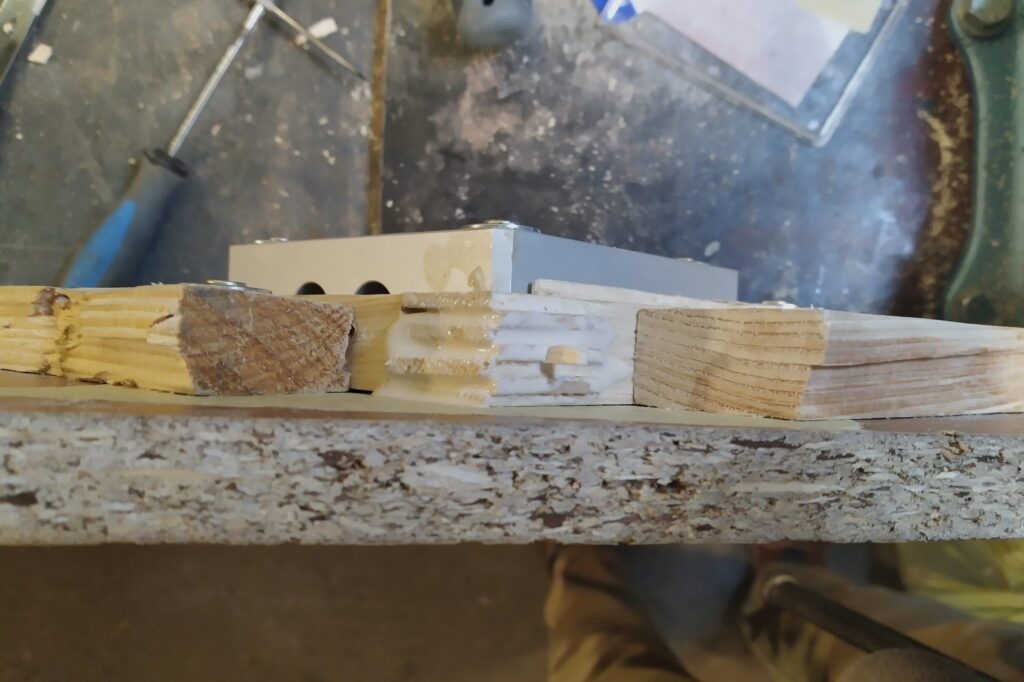
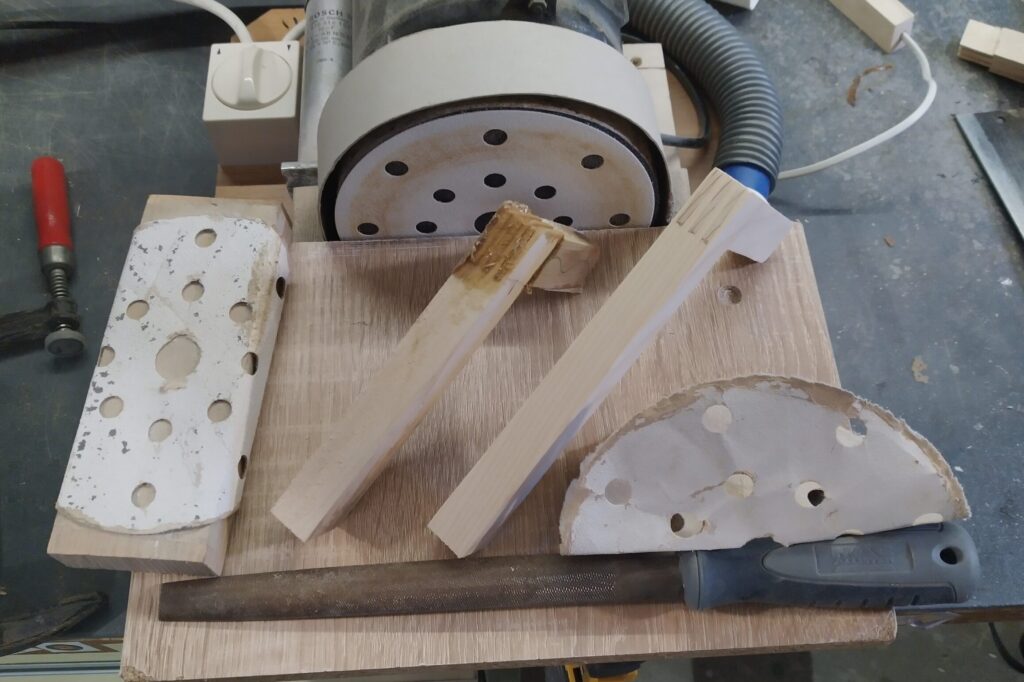
Once all tree legs were glued I used my disc sander to remove the excess glue and make the details of the finger joint appear.
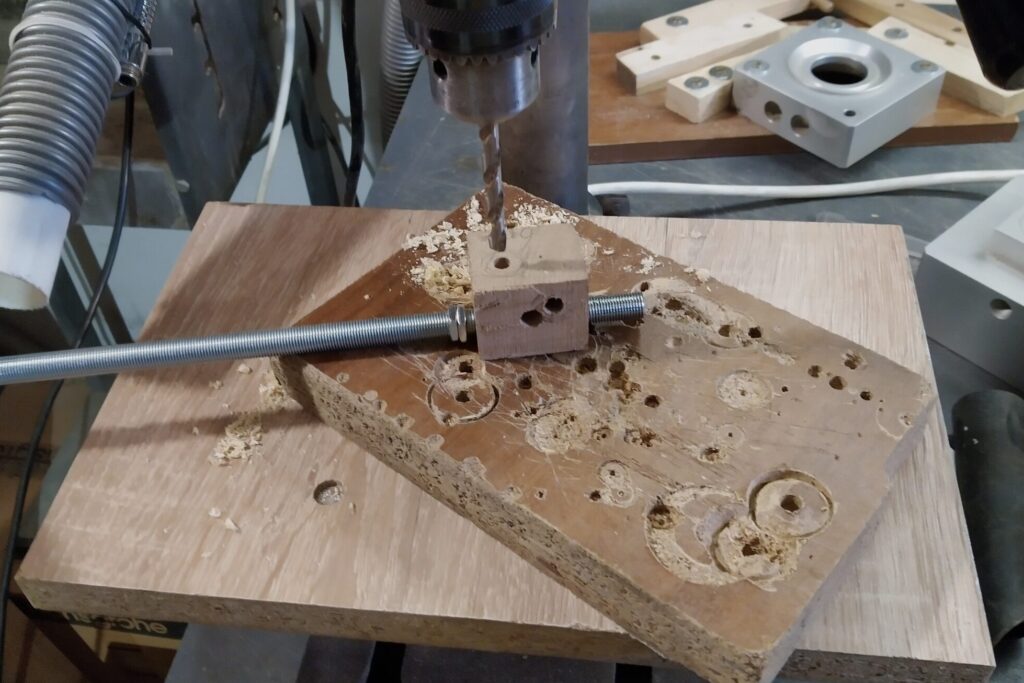
In the next step I used my drill press to drill a 10mm hole in the biggest leg, right where the central threaded tube should come. (I have no picture of this step.)
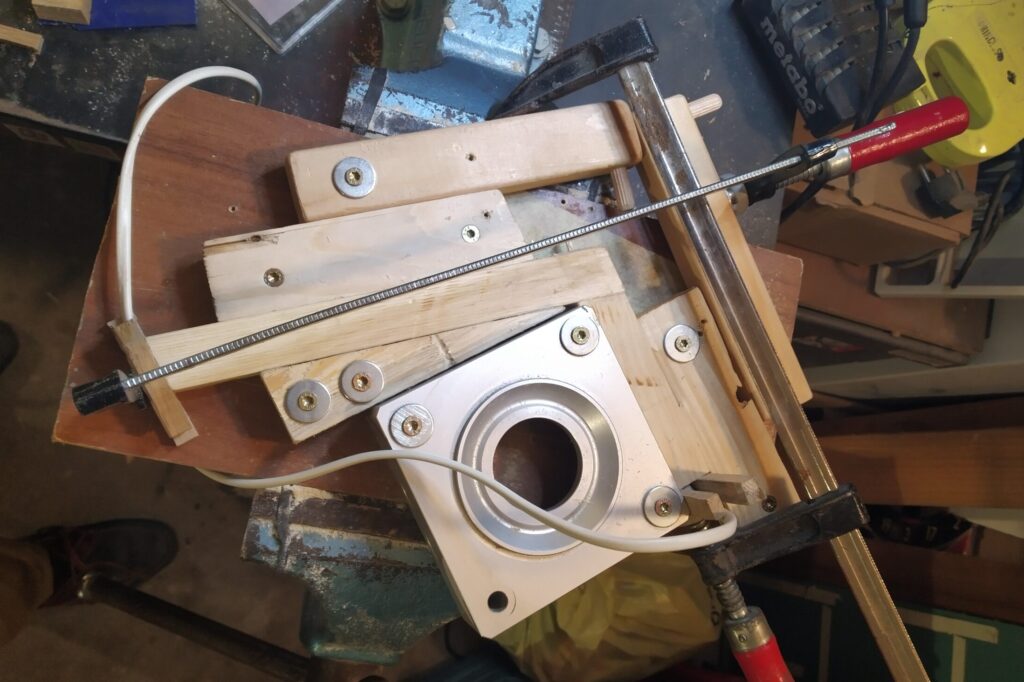
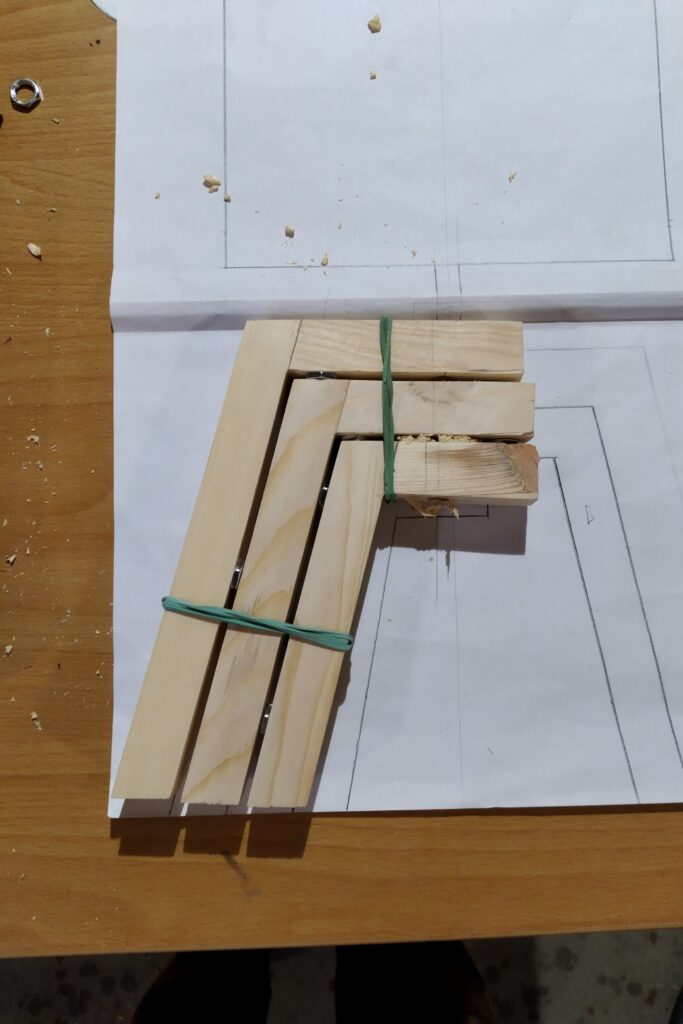
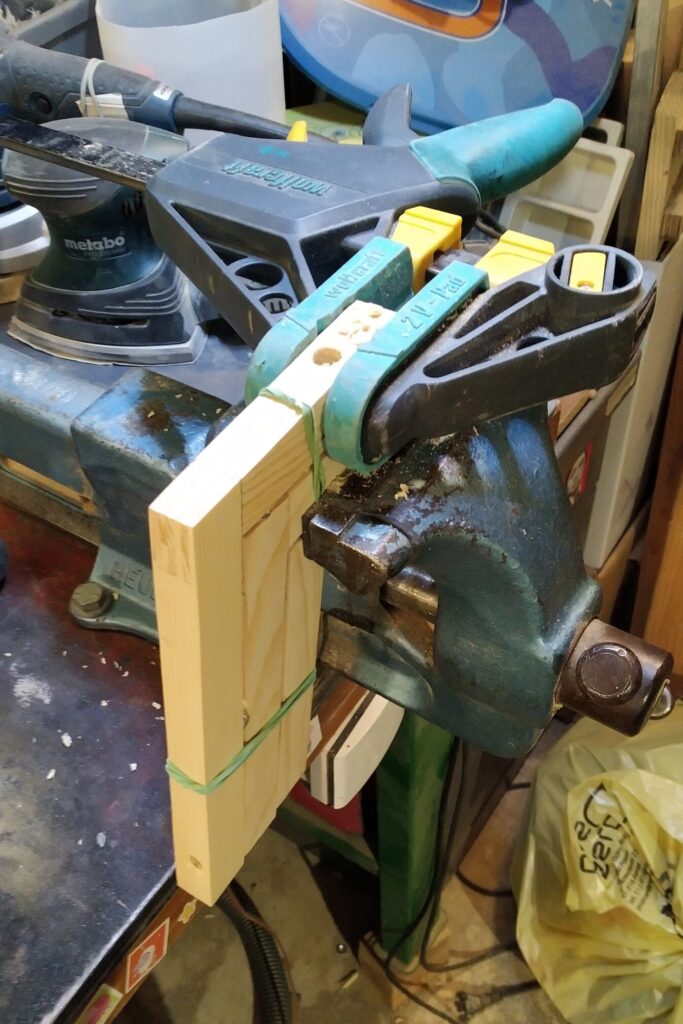
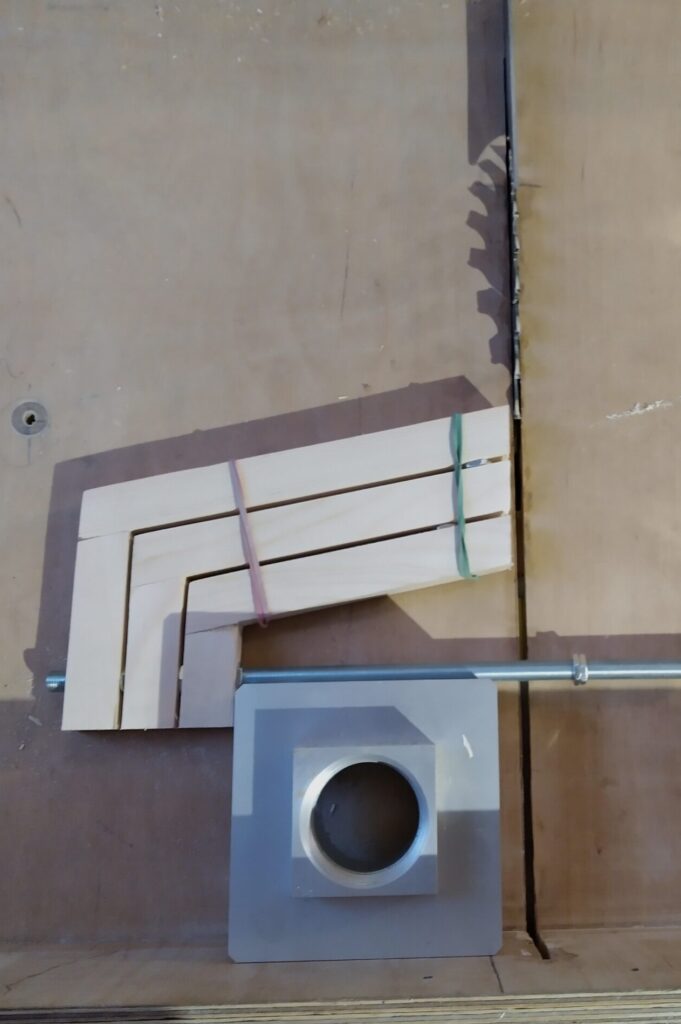
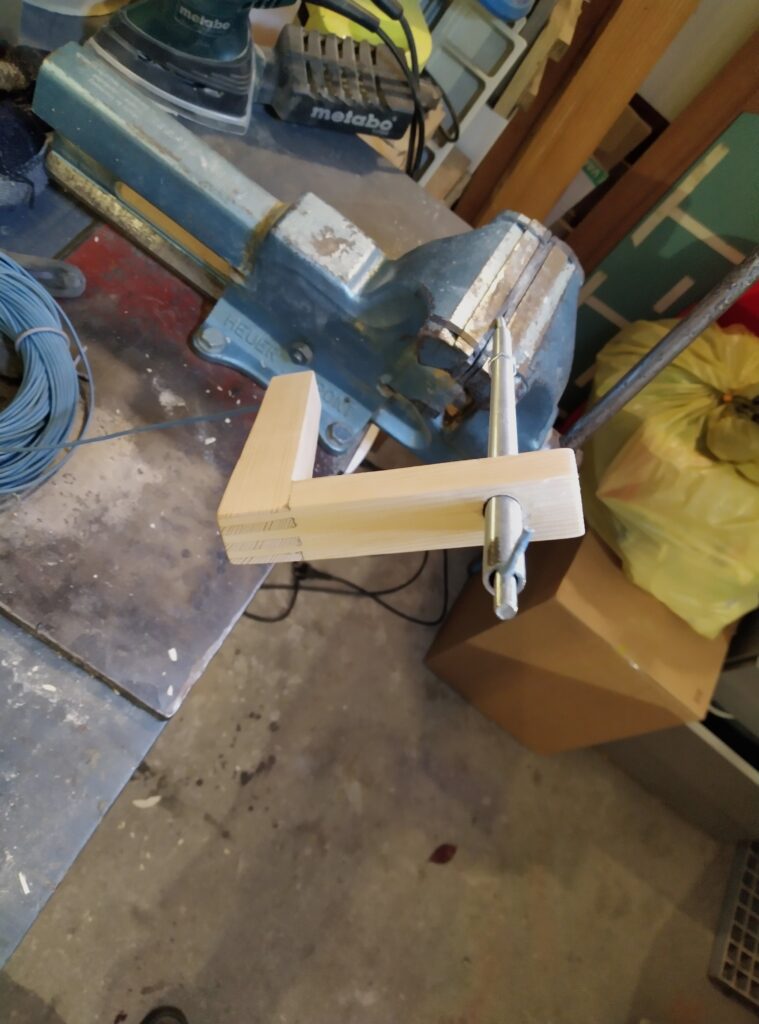
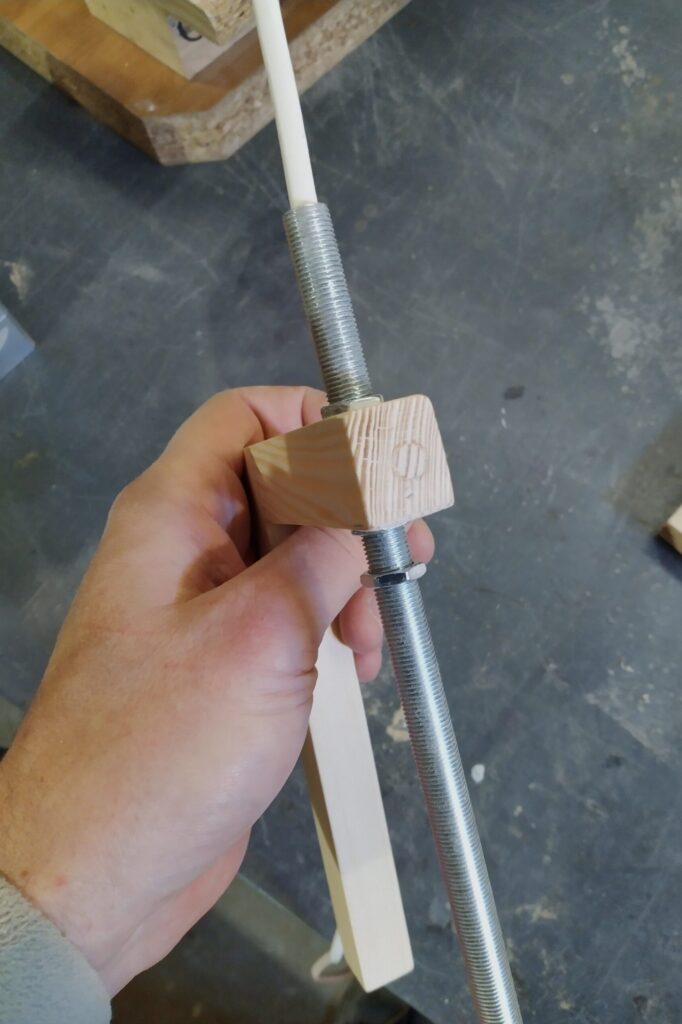
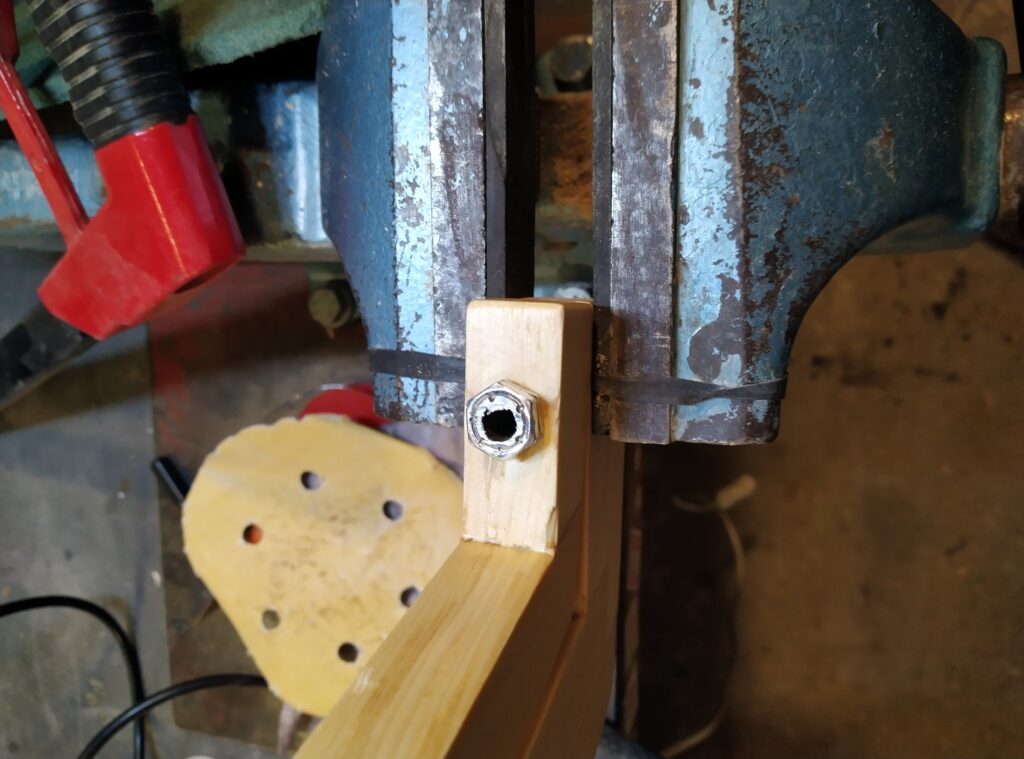
I used the 3mm nuts I was going to use on the tube in the final assembly as horizontal and ‘vertical’ spacers to ‘combine’ the legs in their final position. I used some rubber bands to hold them together.
Next I clamped the bottom legs in the vise and clamped the top and middle leg with a clamp. All three legs were now tightly secured in regards to one another.
I used the hole I drilled with the drill press in the top leg as a pilot hole to drill through both the middle and bottom leg.
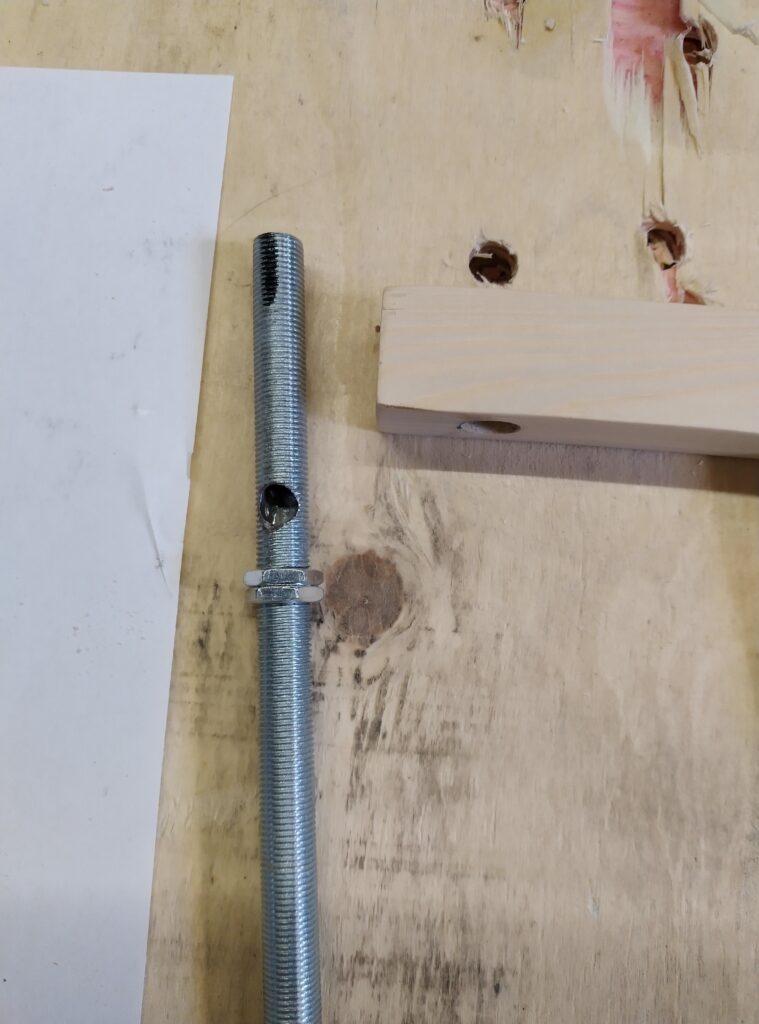
I fixed all three legs on the threaded tube with the nuts. I used the tube to position the legs so I could cut them perpendicular to the lamps’ ‘axis’ and to equal length on the crosscut sled. (I did not cut the metal tube, it is just a temporary support here!!)
I had to cut a hole in the threaded tube so I would be able to feed the power cord from the leg through the tube to the socket. As it is difficult to drill a hole in something round, I made a little jig. I drilled a 10mm hole in a piece of hardwood which would fit the tube. Perpendicular to and right in the center of the 10mm hole I drilled a 6mm hole.
I took the metal tube and made a partial assembly of the lamp to find out where the hole had to be drilled in the tube. Finally I put in the metal tube and drilled a 6mm hole in the metal tube. I deburred and rounded the edges of the hole as well as was possible to facilitate installing the power cord and avoiding damage.
Assembly!
I indicated the direction of the hole on the tube to facilitate its orientation in the right direction when assembling.
I inserted a pilot wire from the lower side of the leg. It appears in the hollow tube.
I clamped a 5mm threaded rod in my vise and used the rod to 'grab' and pull the pull wire through the tube.
All the parts were ready now and I could start assembling the lamp. First was the most difficult part: installing the power cord. I decided the best way to tackle this would be to first try to get a thin pull wire through.
Installing the pull wire was a critical first step. Next came the challenging task of threading the power cord through the conduit’s maze. It took multiple attempts to get it right. Fortunately, the method I used to install the pull wire proved highly effective, allowing me to easily reinsert it after each failed power cord attempt.
How did I succeed? I secured the entire leg-tube subassembly in a vise, freeing both hands for the task. After several unsuccessful tries to pull the power cord from the top (tube), I switched to pulling the power cord from the bottom, which worked. Just twisting the stripped power cord and pull wire together was not strong enough so to ensure a strong connection, I soldered both strands of the stripped power cord to the pull wire, keeping the soldered section as short as possible to maintain flexibility.
I let out an actual whoop of triumph when I finally wrestled that power cord through—hands down, the trickiest hurdle of the whole build, and I was half-convinced I’d never crack it!
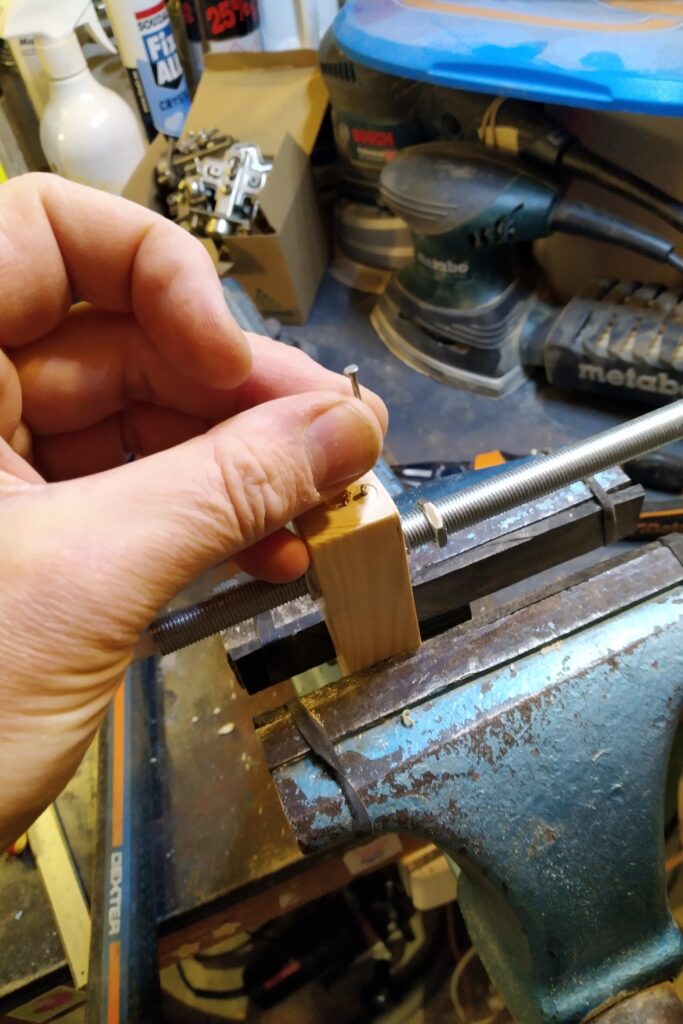
If the tube rotated against the leg, that thin tube would’ve chewed right into the cord where it exited the drilled hole—a disaster waiting to happen. To fix the tube, I drilled a 2.5mm hole through the leg and tube, just below the cord’s exit point. Then, I hammered a nail through, snipped off its head, and drove it deeper until I was certain it would have gone through to the other side of the tube, locking the leg and tube together in a fixed position.
Next, I plugged the tiny nail hole and the hollowed-out leg’s starting hole. Once it dried, I sanded it down smooth as silk.
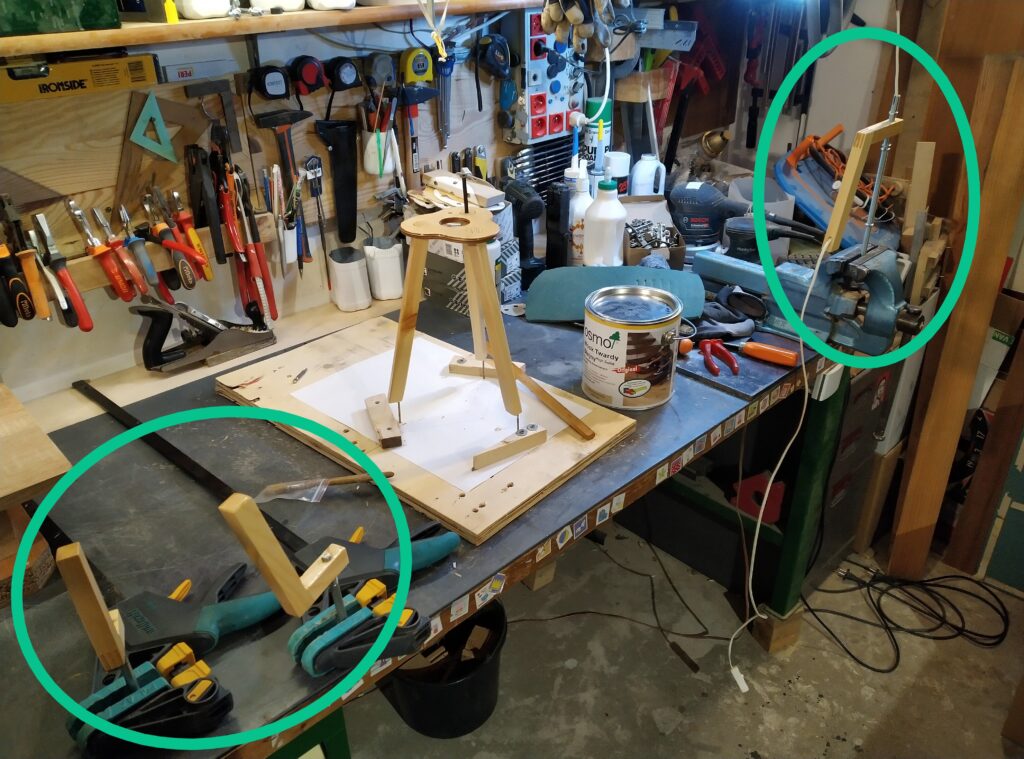
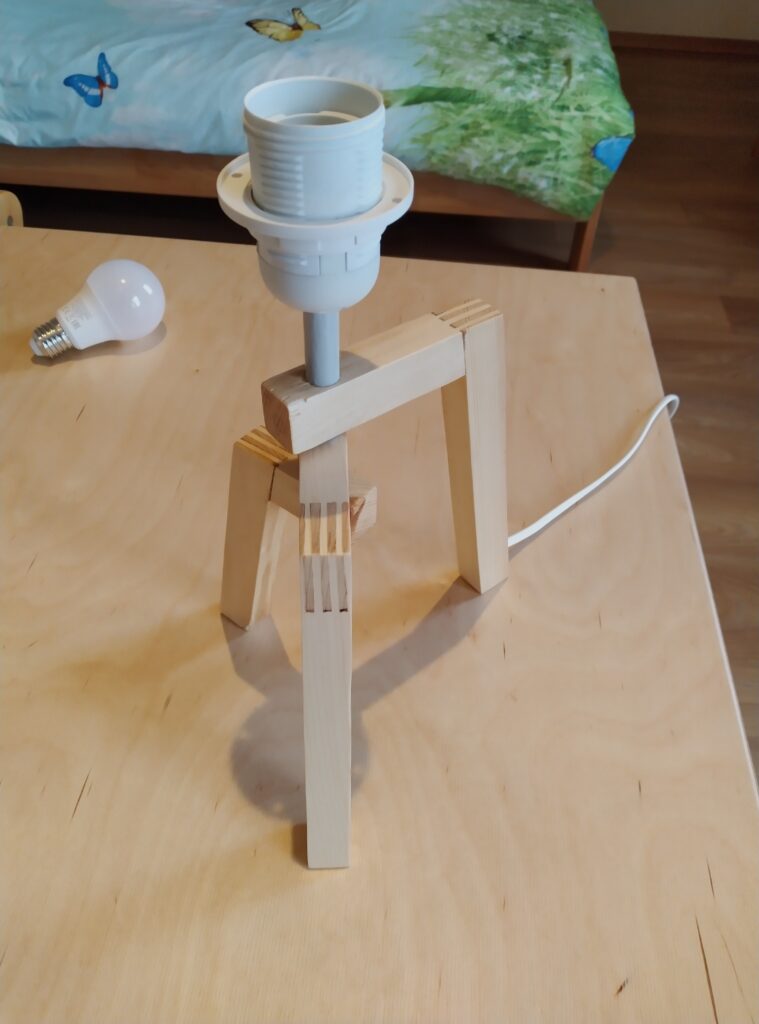
After giving the legs some final sanding with 120 and 240 grit paper I found some convenient ways to position them so I could apply a matte clear coat to them easily. The 10mm holes in the smaller legs came in handy. The big leg I just clamped on my vise with the metal tube.
(The center stage on the picture is a second lamp I made in parallel with the one in this post. More about this lamp in a next post.)
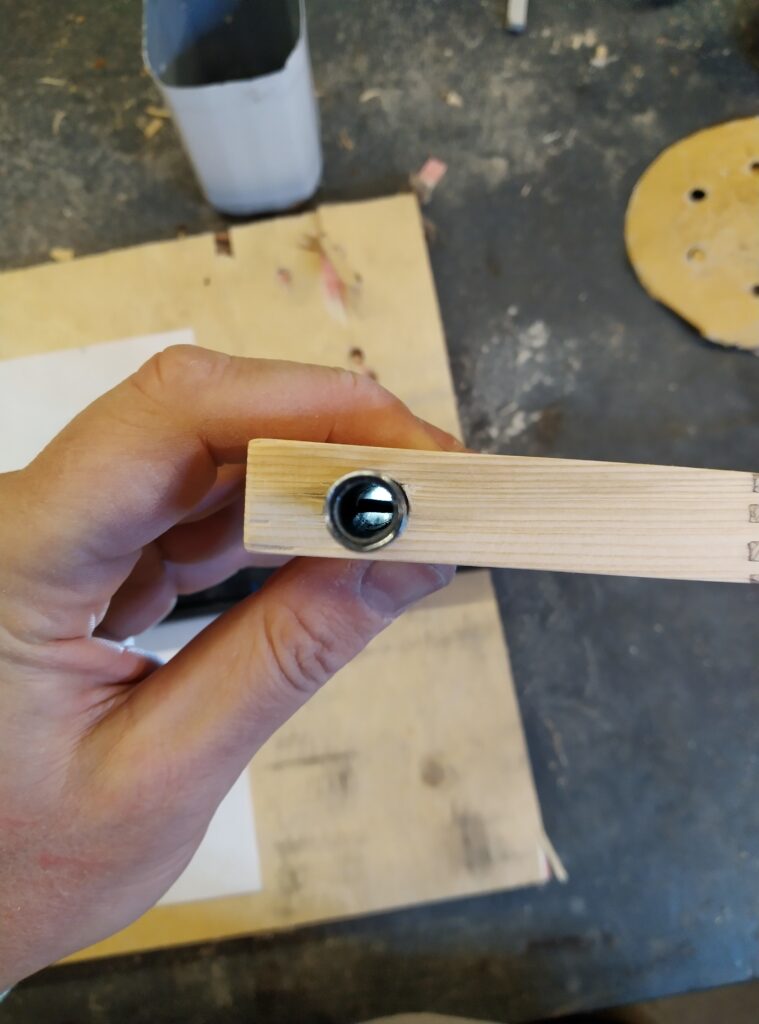
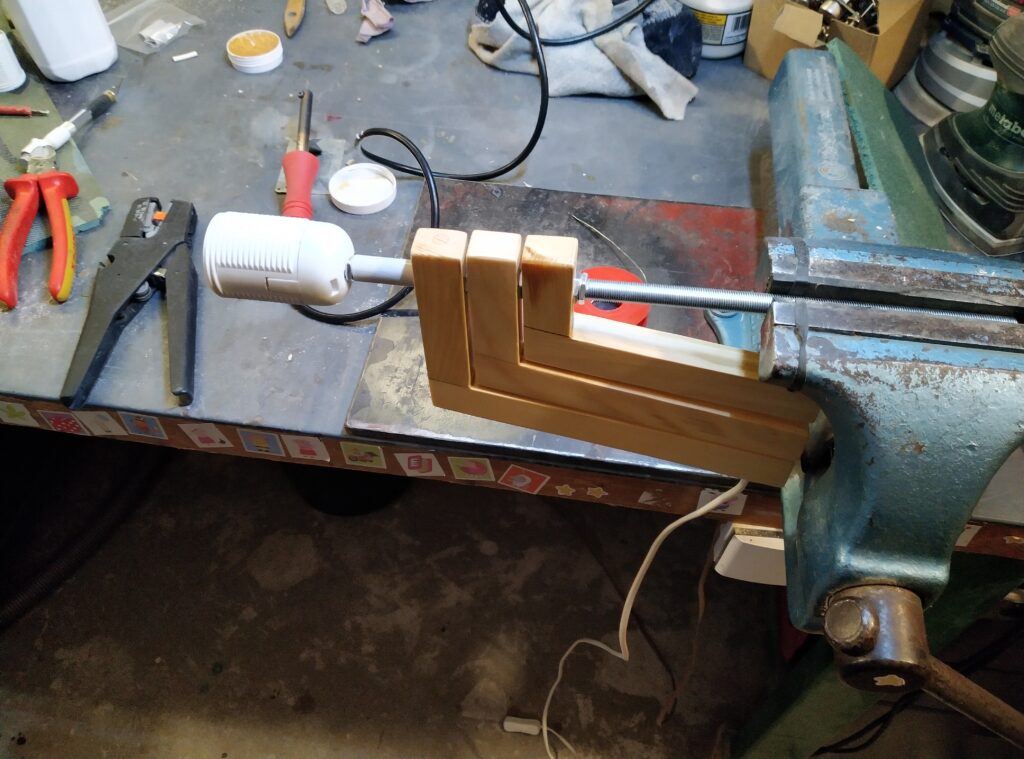
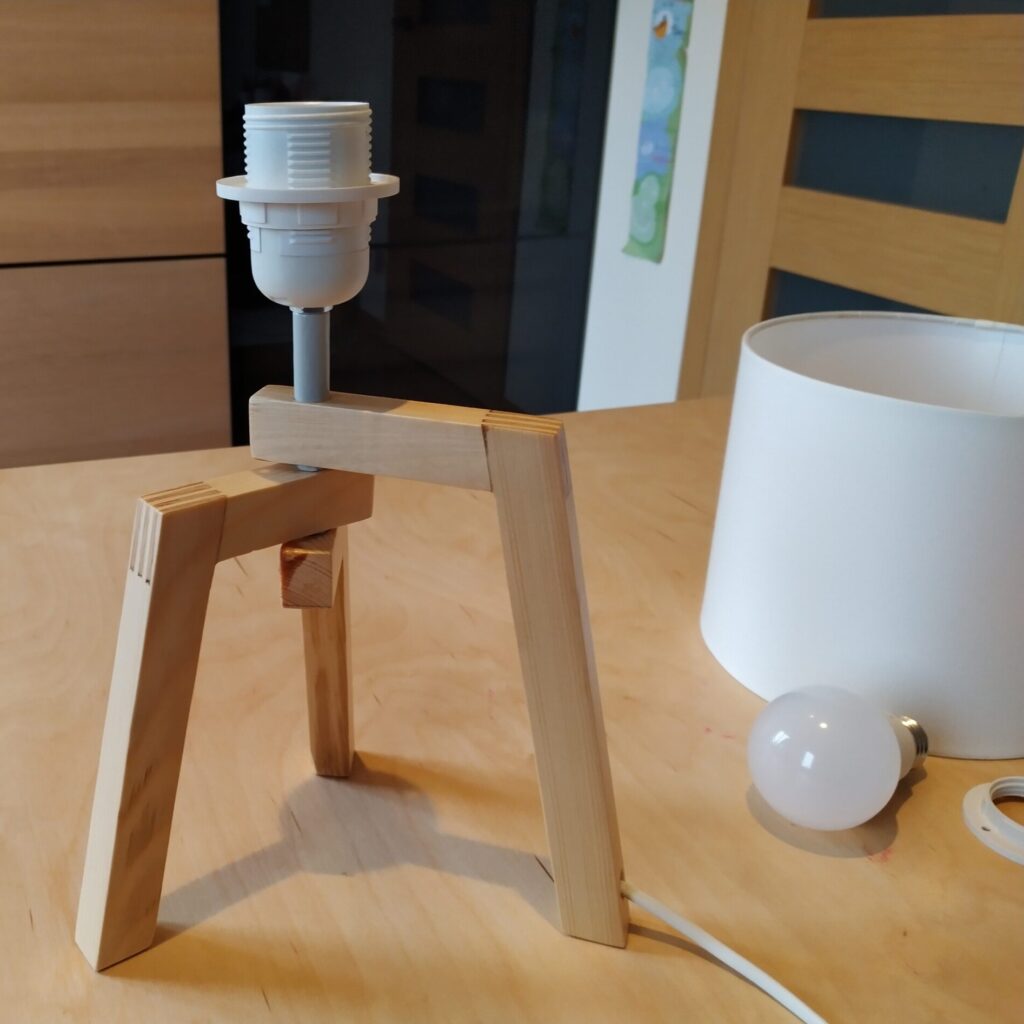
When all was dry I assembled the lamp. I attached both smaller legs with a 3mm nut as a spacer between them. Under the smallest leg came a double nut in order to lock it down securely.
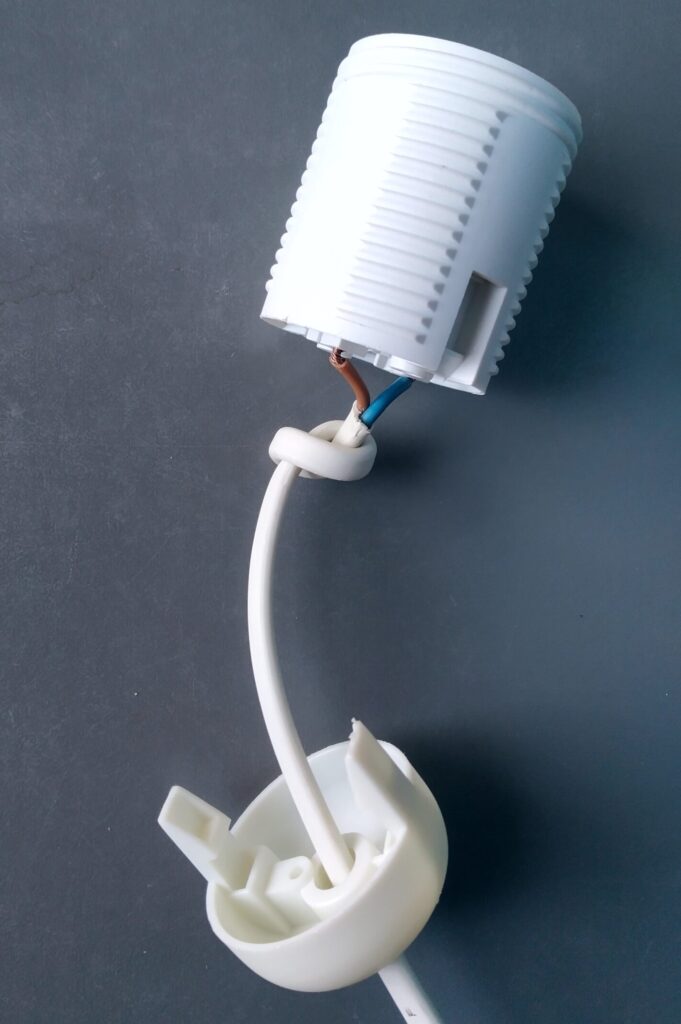
On top of the big leg came a 3mm nut, a bushing and a 3mm nut. Before installing the socket I first soldered the stripped wires and made the electric connections. As a strain relief for the electric cable, I just put a knot in it. Then I gently pulled the powercord from the bottom of the leg to remove all the slack until I could click the socket in its lower part. It was a tight fit but I managed.
In the last step I sawed off the tube just under the second locking nut and I hit the area between the nut and the tube a few times with a center punch to further lock it down.
I would like to take a moment to point out that I could have sawed off the tube at the required length already a plentiful of steps earlier. By keeping this tube at full length till the end it gave me an easy way to clamp the leg tube sub assembly during various previous steps. It is worth visualizing for yourself all the manufacturing steps before actually starting and to question what to do when. This is especially true for sawing or cutting things. These steps are very difficult to undo 🙂
I had completed the assembly of the legs. To finish the build of the lamp I added a switch and a socket to the power cord.
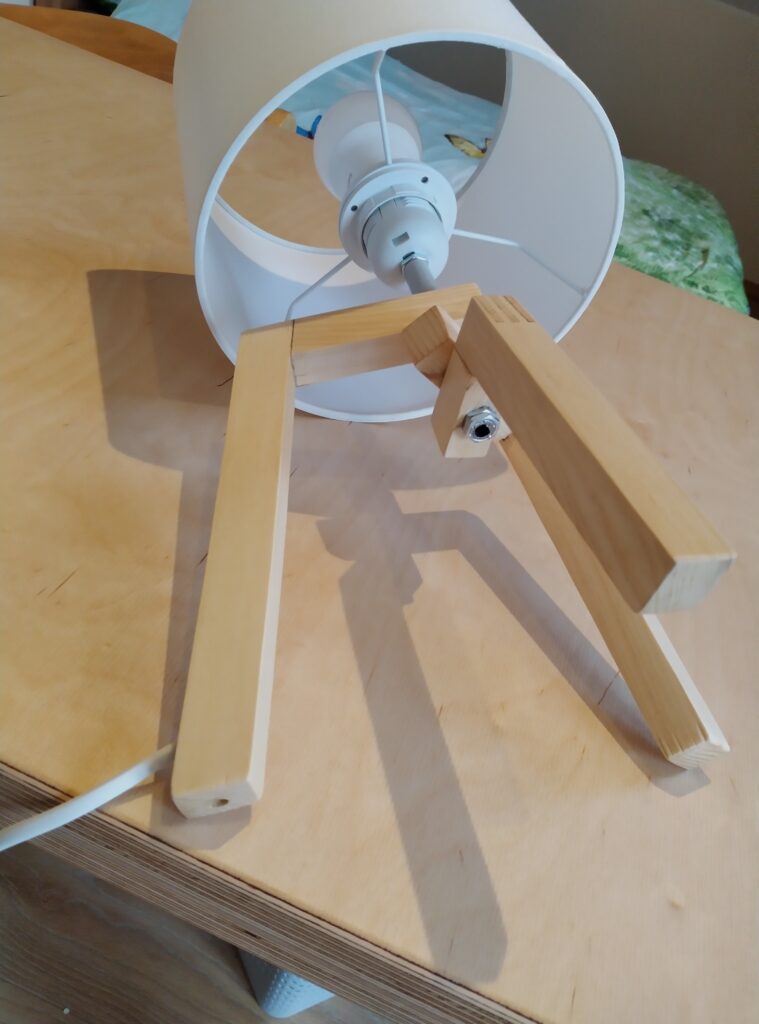
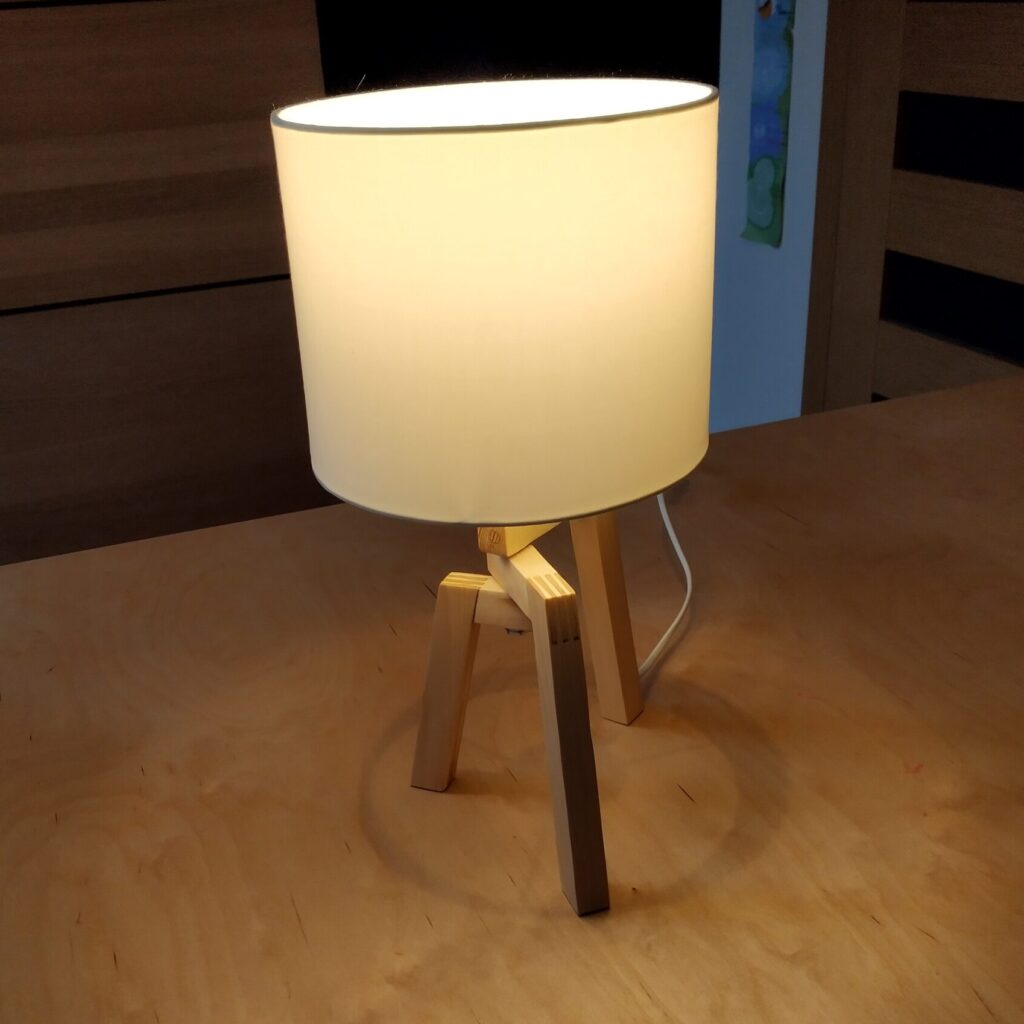
Finally I could then install the shade with two locking nuts and test it!