
The right size is the most important
I noticed last summer that birds were flying a lot on and off to certain areas on our roof. I was quite certain that they had made some nests under the tiles. This fall I went to check end yes, after lifting up some tiles I found nests. I removed the nests as good as I could and stuffed the obvious access holes with some thin stainless steel gauze. Afterwards I felt sorry for the birds and wanted to provide them with some alternative living quarters around the house.
Research
I already knew that birds are rather picky when it comes to finding a place where to lay their eggs so I did a little research instead of just flinging some boards together. I wanted to make bird houses for the birds in my area so I checked some websites in Polish. This brought me to the site of the Polish national forest service and the website of an ornithologist Ptasia Strefa.
I had no intend to becoming an ornithologist myself so, in short, what did I conclude:
1. Dimensions?
Depending on the type of birds you would like to house a specific size is best. Specifically the size of the hole is important. In Poland a series of standardized sizes exists. Not knowing what kind of birds exactly live in my area I decided to go for the size that is advised for gardens and use around the house: type A with a 33mm hole. They are advised for sparrows (wróble) and great tits (sikorki).
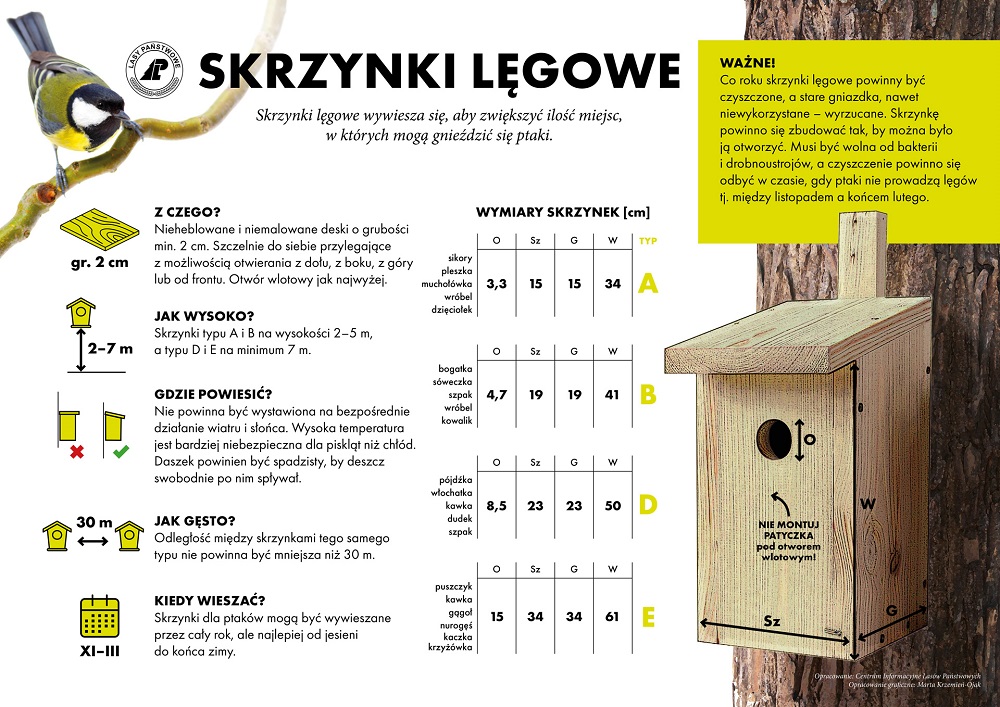
2. Material?
The house should be built from solid, preferably untreated, wood (2–2.5 cm thick) and assembled with care to ensure weather-tightness. Use wide boards for the side panels to minimize joints and prevent gaps that could compromise long-term water resistance. A proven, standardized construction method—refined over years of use—exists. I chose not to deviate from it.
3. How many?
Some birds will not occupy a bird house which hangs too close to another one that is already occupied and other birds don’t seem to mind having neighbours nearby. Not knowing exactly which birds live in the neighbourhood, I decided to put up 4 bird houses, on each side of our house.
4. Where
- Protected from midday sun.
- Turned away from the prevailing rain direction.
- Tilt slightly forward to prevent water entry.
- Have some bushes or trees in the neighbourhoodMount 3+ meters high, away from streets and foot traffic
Construction
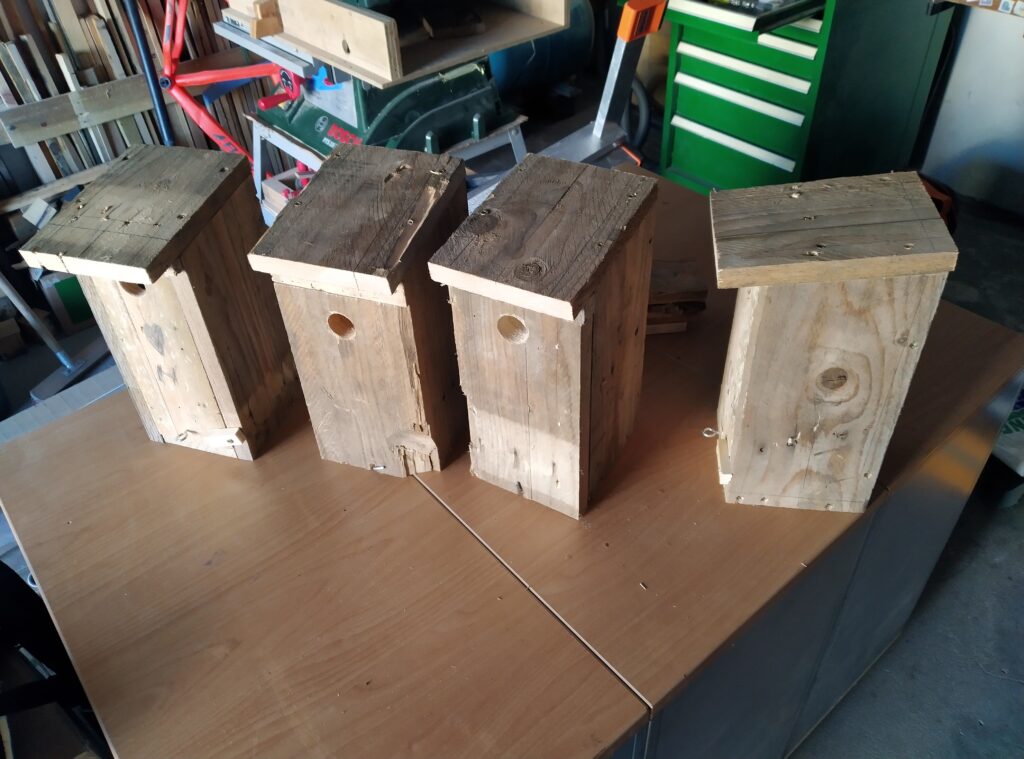
A lot of drawings can be found online and they are all very similar as most of them start from the standards available. I took the one which I found on the website above and adjusted the dimensions a little bit to suit the thickness and length of the boards that I had.

I quickly calculated that I would be able to make 4 bird houses from the boards that I had selected. So I started cutting the boards. Unfortunately I mixed up the visualization of the houses that I had in my head prior to cutting and I swapped the wider boards for front and rear with the narrower boards for the sides… I only discovered my error when I was near the end of cutting all of them so not really possible anymore to correct my error. So my houses will not be following the standard assembly where the narrower side panels are between the wider front and rear panels but the other way around.
One could argue that because of my error, my houses will be less weathertight. Fair enough. So I will not elaborate on the detailed assembly of the houses I made. But, as my houses will be hanging under a roof overhang I am not worried about weather-tightness and decided to continue building anyhow. Two of the houses I was able to improve with some wide board leftovers.
I assembled the houses with a mix of 4mm wood screws (30, 40, 50mm long)
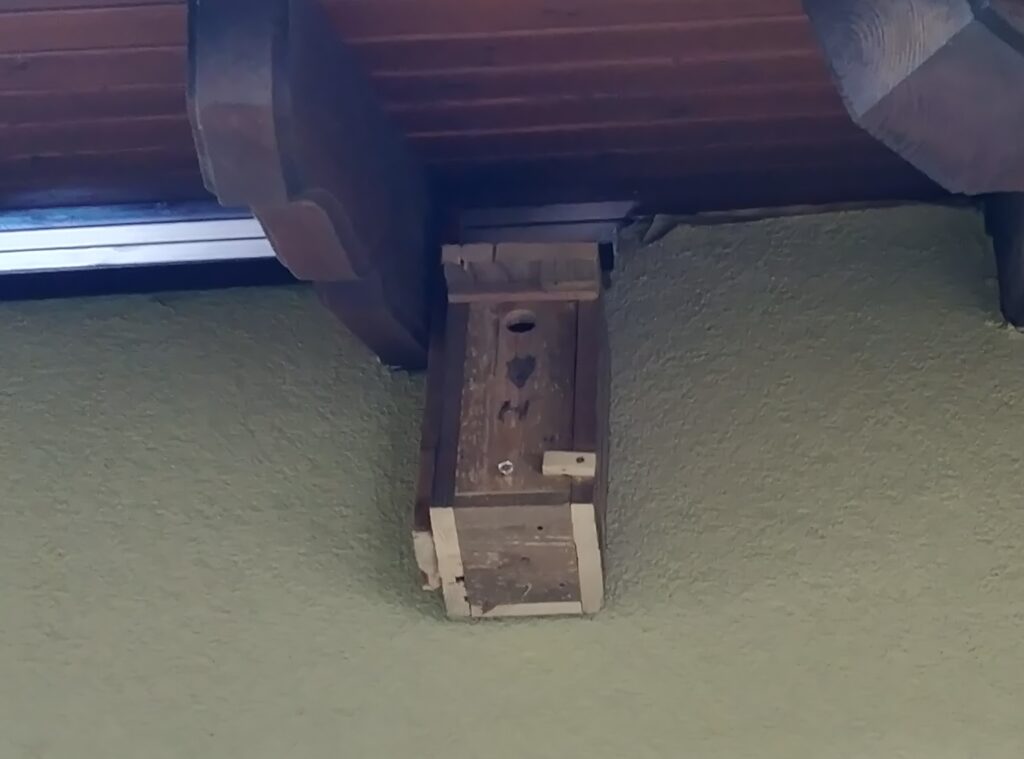
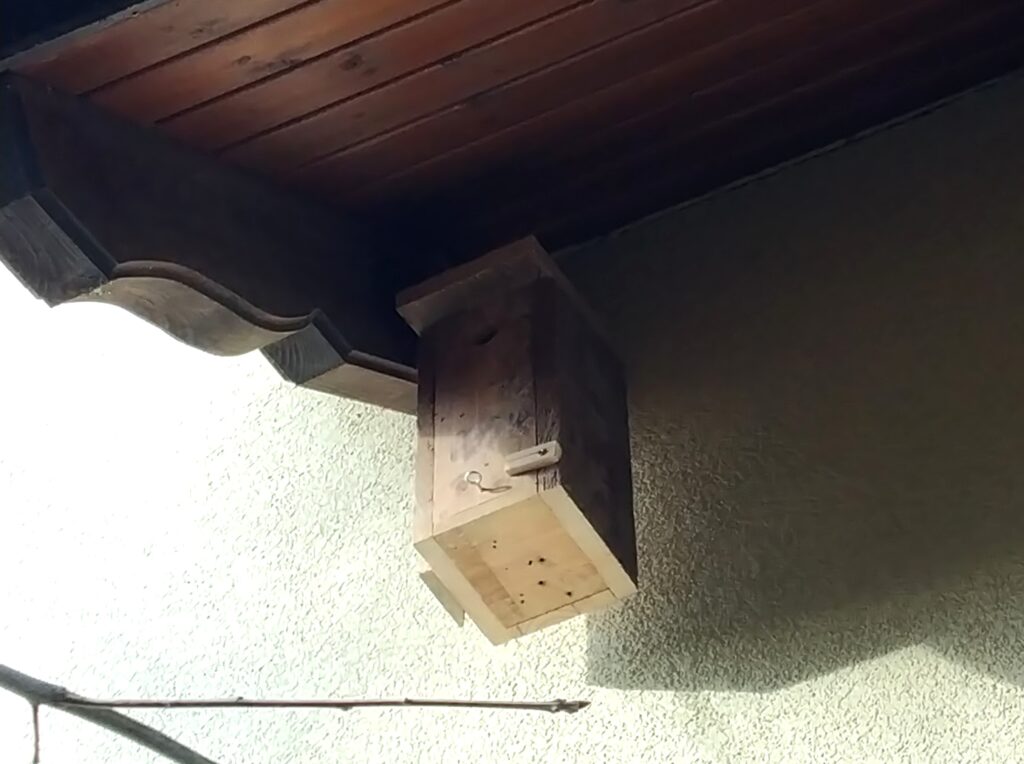
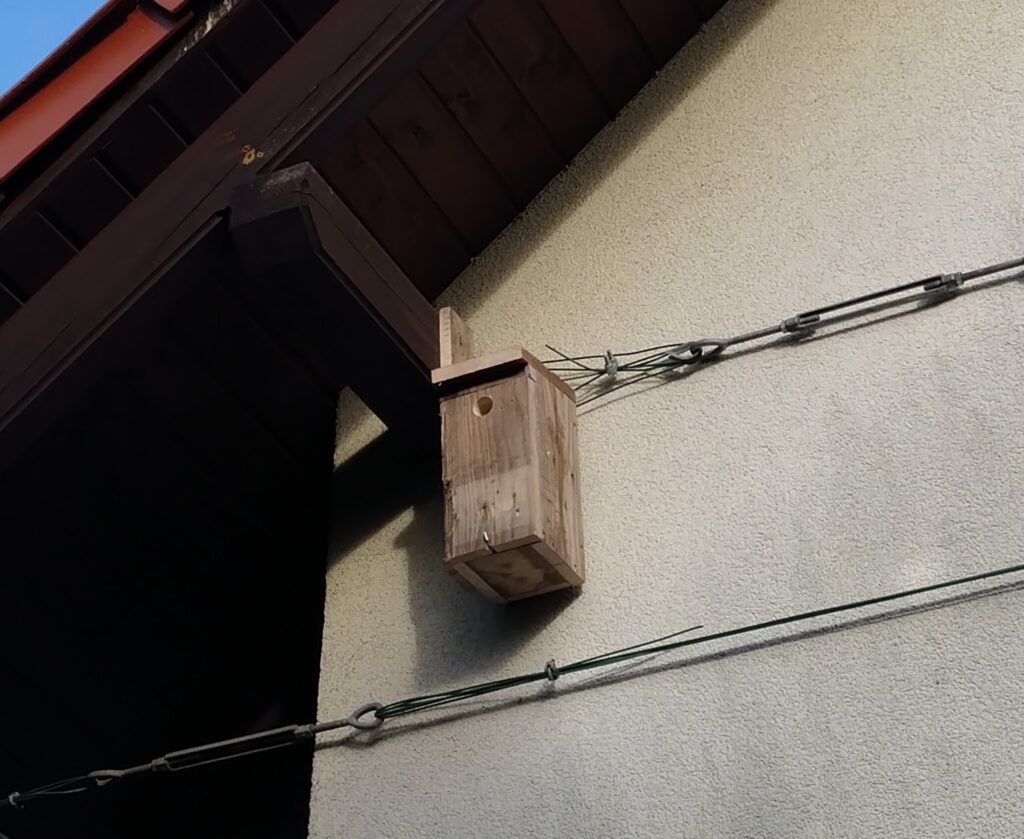
The Result
I hung the houses in the autumn. Next autumn I will evaluate if they have been occupied and whether modifications/improvements will be necessary. Stay tuned!
If you want to learn some more about the birds around us and how you can help them, I couldn’t recommend more the Ptasie Strefa website and Youtube channel (But you will have to learn a little Polish 😊)