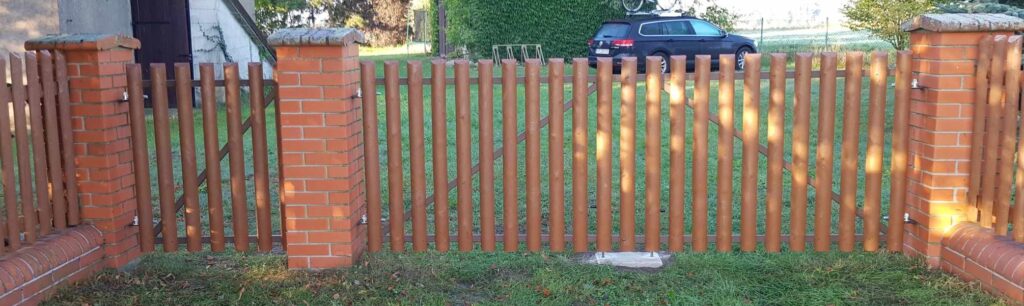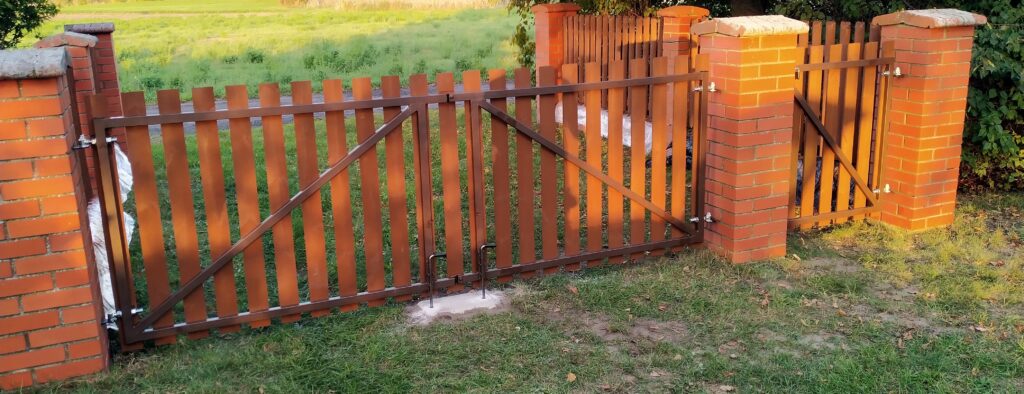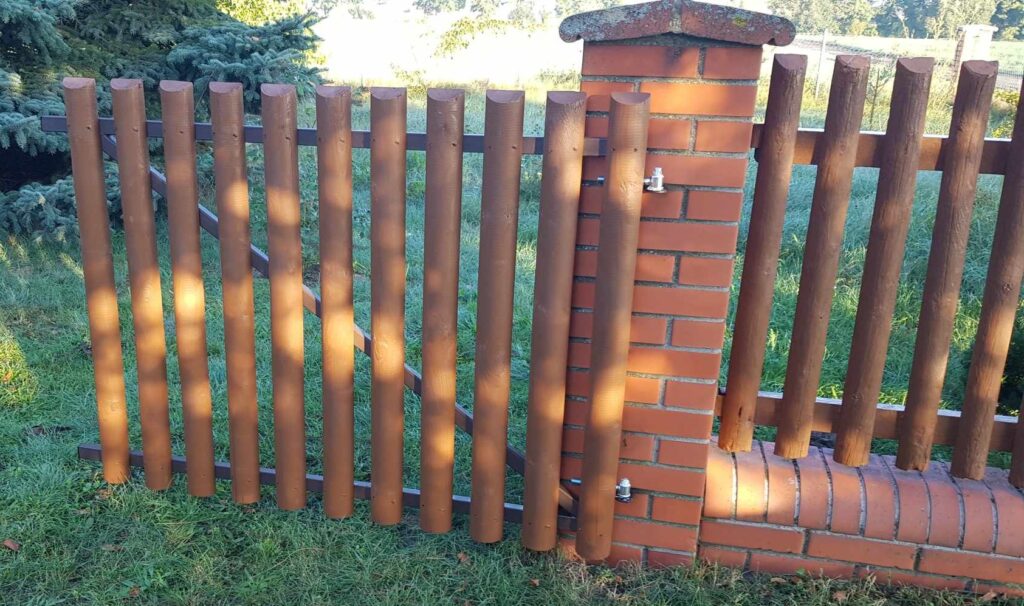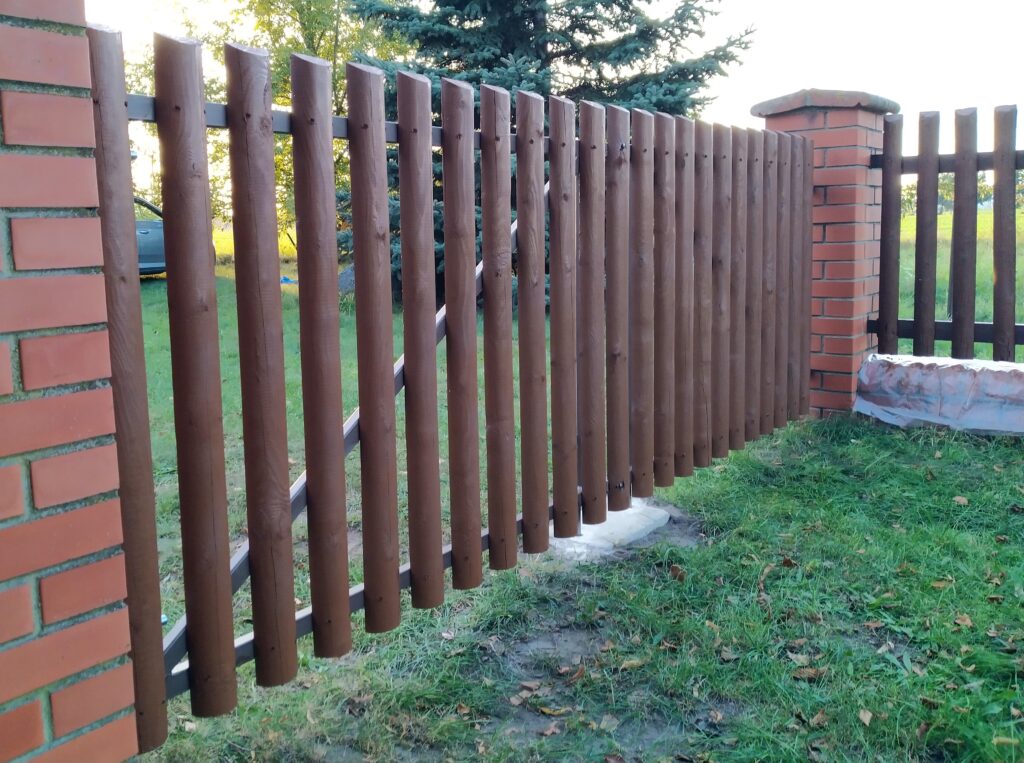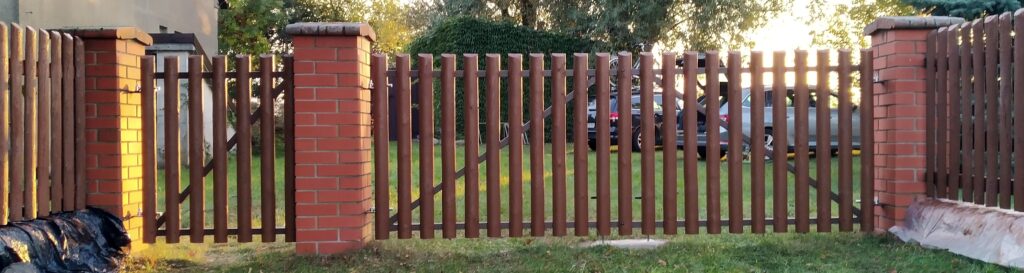

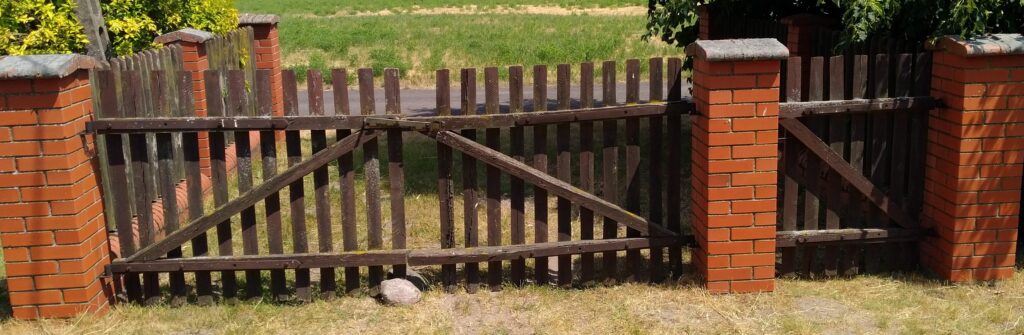
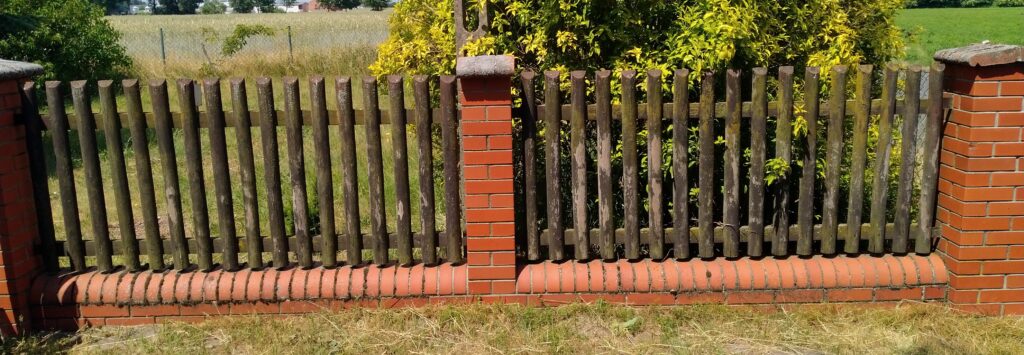
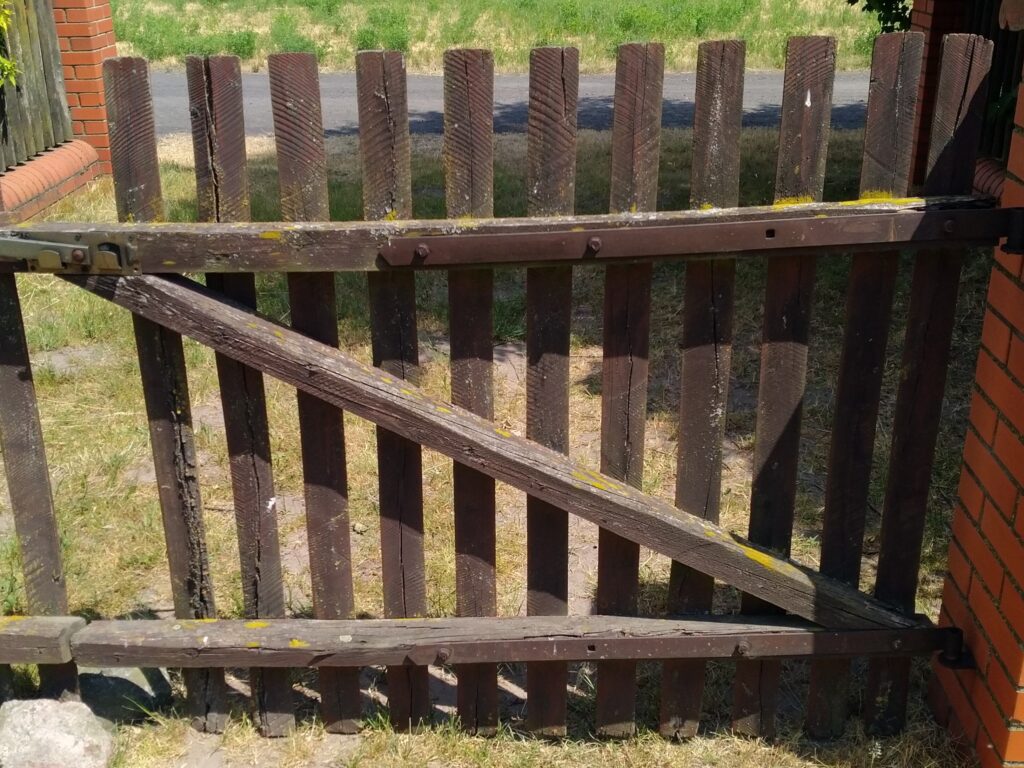
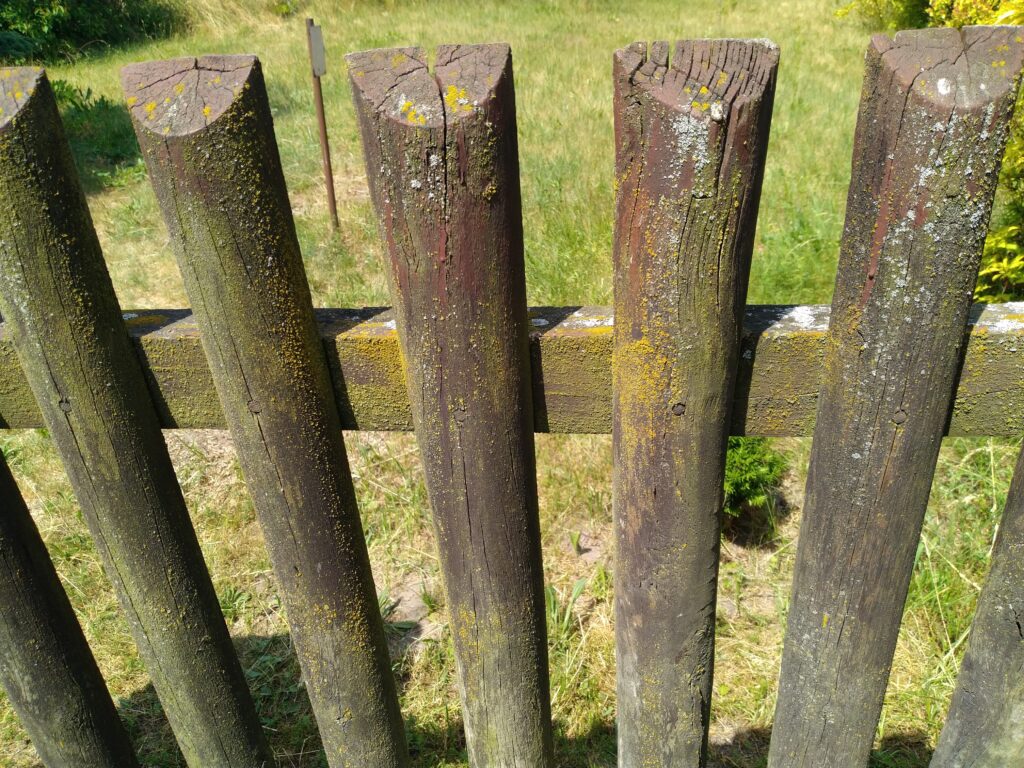
This gate and fence had definitely seen better days and were crying out for some love. Sadly, the gate was too far gone – help arrived too late for it. The fence, on the other hand, was still solid and structurally sound. I figured that stripping the old paint and applying a new stain would be enough to make it look great again.
Concept for the new gate
For a while I considered making the new gate completely out of wood, just like the old one. All wood would be easier to make but, even when properly constructed, it would sag over time. An alternative would be to make the frame out of steel and mount wooden pickets on it to keep the overall look with the rest of the fence uniform. It would be more complicated to make but I was convinced that it would be more durable.
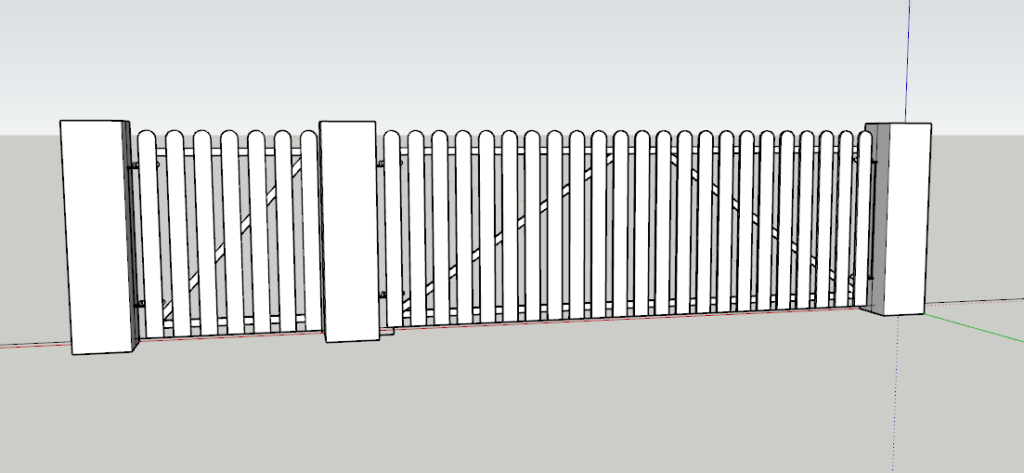
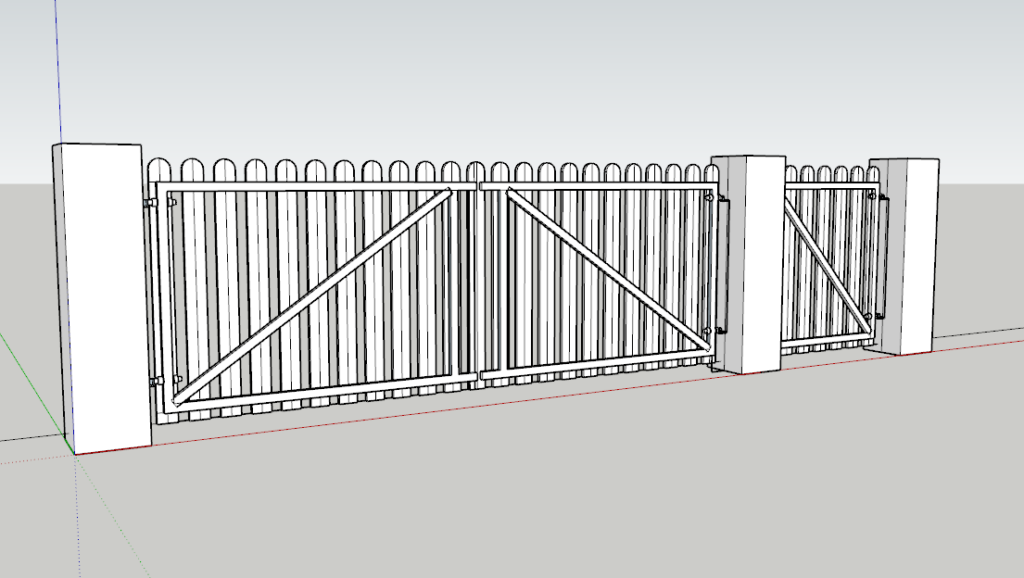
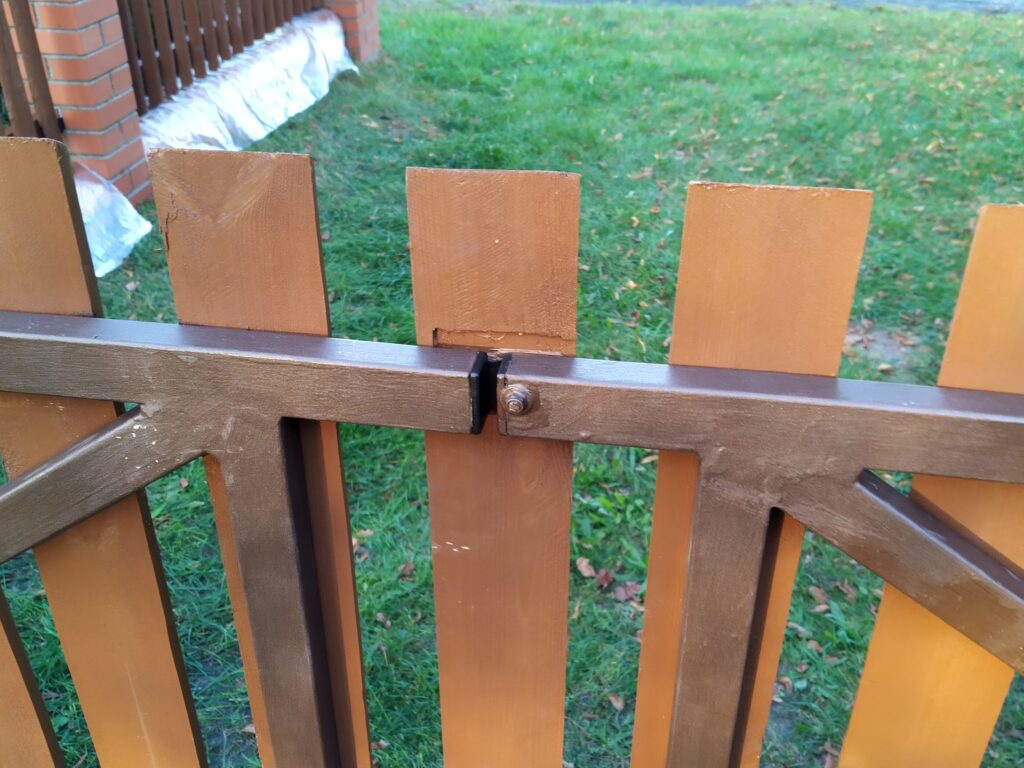
I wanted the gate to look symmetric and as clean as possible, from the front at least. I wanted all hardware to be hidden as much as possible behind the pickets. I decided to make the number of pickets uneven so I would be able to hide the latch between both leaves behind the middle picket. So one leaf would be one picket longer than the other but visually, when closed, this wouldn’t be noticeable.
I was lucky to find pressure treated half round pickets with a similar width to the original ones nearby. I spaced the pickets apart just like the original ones to make the gate match the fence as best as possible. (The below drawing shows flat pickets rounded on the top. In the beginning we were not sure yet which pickets we would choose.)
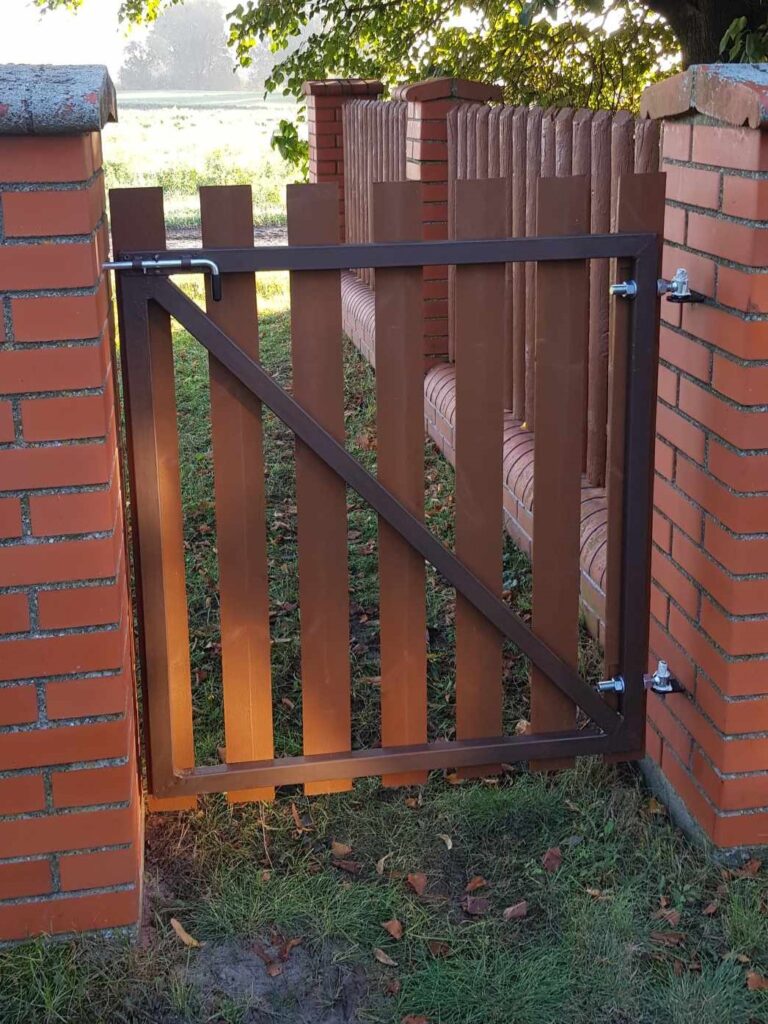
I drew the gate posts and hinges in Sketchup and drew the pickets evenly spaced between the posts. Next I drew the metal frame. I designed the frame with rectangular tubes 40x27x2mm. To continue with the clean look I put all the stiles behind the pickets. The frame would not be a simple rectangle, but this was needed to obtain the clean look.
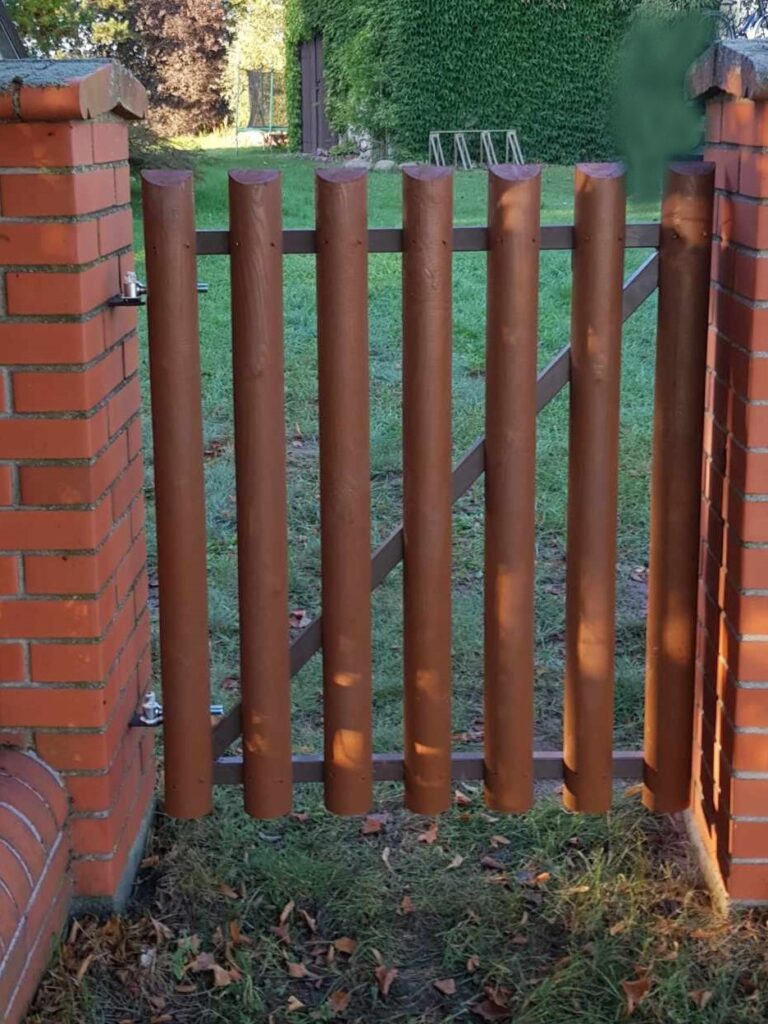
The pedestrian gate I designed with the same ideas in mind, hide the stiles behind the pickets. For this gate no latch between leaves was needed so I could make a simple rectangular frame.
The hinges
The hooks for the hinges of the original gate were still solidly cemented into the posts and when I checked them with a level I found them to be still nicely vertically aligned. I would be able to use them for the new gate. I now had to find a hinge which would allow me to re-use the hooks and have the possibility to regulate the leaves’ position. I needed to regulate the leaves in their horizontal position so they would be symmetrical between the fence posts and match up nicely in the middle. I also needed to regulate the vertical inclination of the leaves so they would match up on the same level in the middle.
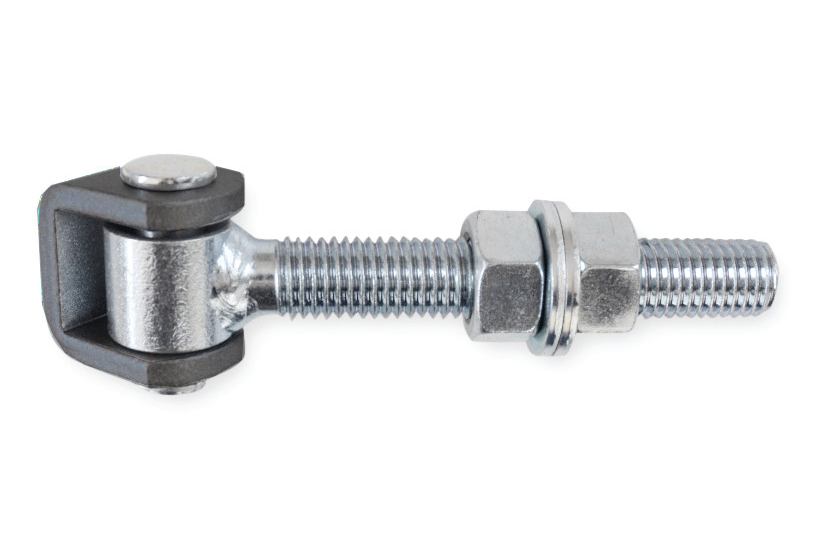
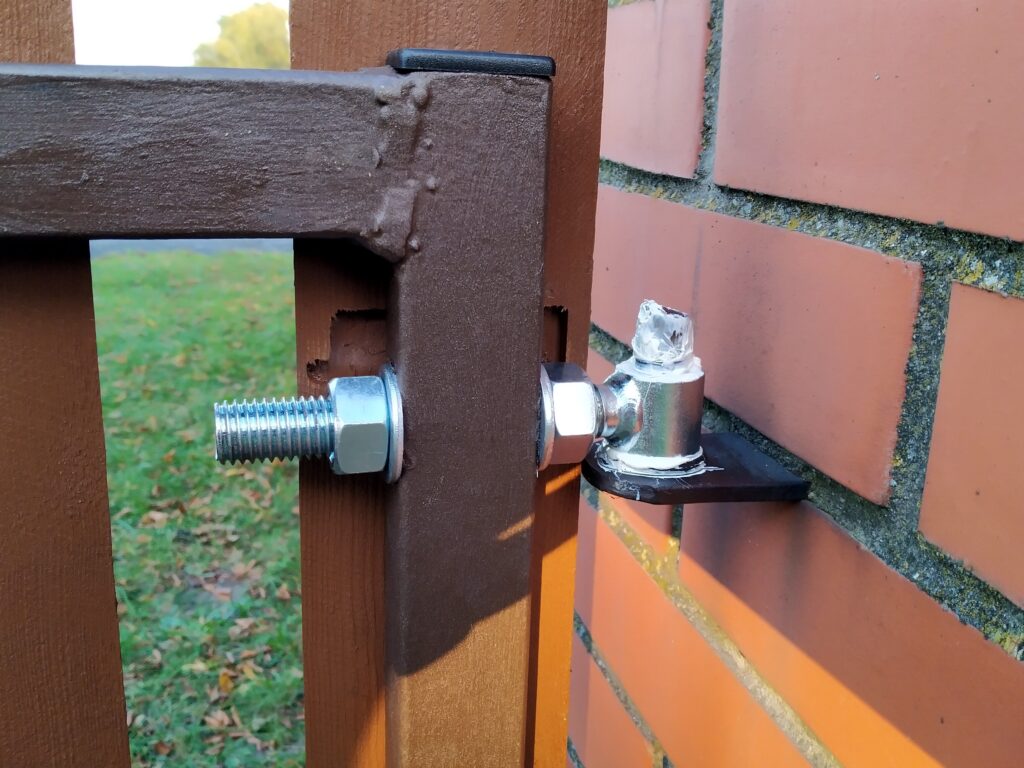
I found these hinges and decided to install them in reverse from the usual way. Normally, the threaded part screws into the gate post, while the bracket is welded onto the gate. By flipping the setup, they work perfectly for my application.
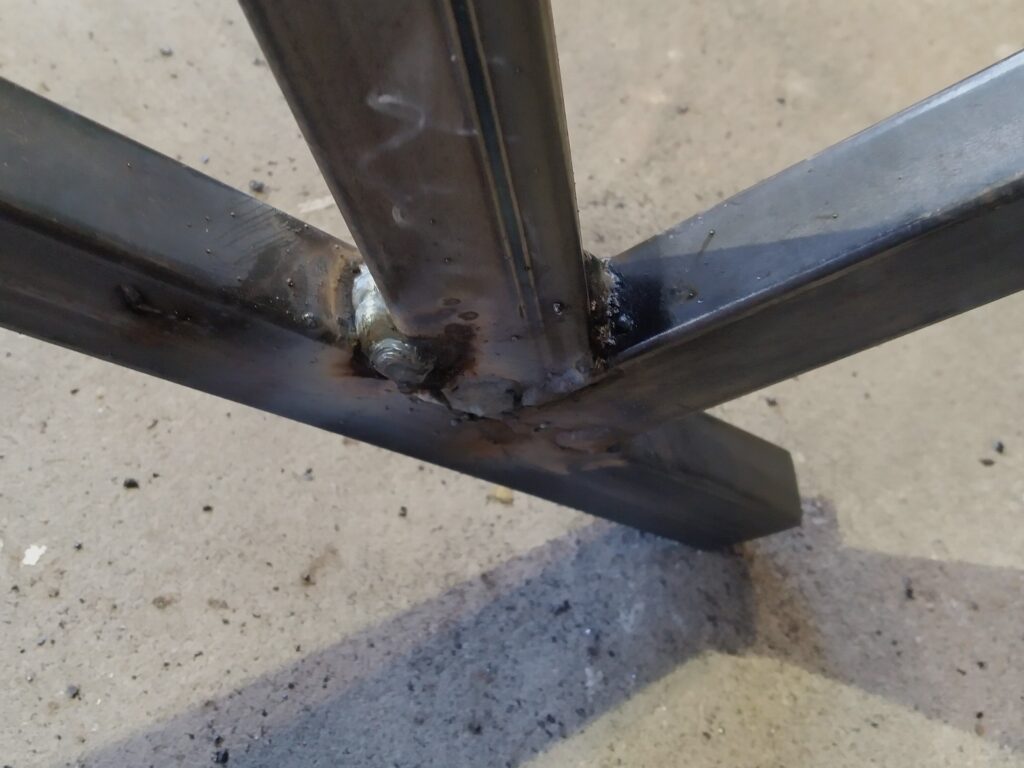
The hinges have an M18 threaded rod approximately 100 mm long. This allows me to easily mount them into the gate’s narrow 40 × 27 × 2 mm metal frame without any issues. The threaded rod provides excellent fine-tuning of the gate’s position for a perfect fit and alignment.
When the hinges arrived, I noticed the hinge pin was 15 mm, while the original gate hooks were slightly larger. I carefully drilled the hinges out to 16.5 mm to ensure a good fit.
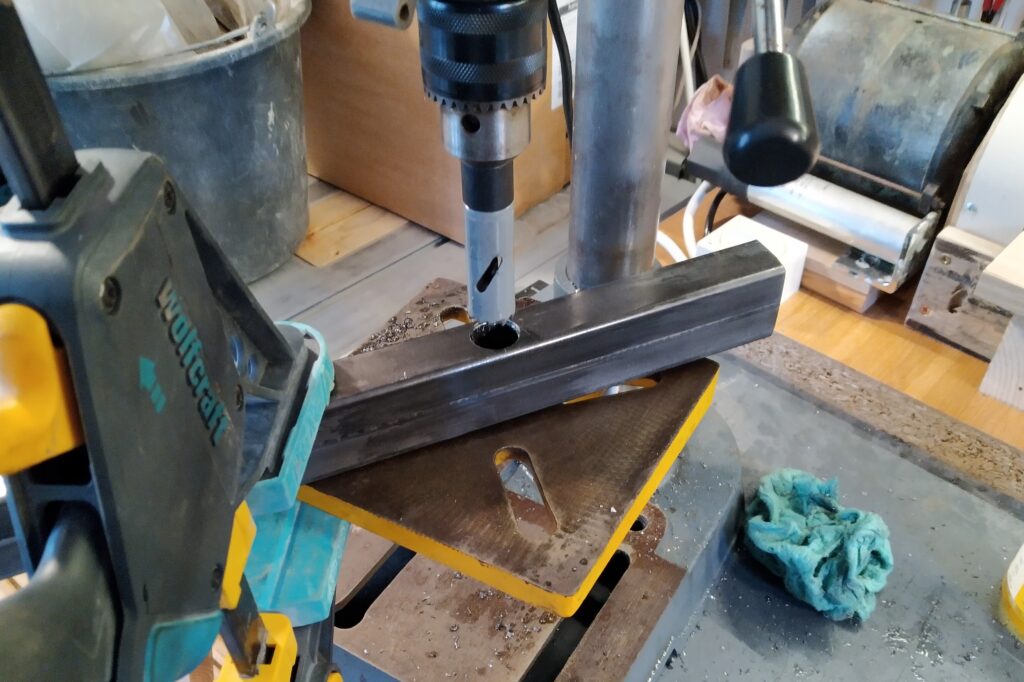
To mount the hinges into the gate frame, I drilled 20 mm holes in the stiles. I made them slightly oversized on purpose to allow some play when hanging the gate on the hooks. Once the threaded rods are tightened, the play disappears and the gate sits firmly in place.
The metal frame
Once all the profiles were cut to length and the hinge holes were drilled, I started welding the frames.
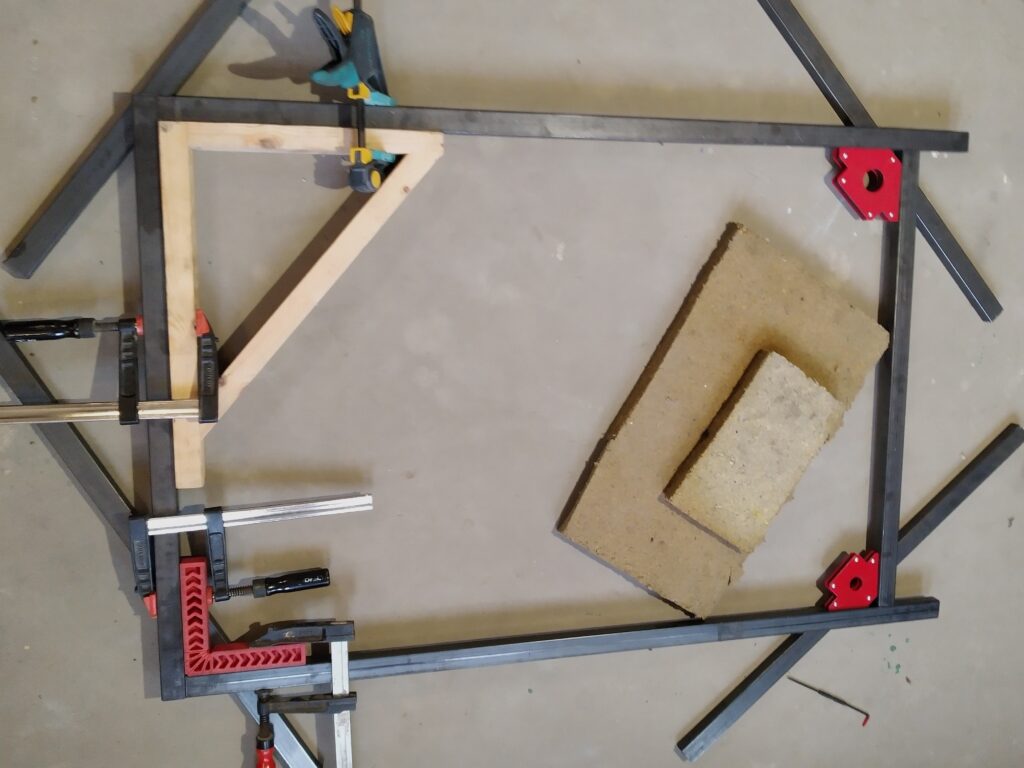
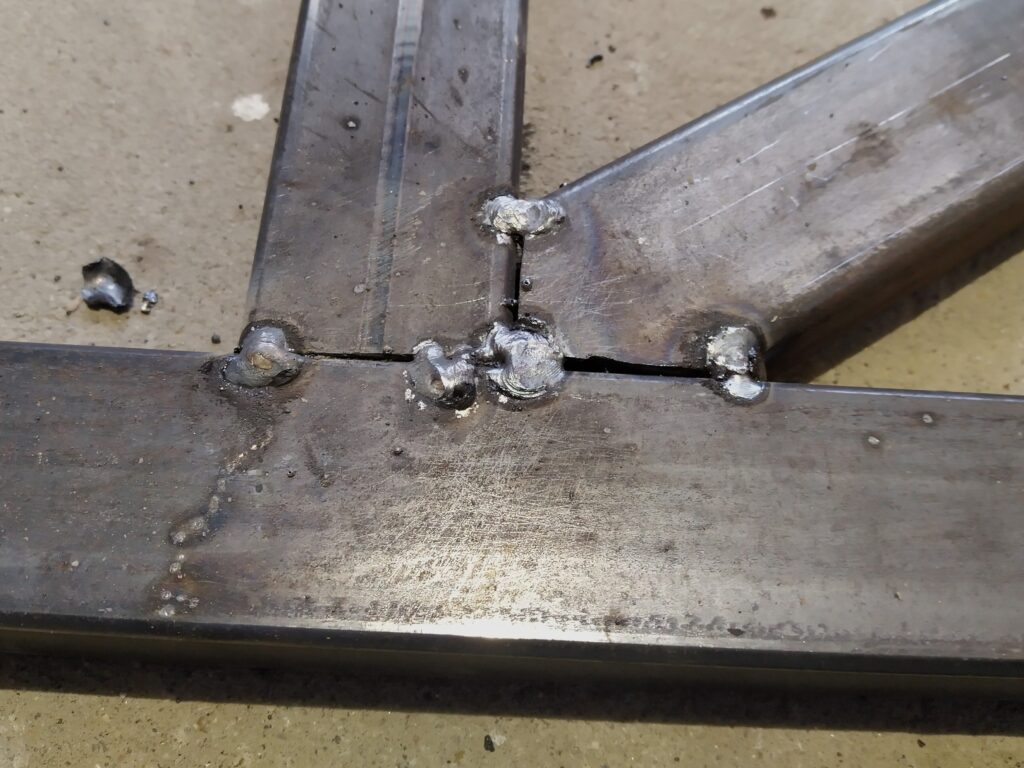
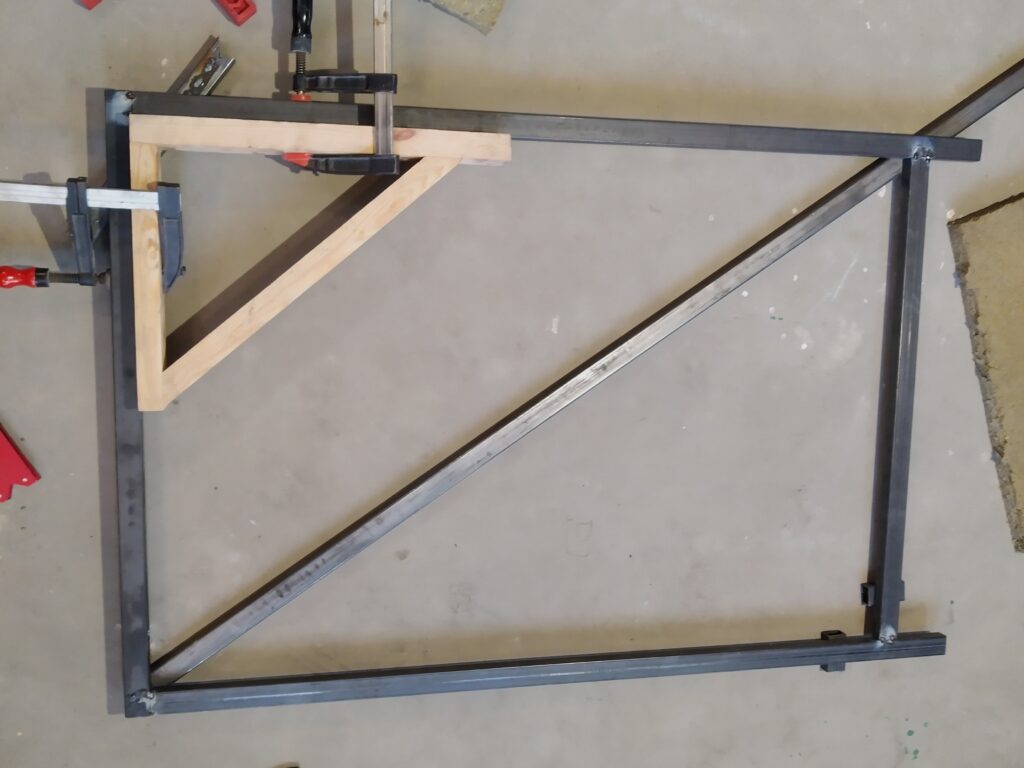
First, I positioned the four profiles to form the rectangle and carefully checked that everything was square. I then tacked all four corners on one side, flipped the frame over, and tacked the corners on the other side.
Next, I measured and scribed the exact length needed for the diagonal brace on a fresh piece of profile, cut it to size, and fitted it in place. I tacked the brace on both sides as well. With the frame fully tacked and stable, I completed all the final welds.
I repeated this entire process three times — once for each of the two main leaves and once for the pedestrian gate. On one of the main leaves, I also welded two plates at the end to serve as catches for the second leaf.
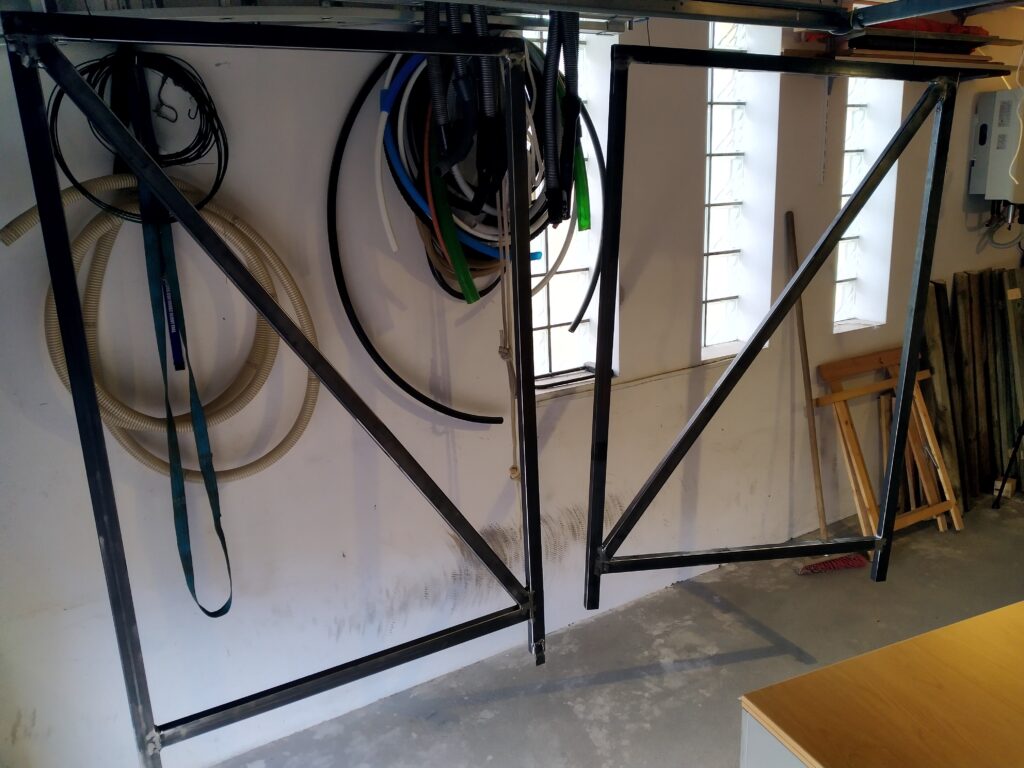
Once the frames were complete, I suspended them from the metal hooks through the hinge holes. I then thoroughly degreased all surfaces and applied two coats of Hammerite “Direct to Rust” metal paint.
The pickets
As mentioned earlier, I found half-round pickets that closely matched the width of those on the existing fence. I cut them to the required length and angled the tops at the same incline as the original fence to promote better rainwater runoff.
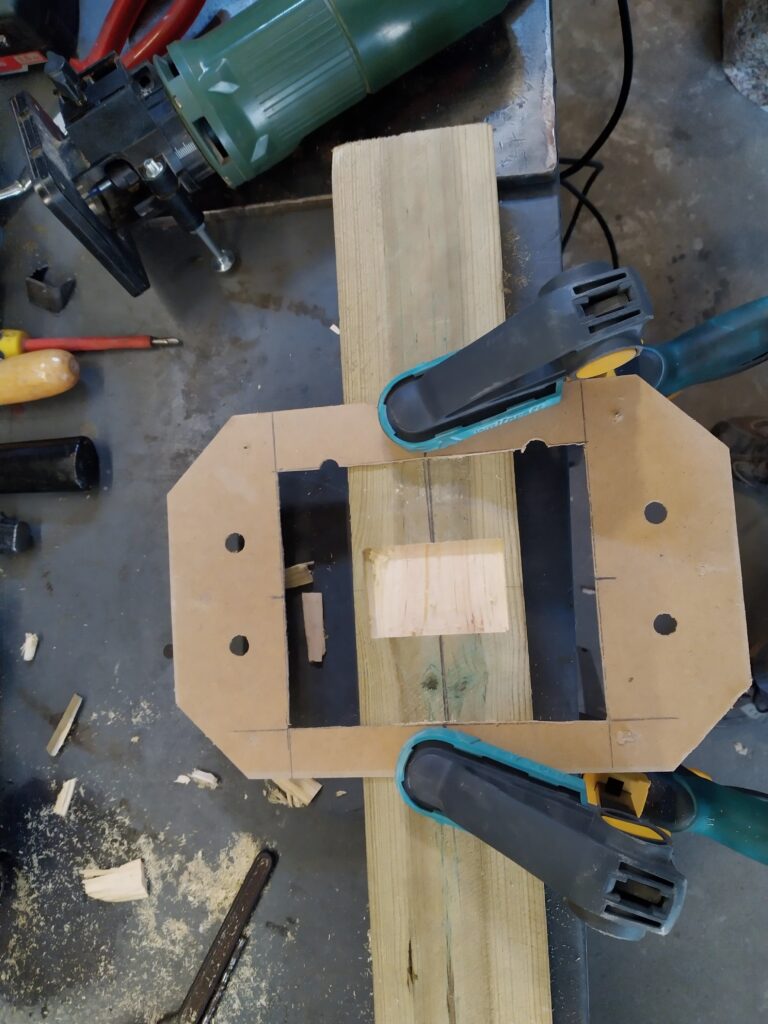
Because the M18 bolts and washers are 34 mm wide — wider than the 27 mm thick metal frame — I had to create recesses in the pickets at the hinge locations. This allowed the hinges to be properly assembled and adjusted. I made a simple template for my router and quickly cut out the recesses.
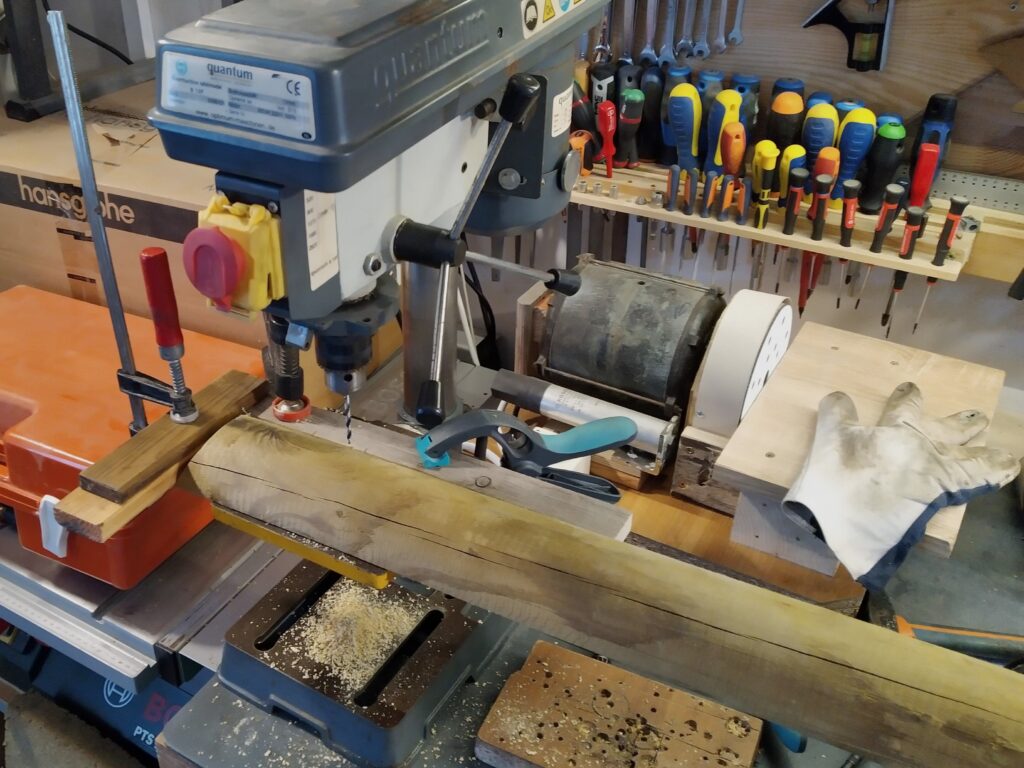
I set up a fence on my drill press and drilled four mounting holes in each picket for the screws that attach them to the frame.
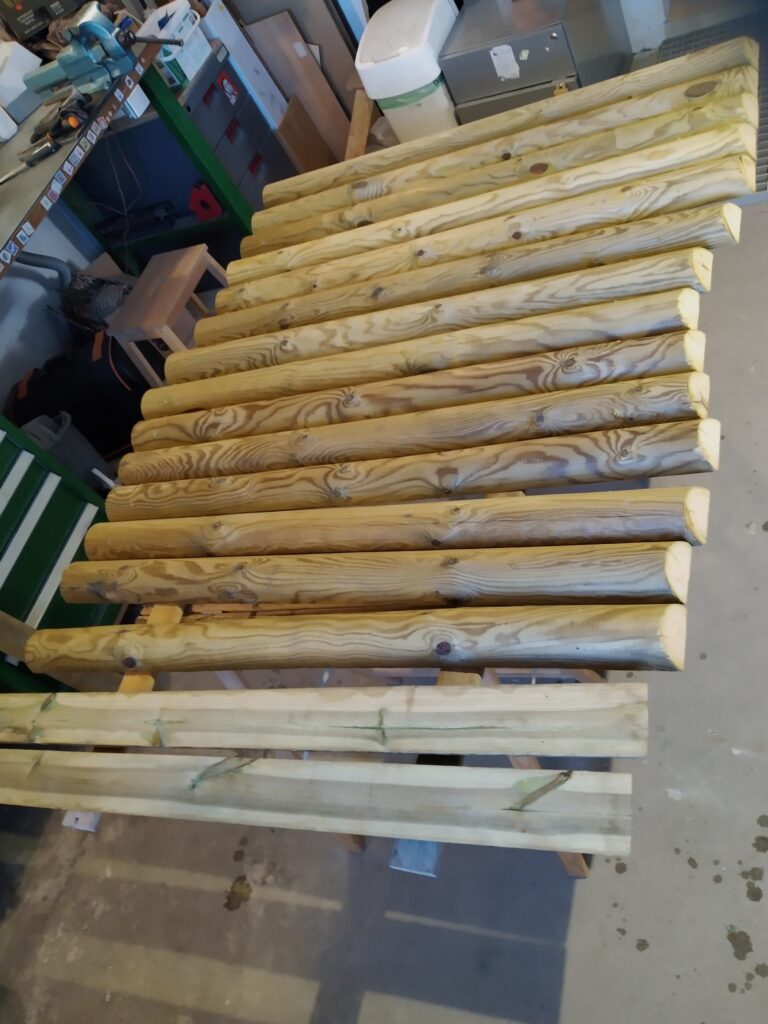
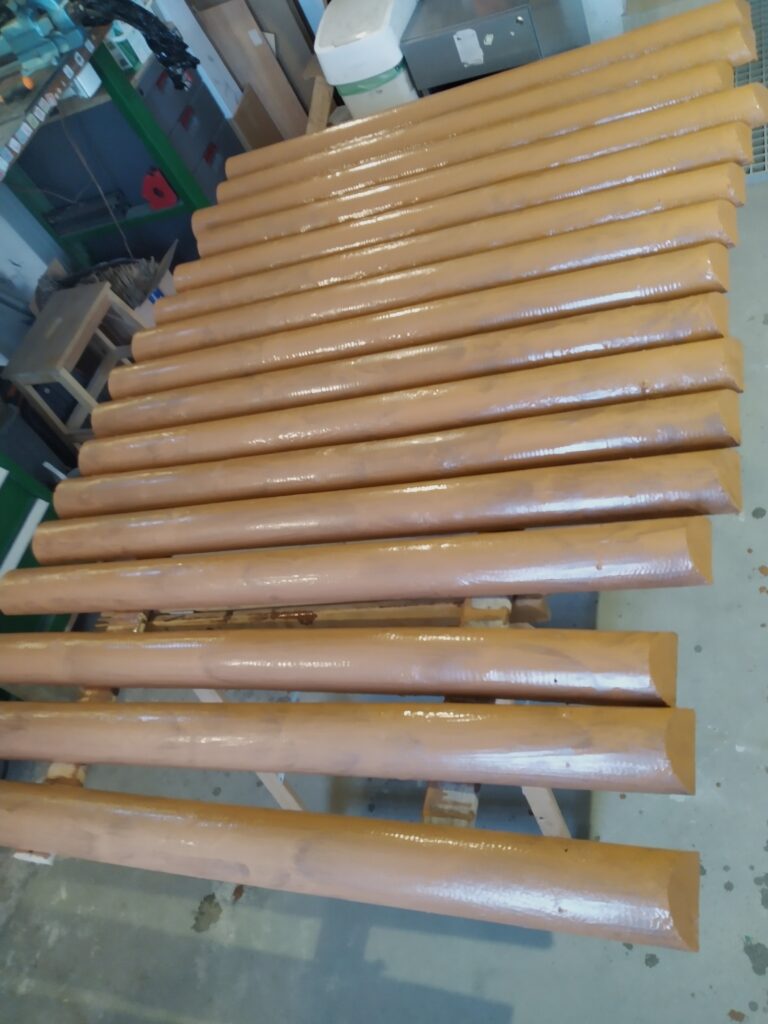
Once all preparatory work on the pickets was finished, I gave them two coats of Sadolin SuperBase, a technical wood impregnator that penetrates deeply and protects the wood against fungi. I then applied two coats of Sadolin Impregnat Garden, a coloured penetrating woodstain for exterior garden use.
I really like both products for outdoor use. They are highly fluid and flow beautifully into every nook and cranny — you can literally see the wood soaking them up.
Assembly
To attach the pickets to the frame, I considered several options. Using flat-head bolts with nuts would have provided a very solid fixing, but it would have left a visible row of nuts on the inside of the gate, which wouldn’t look clean.
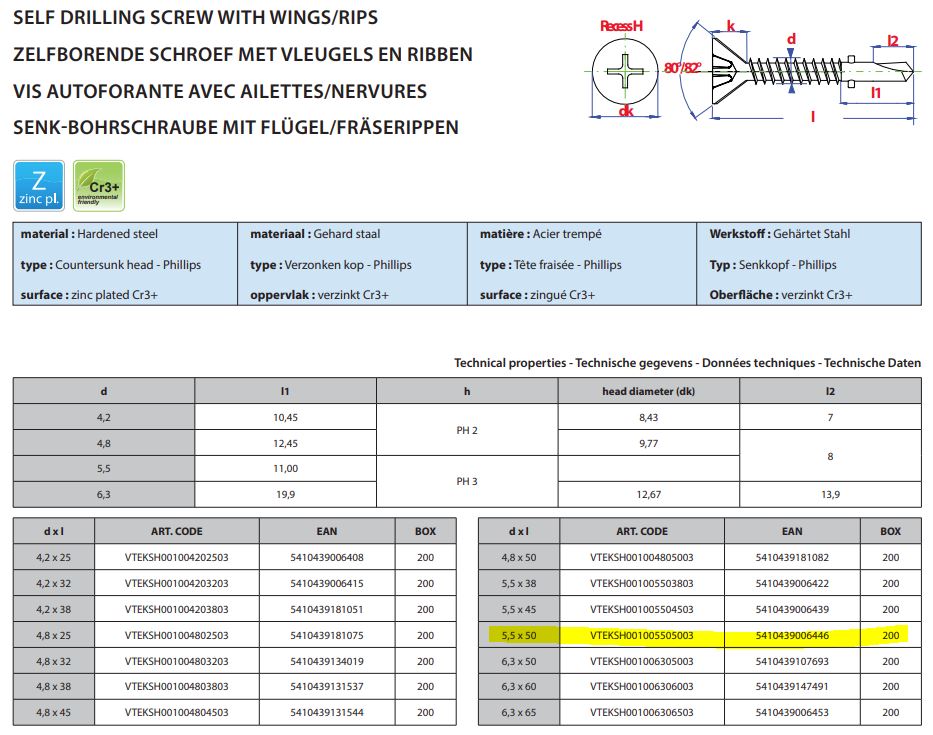
Instead, I opted for self-drilling screws. By carefully selecting the correct length, I could ensure the screws would not protrude through the back of the frame. This proved challenging because the steel profile is only 27 mm thick. I needed a screw with a drilling tip short enough to allow the threaded section to fully engage the metal and clamp the wood tightly, without breaking through the opposite side. I eventually found a suitable self-drilling screw that also featured reamer wings to clear a clean path through the wood. Since the half-round pickets are curved, accurately starting the screws by hand would have been difficult, so I pre-drilled all the holes on the drill press (see above – The pickets) for a precise and consistent finish. For extra strength and rigidity, I used four screws per picket instead of two.
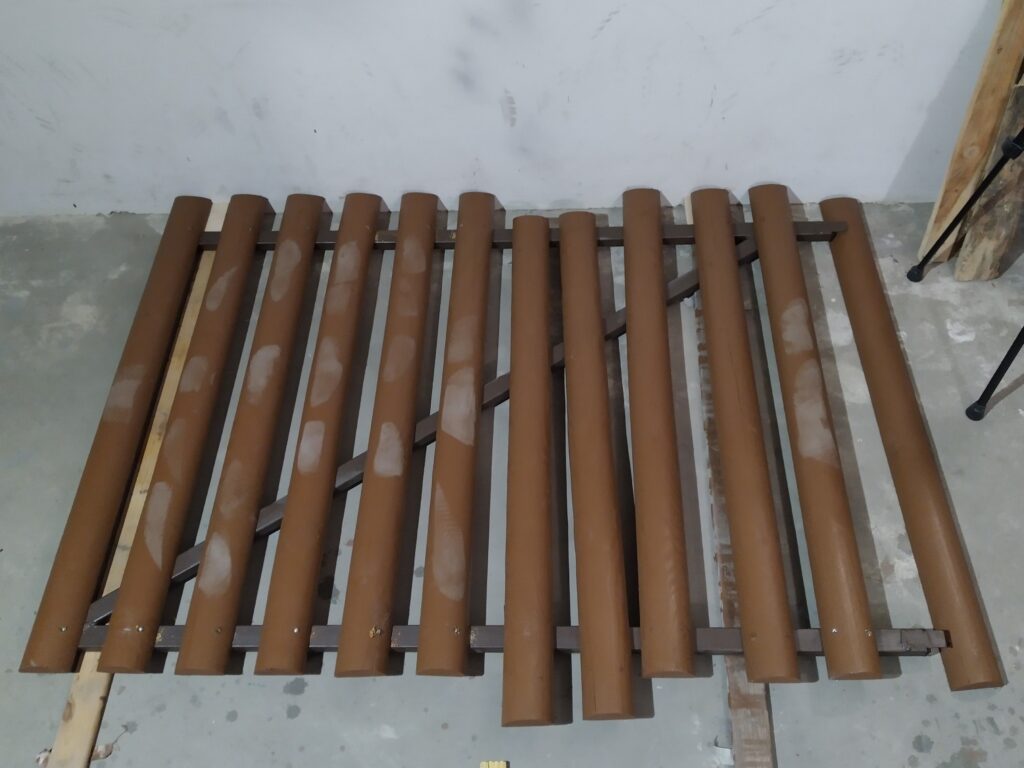
To keep the pickets perfectly aligned, I positioned the frame parallel to the wall at the correct distance and used the wall as a guide by pressing the tops of the pickets against it. I took particular care to space them evenly. Since I had walked on the pickets during installation, I quickly touched up the scuffed areas and painted over all the screw heads.
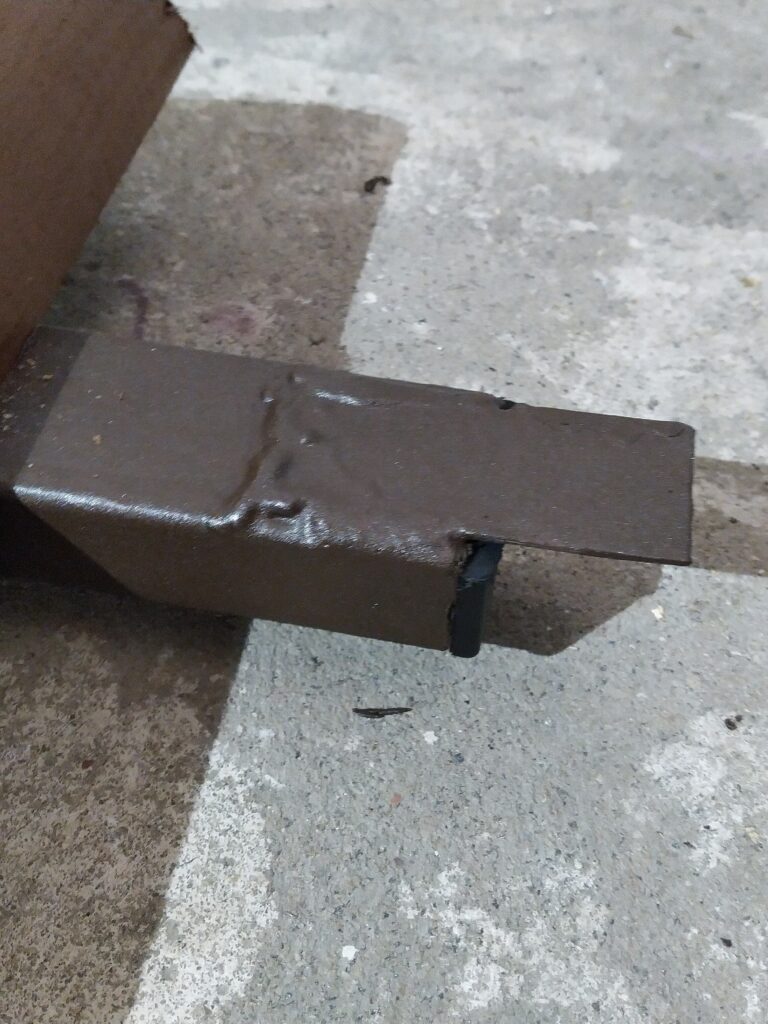
The middle picket, which covers the catches, could only be secured with two screws. For extra rigidity, I replaced them with flat-head bolts.
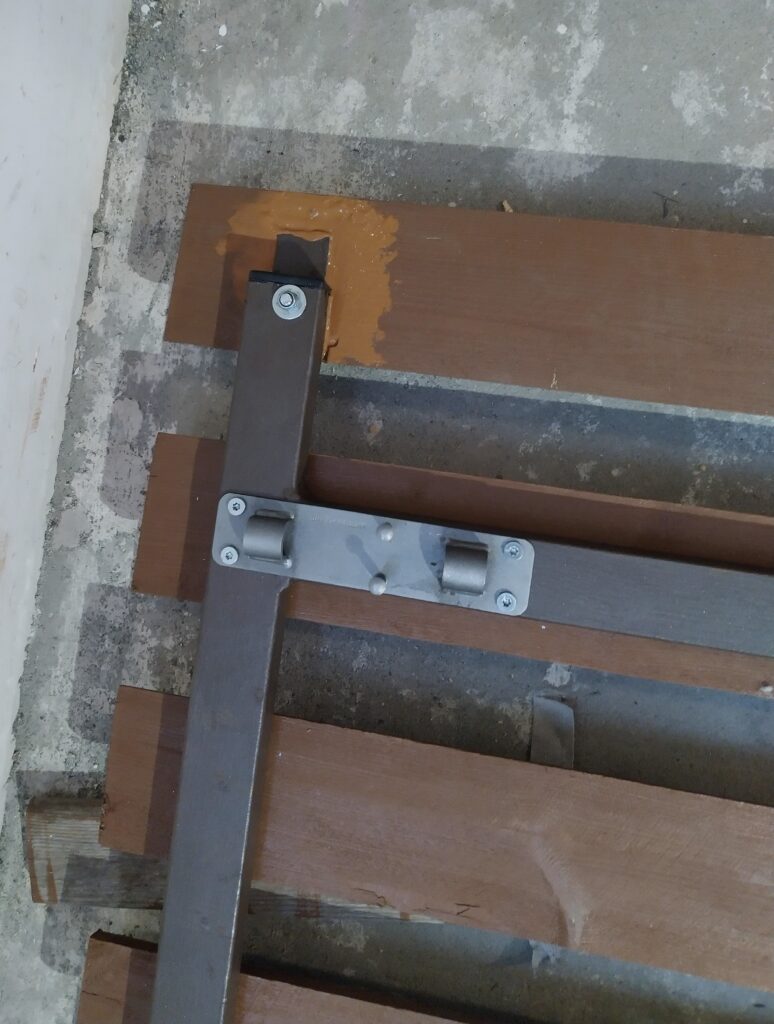
Finally, I attached the holders for the drop rods and latch bolt with self drilling screws, then painted them to match the frame.
Intermezzo: Refurbishing the old fence
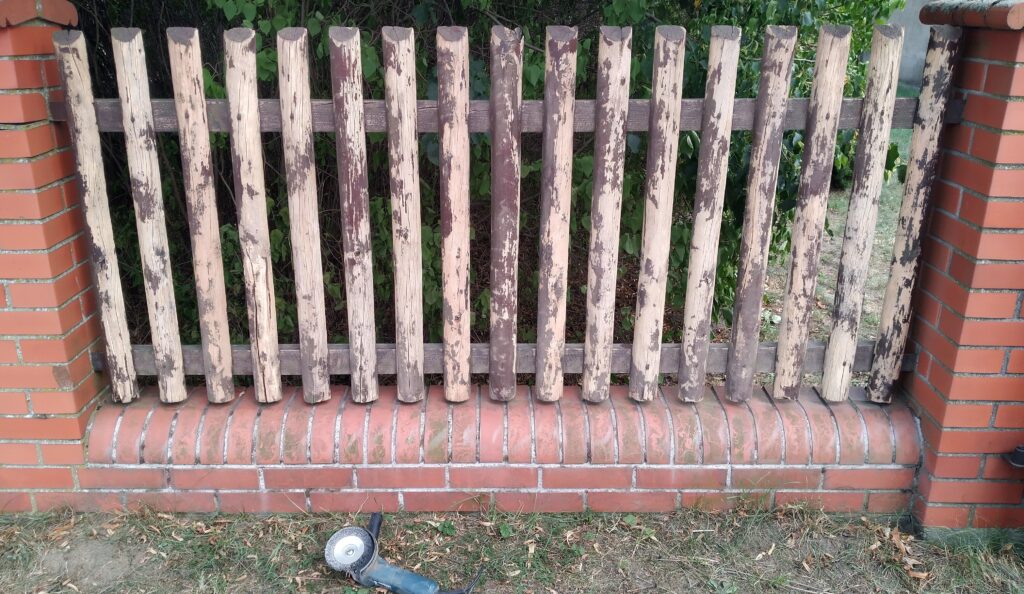
To clean the old fence, I skipped the sander and instead used a steel brush mounted on my angle grinder. This method is far more aggressive than sanding. In addition to removing old paint, it also strips away rotten or loose wood. It allows much better access into corners and tight spots, and above all, it’s significantly faster.
Safety note: Make sure to wear proper protective equipment — preferably a full-face shield — as old paint, wood particles, and steel wire bristles will be flying everywhere.
Side note:
Although I’m no paint expert, this is based on common sense and what I observed:
When I cleaned the old fence, it became clear that it had originally been treated with a film-forming wood stain. In some areas the old coating is still clinging on, while in others it has completely flaked off, leaving the bare wood exposed and untreated.
For this type of fully exposed garden gate, I believe a penetrating wood stain is the more forgiving and suitable choice. In general, for outdoor timber such as fences and gates, I would almost always recommend a penetrating stain. Film-forming stains only make sense in specific situations where a more uniform, painted-like finish is desired and the wood is not soo much exposed.
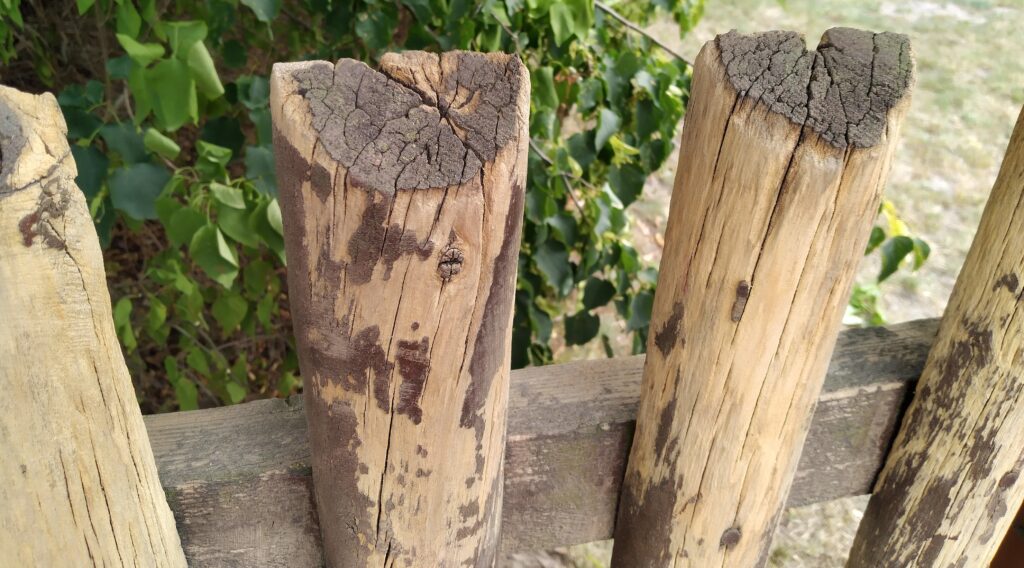
Just like the gate, I first treated the fence with Sadolin SuperBase.
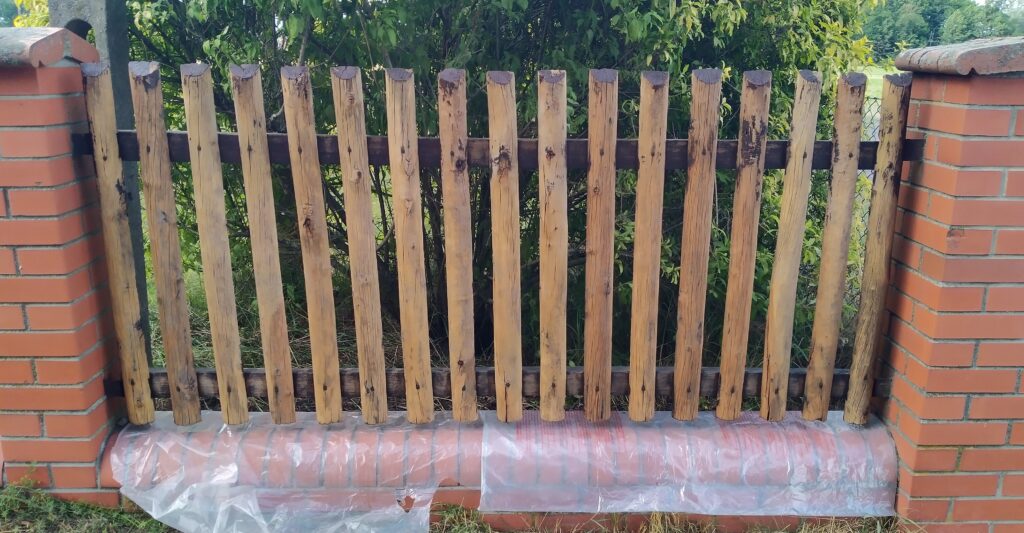
Next, I applied two coats of Sadolin Impregnat Garden to the fence.
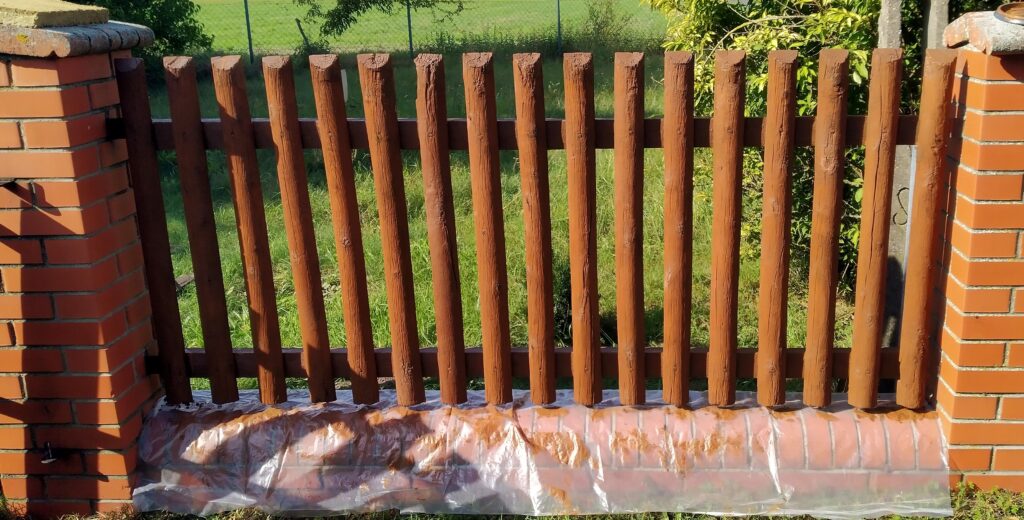
Installing the new gate
While the paint on the fence was drying between coats, I installed the new gate. I removed the old gate from its hooks, cleaned the hooks thoroughly with a steel brush and applied a generous amount of grease. On the new gate, I fitted the hinges to the leaves but left them slightly loose. This extra play made it much easier to lift the heavy leaves onto the hooks. Once both leaves were hanging in position, I tightened the hinges and carefully adjusted them so the gate hung level and the gap between the middle joining pickets matched the spacing of the other pickets. I also checked that every hinge was properly seated on its hook. Where needed, I added a washer and made small adjustments, taking advantage of the play I had built in.
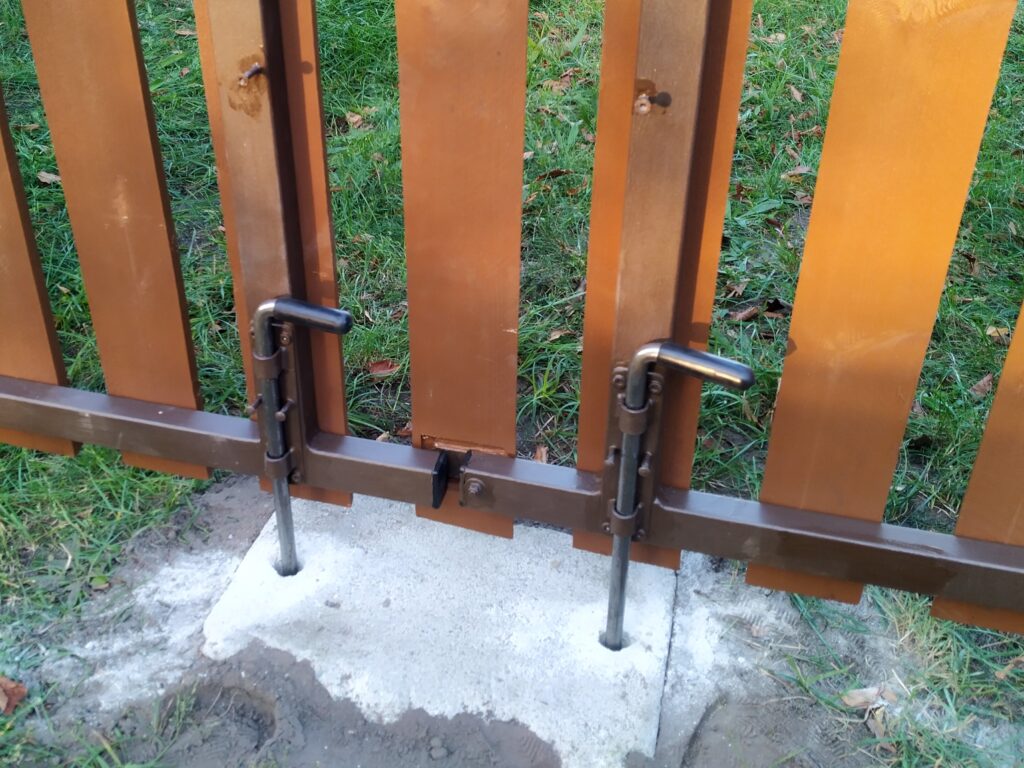
Once the gate was installed, I dug a hole directly under the centre of the gate and placed a large concrete block in it. I lowered the drop rods into position, marked their locations on the block, and drilled the corresponding holes. Next, I raised the drop rods to their highest position and secured them with two self-drilling screws. These screws act as stops to hold the drop rods up when the gate is opened.
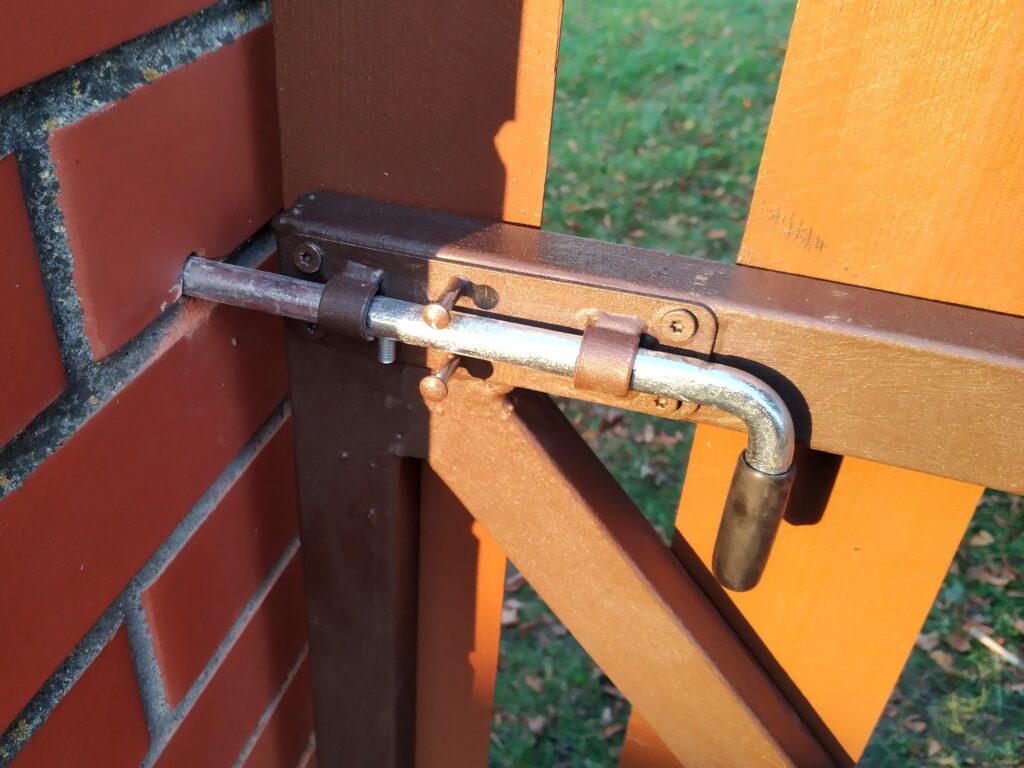
Next, I marked and drilled the hole for the pedestrian gate latch. To finish, I used the same metal paint to touch up any areas that needed it.
The result