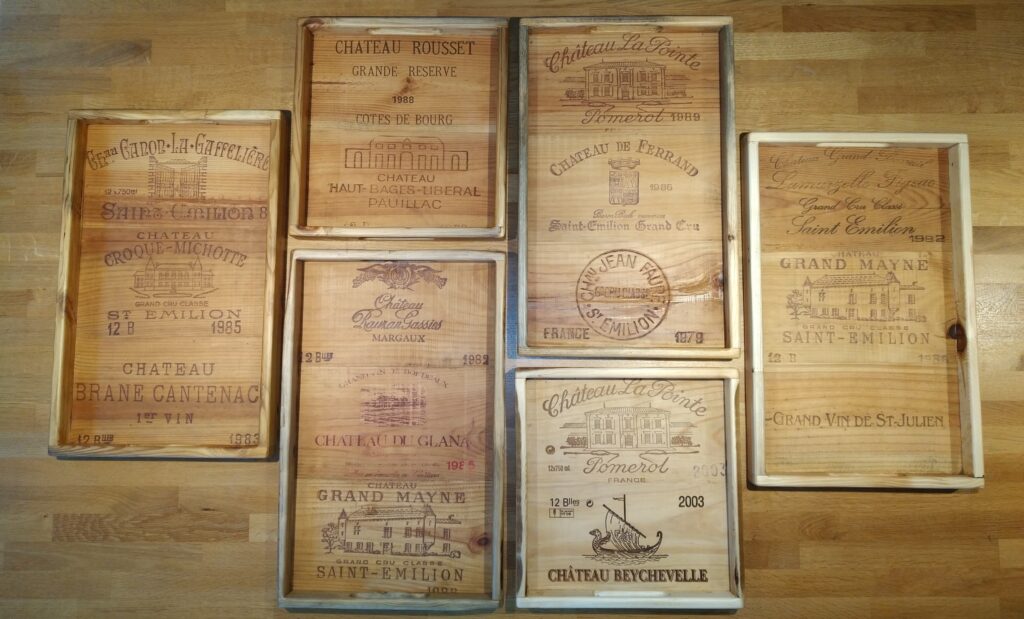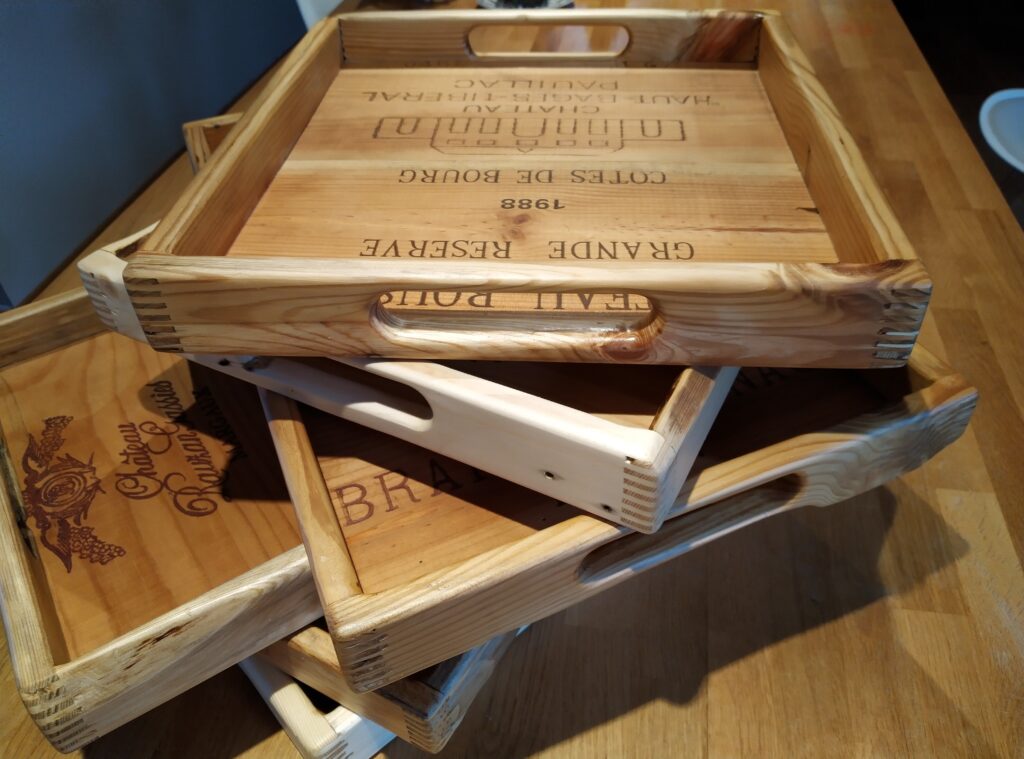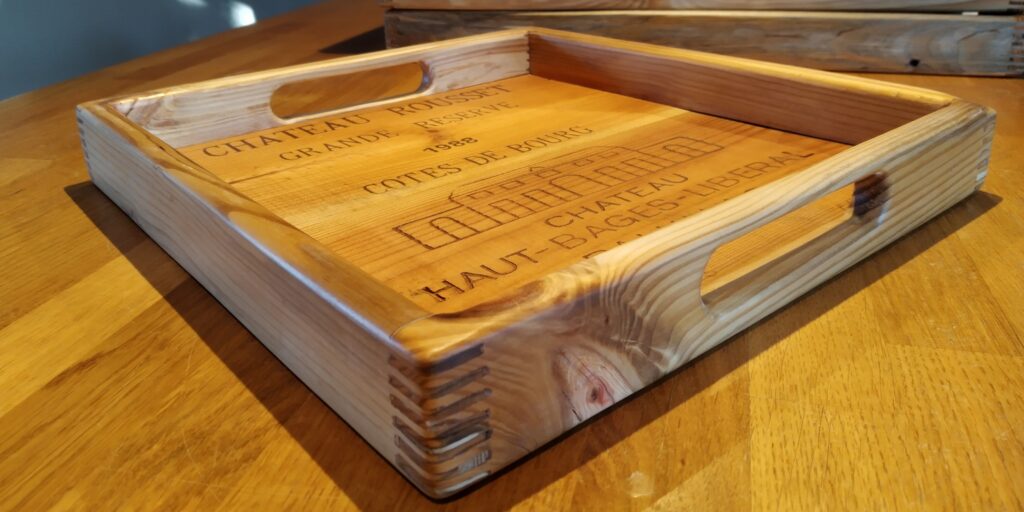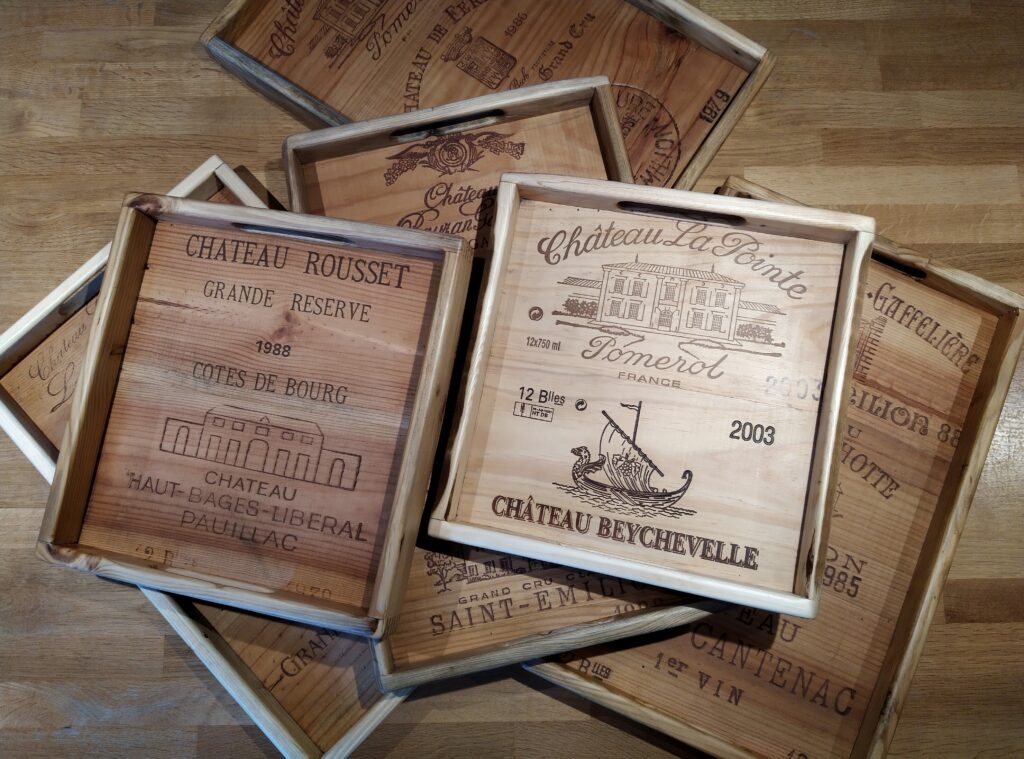

I had some old wine crates and I was wondering whether I would not be able to make a serving tray out of them. It would surely be a nice present for a wine loving family member.
My plan was to make the bottom of the tray of glued up wine crate sides which have the name & logo of the domain printed/burned on them. For the sides of course I wanted to use pallet wood. When carefully selecting the boards, I can add just the wanted amount of weathering and give the serving trays some character. And besides, I have plenty of them available 🙂
The bottom
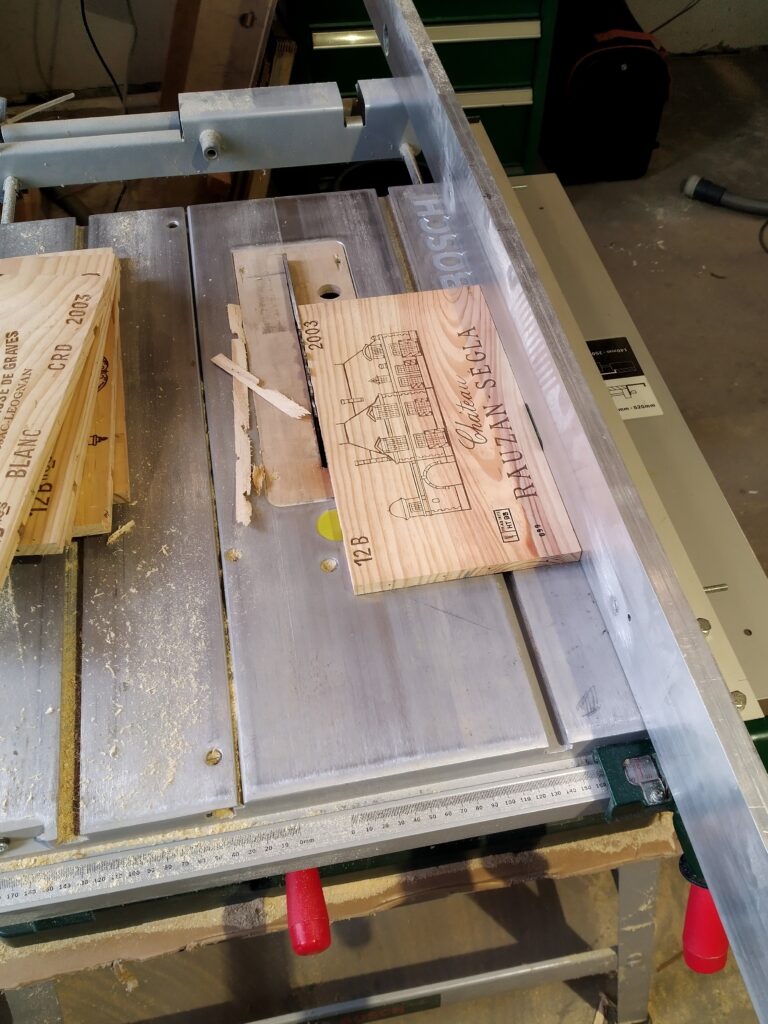
As one side panel of a 6 bottle crate would give a rather small serving tray I had to glue some of the panels together. I decided for 2 models, a bigger one with a 3 panel bottom and a smaller one with a 2 panel bottom. To glue the panels together I first straightened their longitudinal edges and cut them to equal width on the table saw.
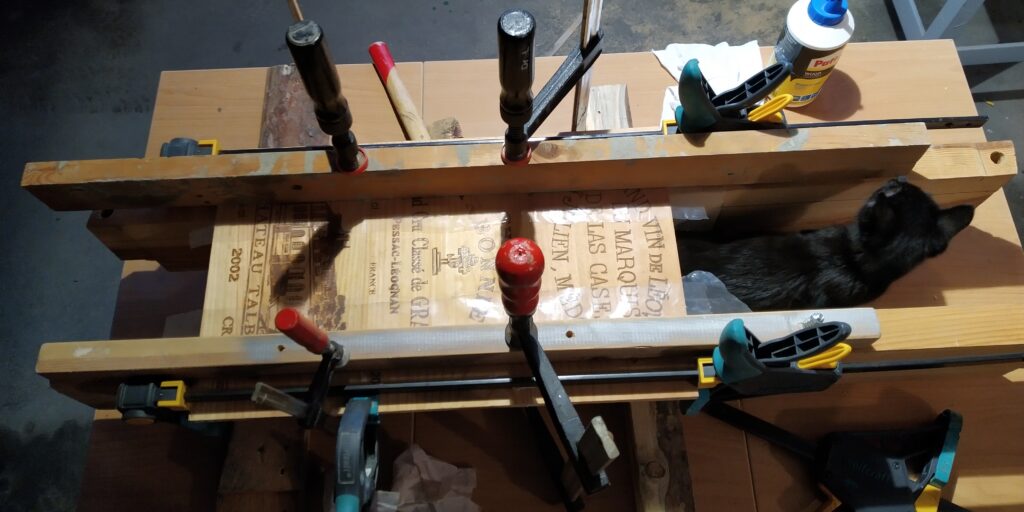
Next I glued the panels together making sure to wipe off any excess glue with a damp cloth as I want to limit sanding the top of the panel to a minimum as not to damage the print.
When all is dry, I give the back a rather thorough sanding with 120 and 240. If on the top remains any glue, I sand it away locally with 120 and then give the whole top a slight sanding with 240.
The sides
As previously mentioned, for the sides I prefer to take pallet wood. The weathered look really goes nicely with the wine crate bottom. First I select some boards with a uniform thickness, I put a straight edge on one side and I rip them down to 4.5 cm. That’s about the minimum height I need to fit the bottom and have room for a sufficiently big handle.
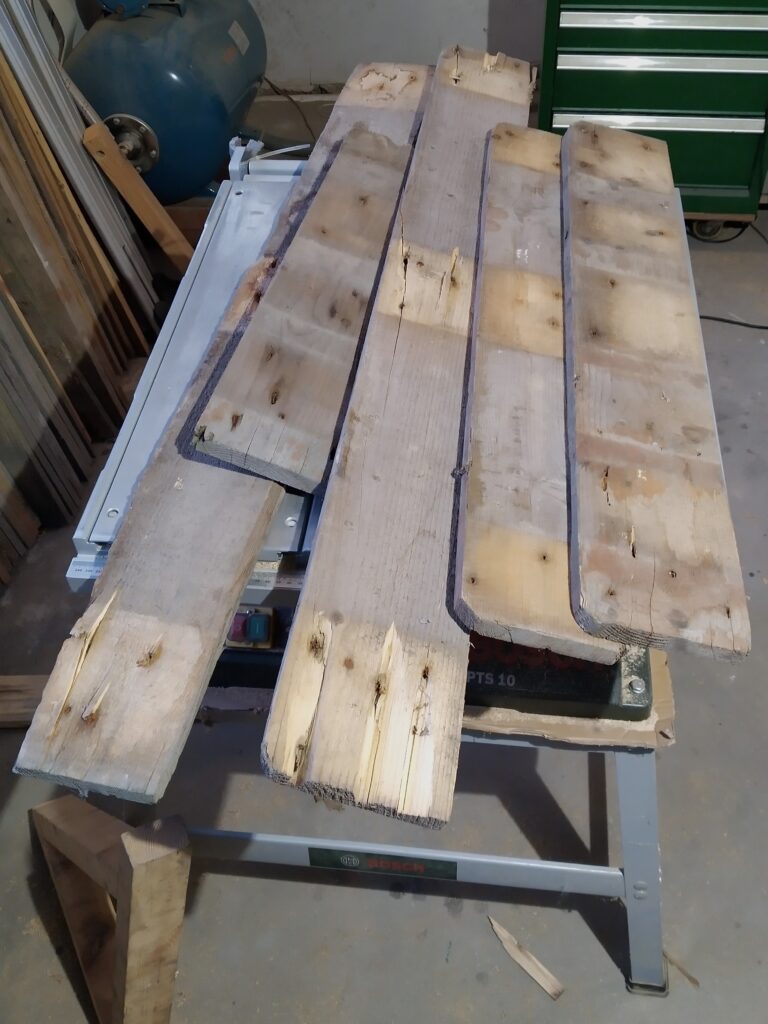
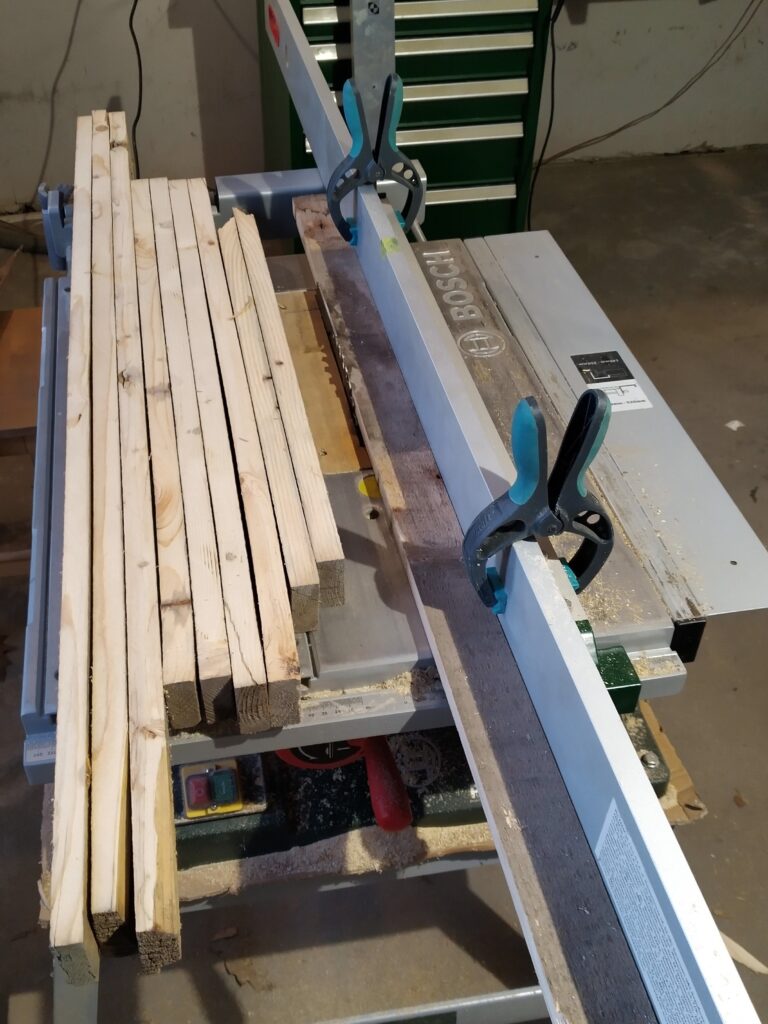
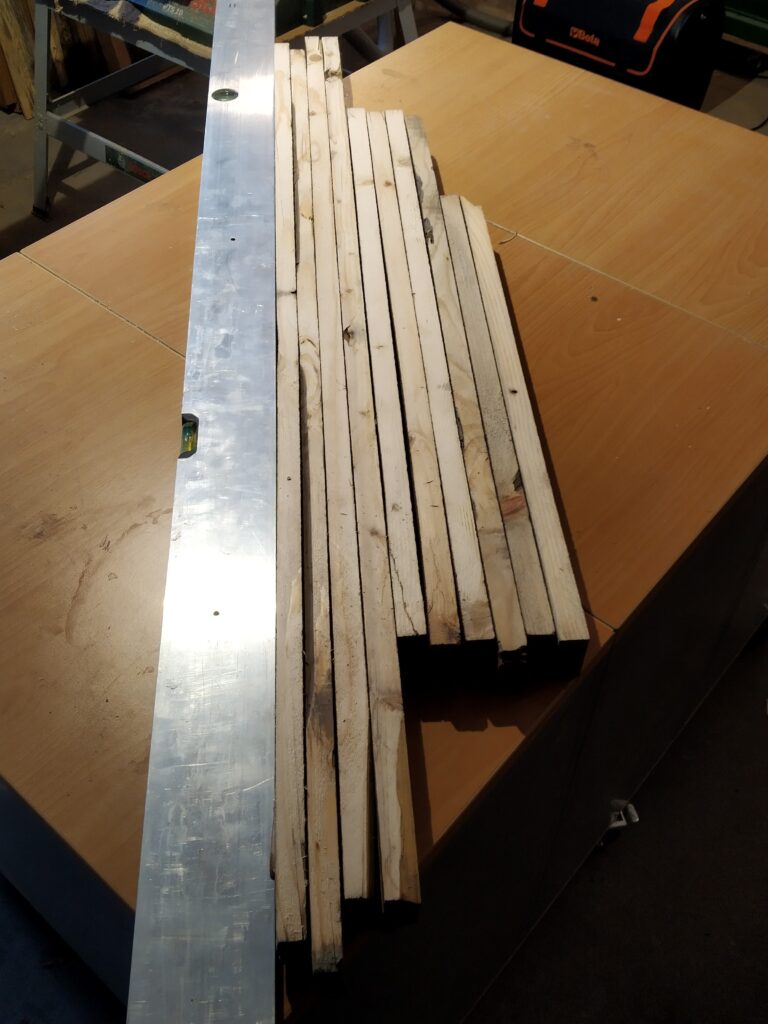
Once all of them are ripped to the right width, some of the boards are bowed and the surfaces require straitening out and all still require a surface cleaning.
I have developed a process to straighten out the surface of boards on my circular saw.
1. First I organise all the boards with the concave edge to one side.
2. I put a long level on my circular saw’s guide to make it longer.
3. I then put my circular saw guide (+level) close enough to the saw that the most bent board just not goes thru.
4. I then, gently, feed all the boards thru with the concave side towards the guide without really pushing the board against the guide. So it keeps it bent shape going thru and the saw chips off a little where the convex side sticks out the most. (just like a planer)
5. Once all the boards are fed thru, I move my guide just a notch closer – maximum 1mm.
6. I repeat the whole process, feeding all the boards thru with the concave edge towards the guide.
7. I keep on repeating moving the guide a notch closer and feeding the boards thru until the saw takes of just a little over the whole length of all the boards. At this point, the convex side has basically turned into a straight side (sufficiently straight for what I need).
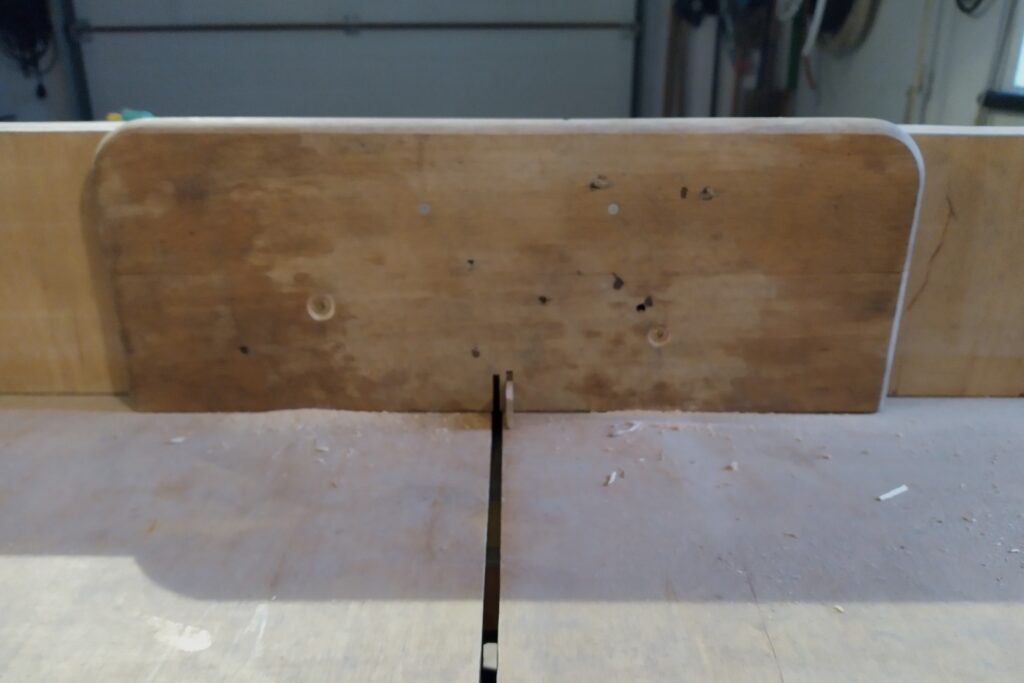
The picture on the right shows my setup. As this whole process is repetitive I tried to make it as convenient as possible.
Two feather boards keep the board pushed against the table saw.
At the front is a small piece of wood. It is important that this doesn’t push against the board. There is a tiny gap. It is just there to help me guide the board in the right position and it protects me from going to far with my fingers. As it is a highly repetitive process I might loose my concentration during it.
This is a highly wood chips and dust producing process, just like feeding a board thru a planer
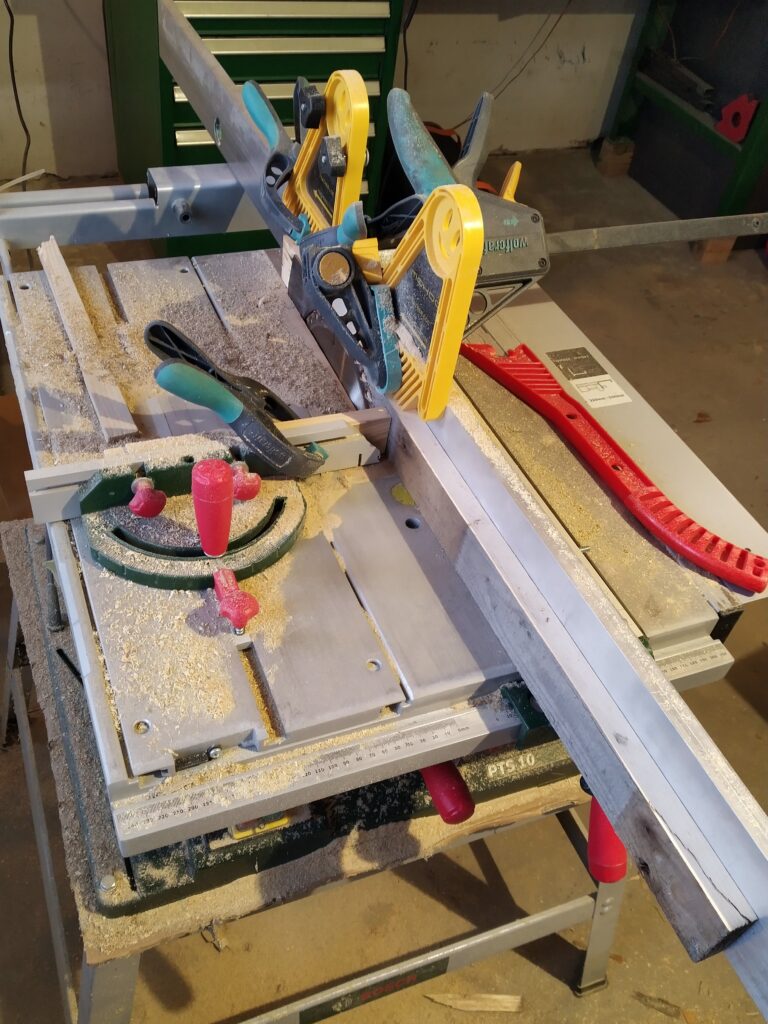
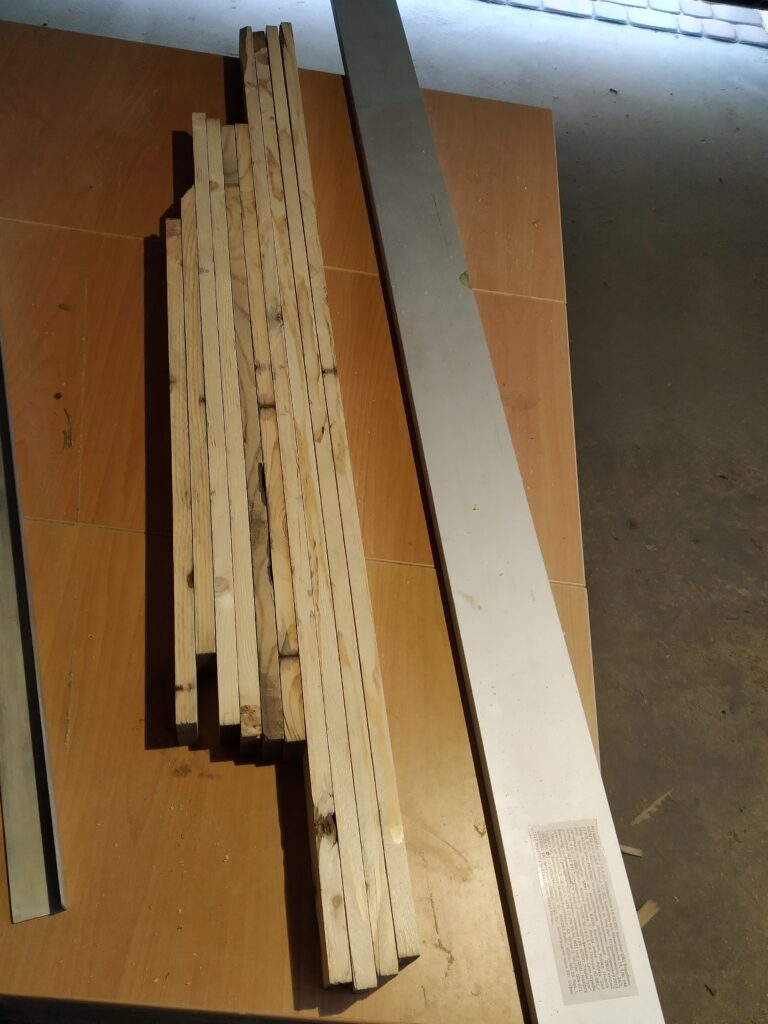
Once the convex side of the boards has been flattened out I flip the boards over and repeat the whole process to flatten out the concave side. I now feed the boards thru the saw with the flattened side against the guide.
In the end the boards I obtained had a thickness of 16mm. (For the serving tray, anything above 12mm will do.)
As the boards are now clean on both surfaces and edges I can easily check for big long checks and shakes at the end of the boards. Those would make the boards basically useless of my needs, so where possible I glue them together.
Then I gang sand all the surfaces and edges. First with 80 grit and then with 120 and 240 grit. Every time it keeps on amazing me that such grimy looking old pallet boards can become so beautiful after some sanding.
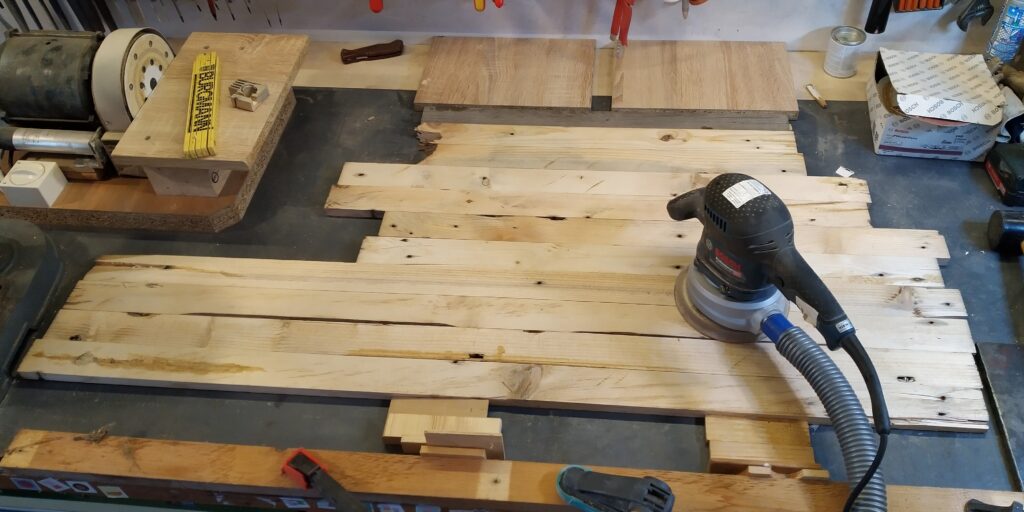
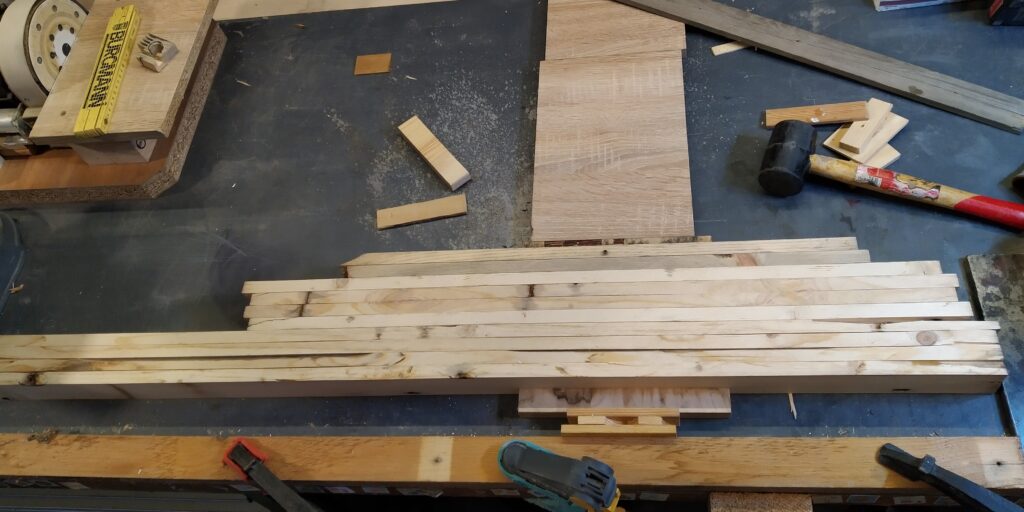
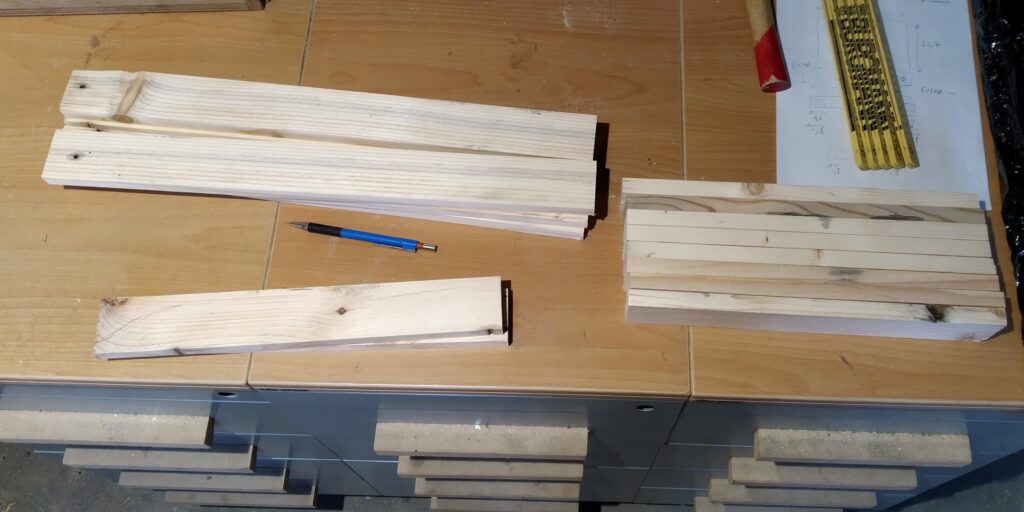
Once the sanding is complete I inspect all the boards carefully and decide which piece to use where for each tray. It is important that the pieces for the handles are solid and without major flaws where the handles will come. For the other sides it is less critical. The bottoms in itself are already quite strong and when glued together with the sides, even if they have some defects, everything becomes super solid.
When I know which piece will go were I cut them all to length on the table saw. To determine the correct length a little calculation is needed. The bottom will go about 4 mm into a slot which will be cut into sides and I plan to join the sides with finger joints. I will make the fingers about 2mm longer which will be sanded off afterwards – better a little too long than too short in this case. So the length of the piece that needs to be cut is : width/length of the bottom – 2x 4mm + 2x thickness of a side board +2x 2mm.
The handles
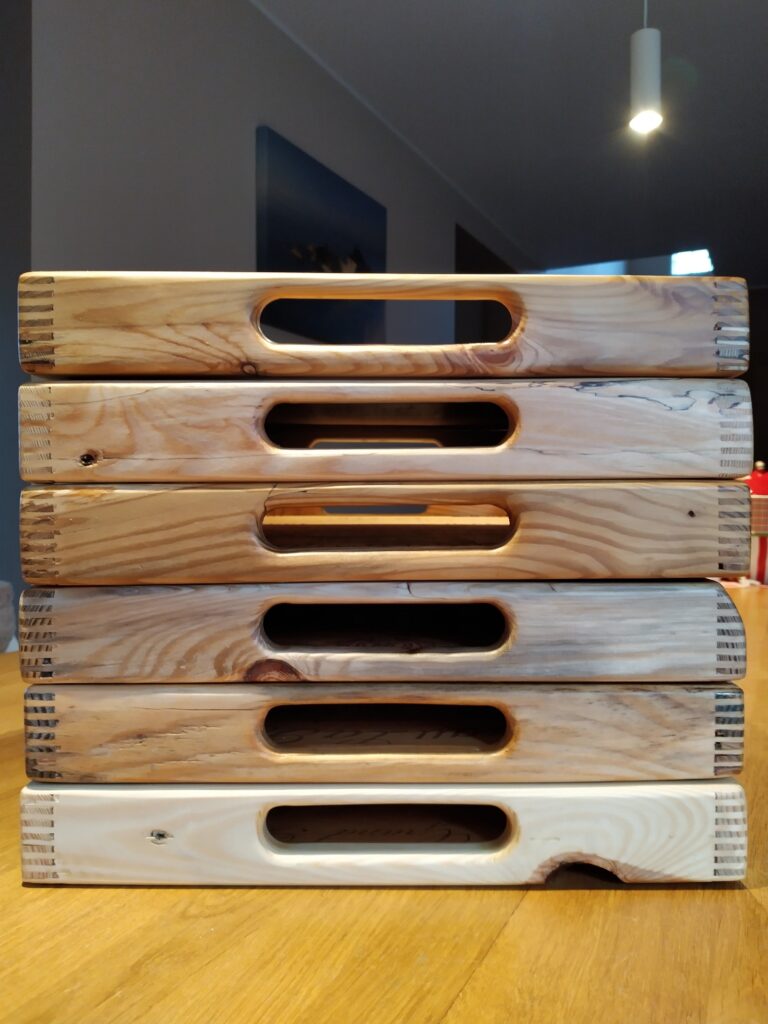
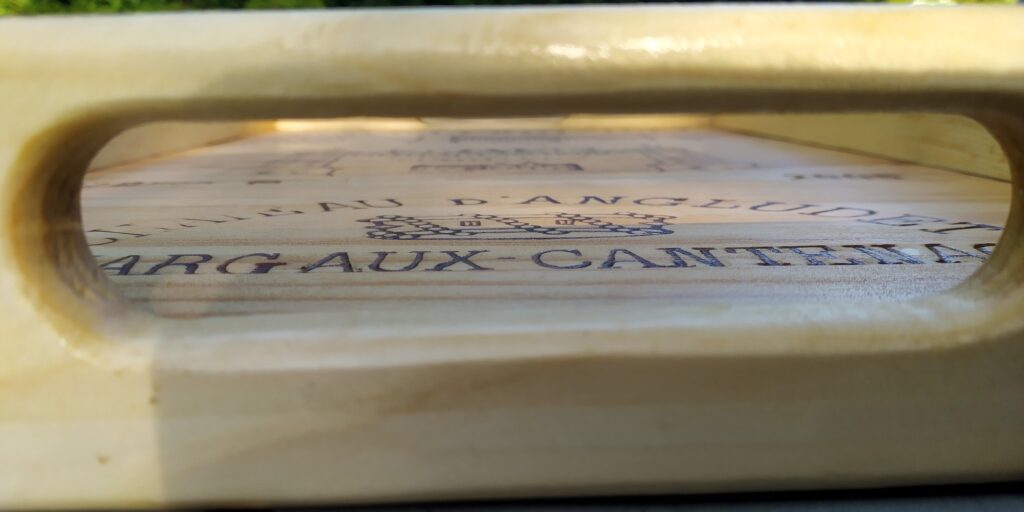
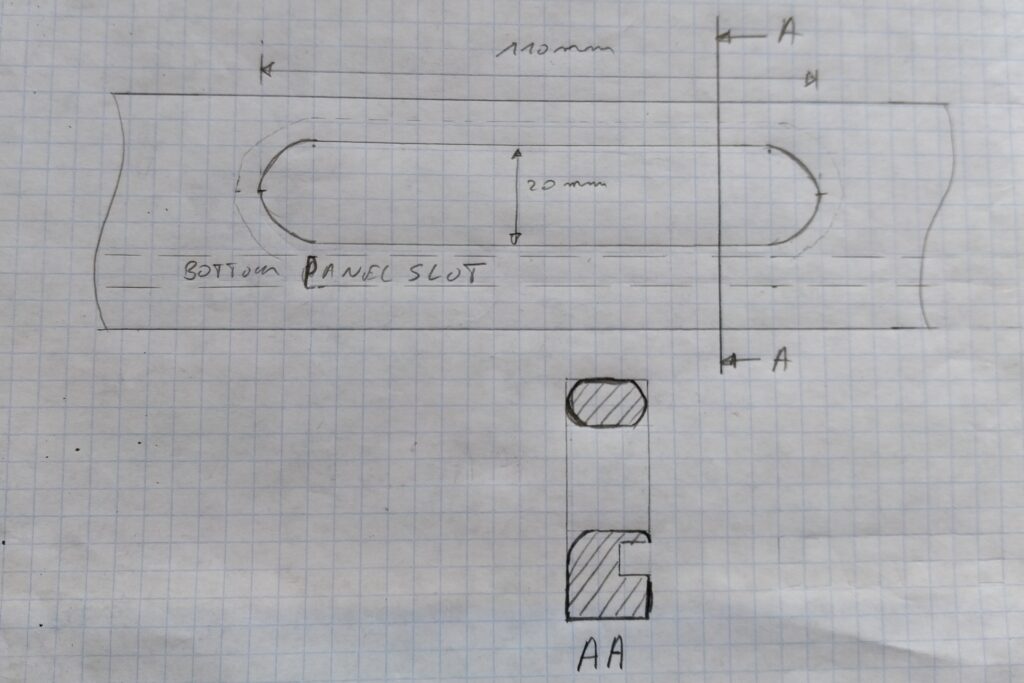
For the handles I make a hole in the corresponding side pieces about 11 cm long and 2 cm high/wide. The centre of the hole is situated 19 mm from the top. So about 9 mm of wood remains to ‘grab onto.’ I don’t have small hands and this handle size feels comfortable for me.
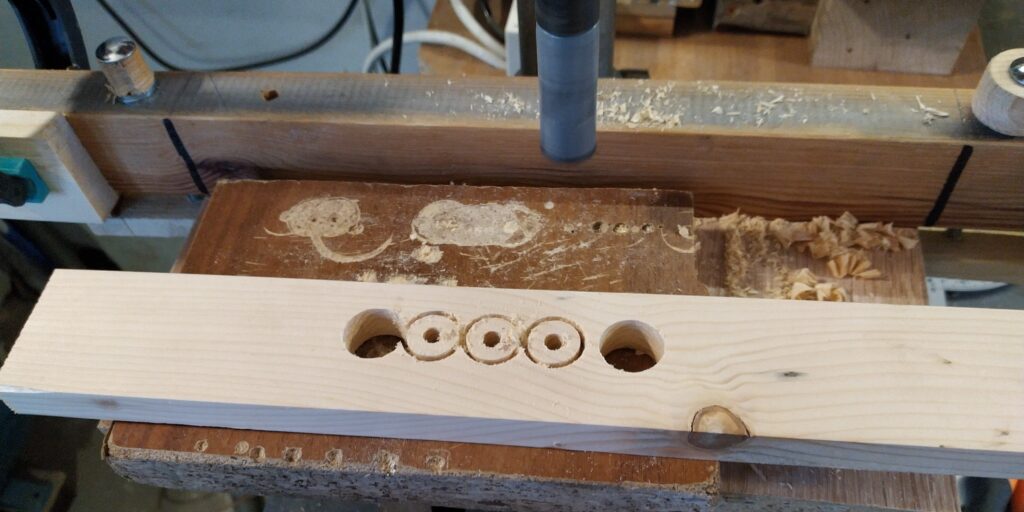
To make the holes I set up 2 stops on my drill press guide to exactly have the end positions of the holes. Then I roughly drill out the space with a 20 mm forstner bit or a 20 mm hole saw. (I always have a little box with 20 mm wooden bushings, they come in handy sometimes. If I am almost out, I will use the hole saw, otherwise the forstner bit which is faster.)
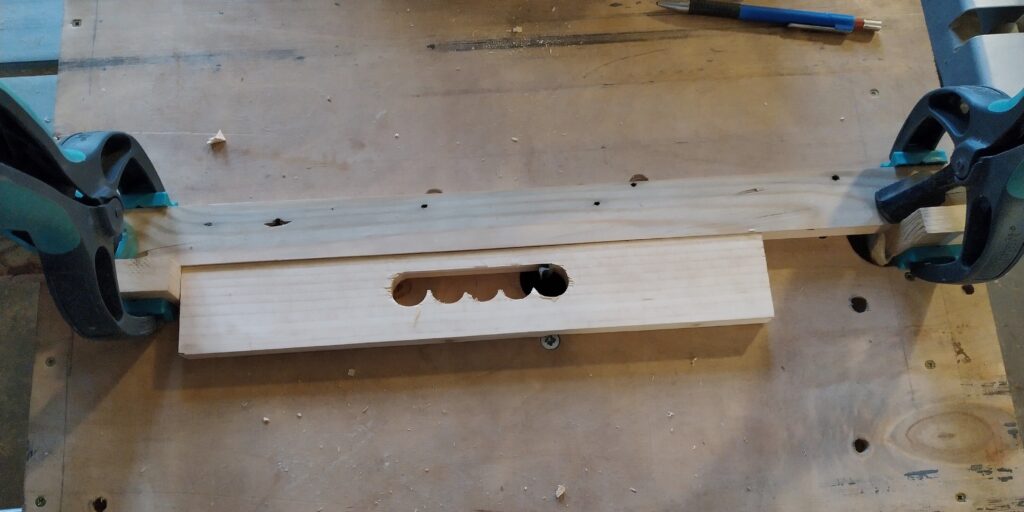
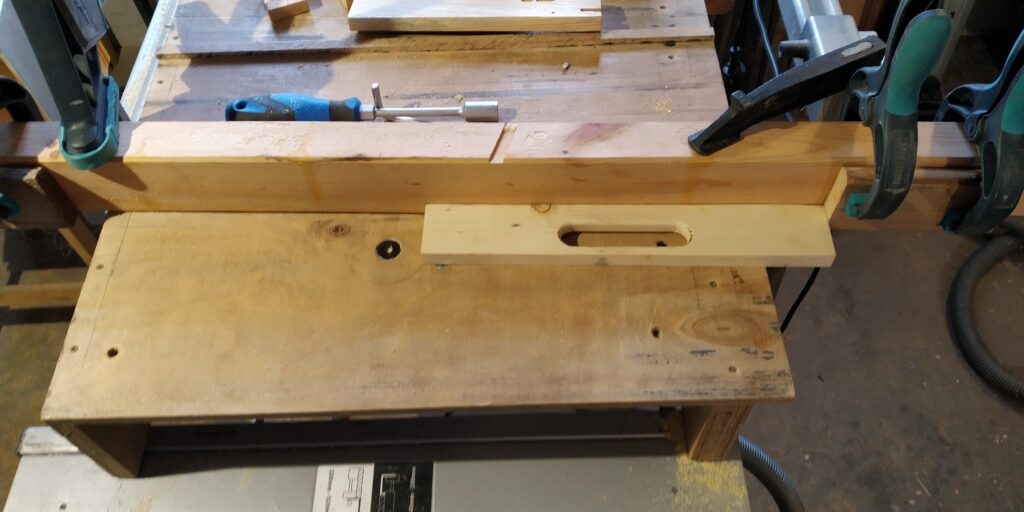
Next I set up my router table with a straight router bit and two stops to make sure I don’t cut too far and I will straighten out the holes.
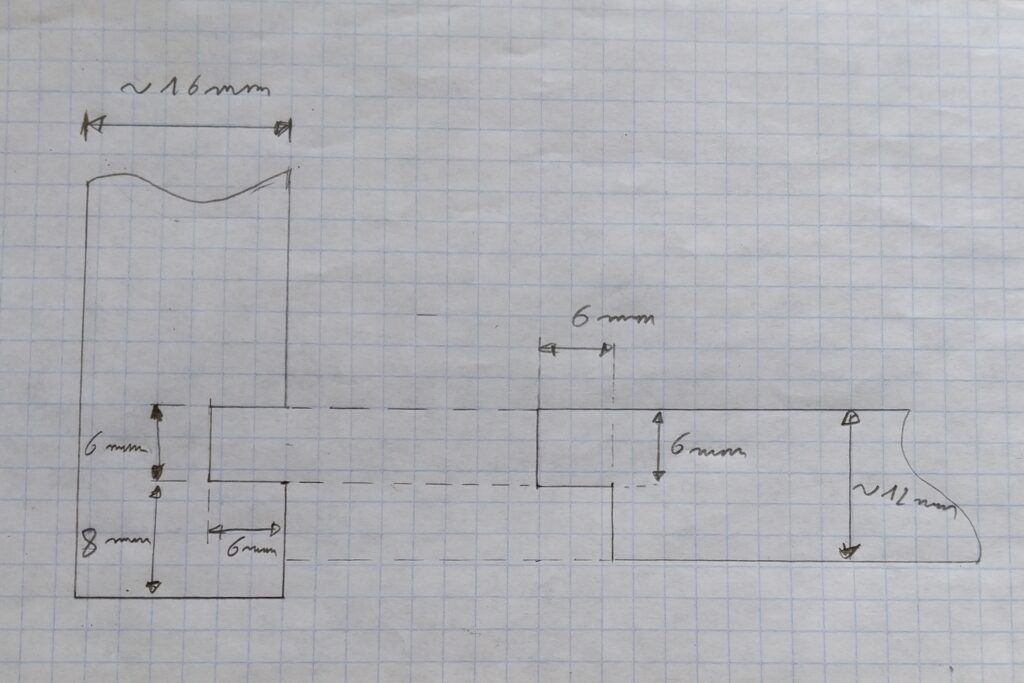
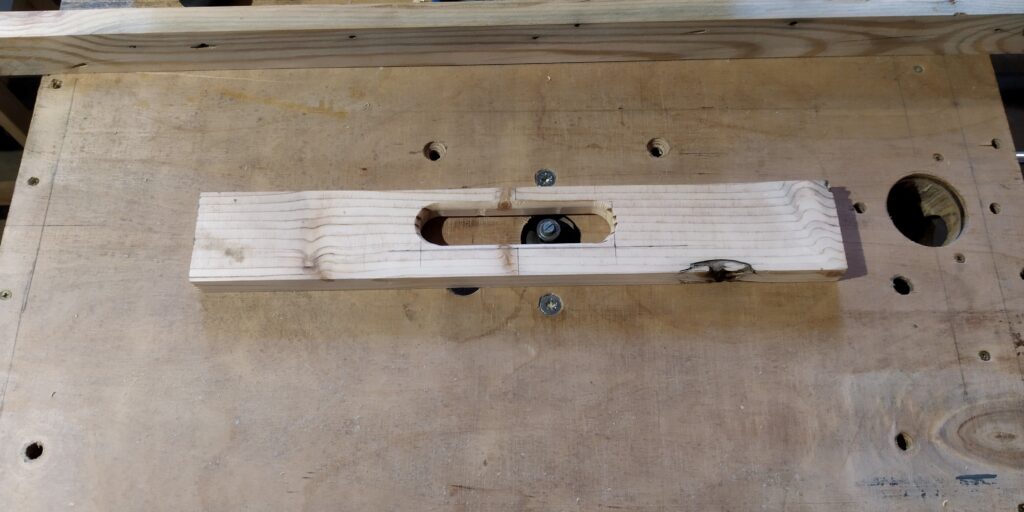
Then I change out the straight router bit to a round over bit and I round the edges of the handles. I pay attention not to round over the bottom inside of the handle as this would cut into the slot for the bottom. I will give this side of the handle a small rounding when sanding. (see cross section AA in above drawing)
Finally I clamp the pieces one by one in my vise and thoroughly sand the handles with 80, 120 and 240 grit.
Slotting the side panels
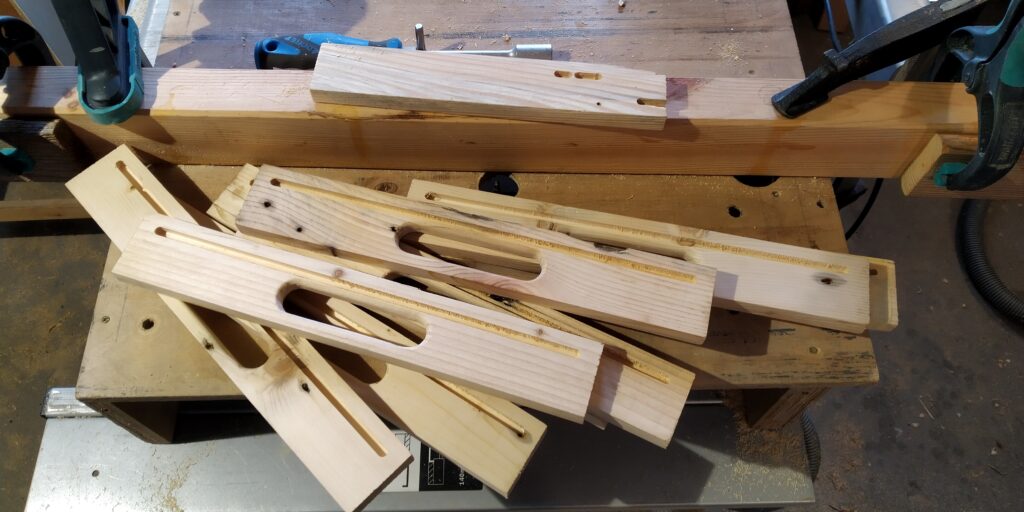
Once all the sides are prepared and the handles are made I cut the 6mm slots in the sides in which the bottom will slide. It is important not to cut the slots over the complete length of the sides as this will mess up the finger joints I plan to use. To avoid this, I put two stops on my router table. As indicated in the drawing, the slots have to be 6 mm deep. The straight 6 mm is not strong enough to cut them in one go so I cut the slots in 3 passes of 2 mm.
Rebate the bottom panel
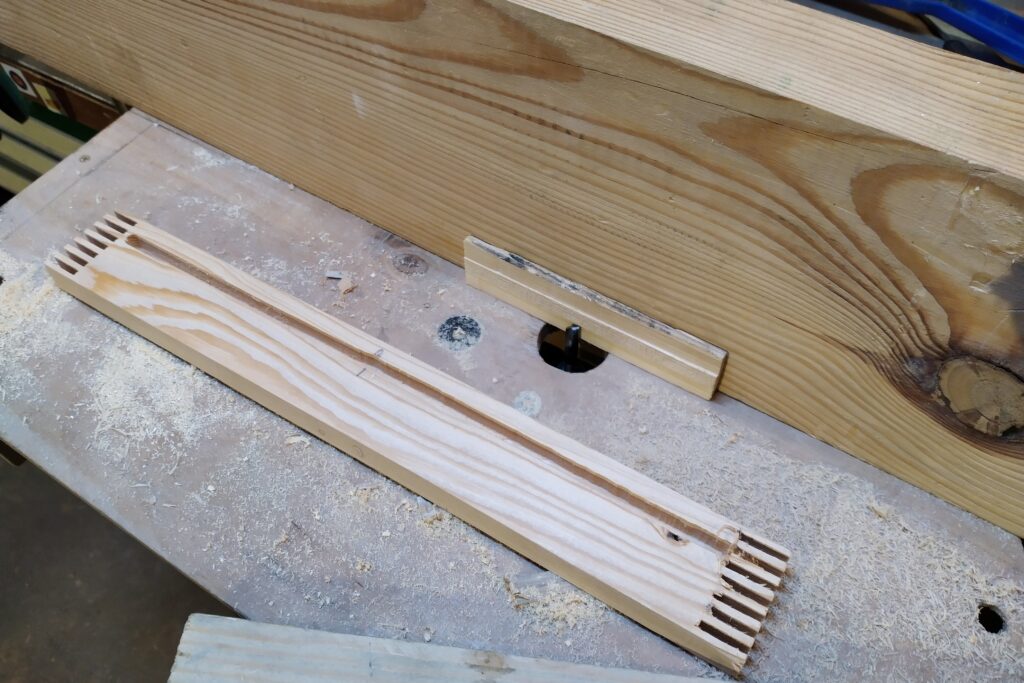
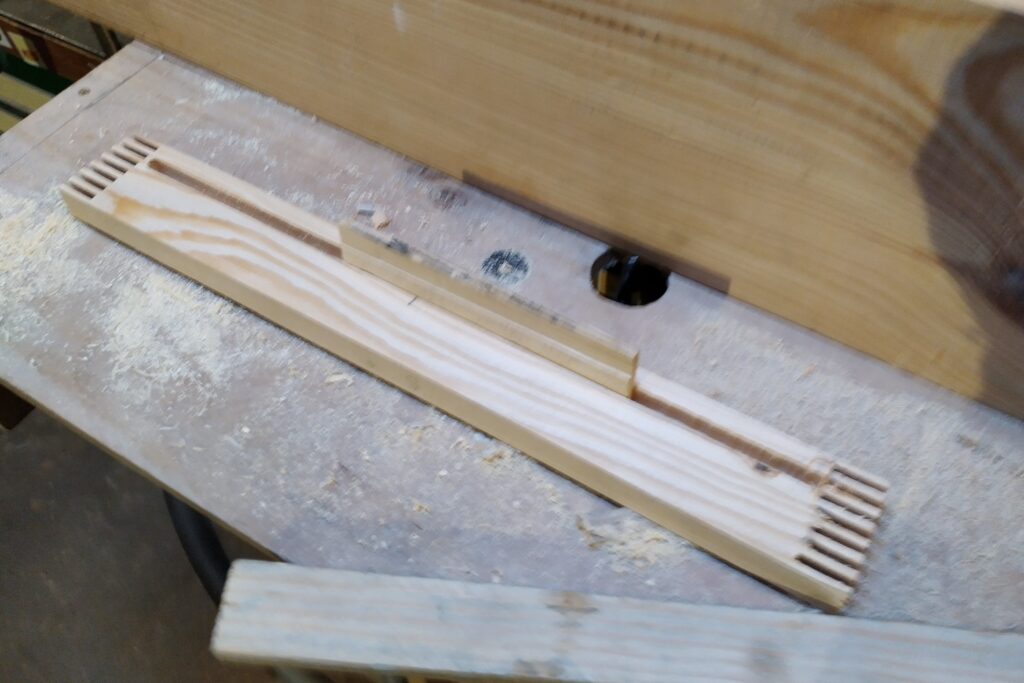
The thickness of the bottom panel varies but on average it is about 12 mm. The slots in the side panels are only 6mm wide so I have to trim down the thickness of the edges of the bottom panels to a consistent 6mm. As shown in the drawing, I trim them down over a depth of about 6mm. I don’t have a picture of the exact trimming, below pictures just show how I set up the router table and verify the thickness.
To make the assembly with the finger joints and the bottom panel easier I cut away about 4mm of each corner of the bottom panel. When gluing 4 finger joints and a bottom panel in one go, you really want to think ahead and try to pre-emptively avoid any problems that might arise.
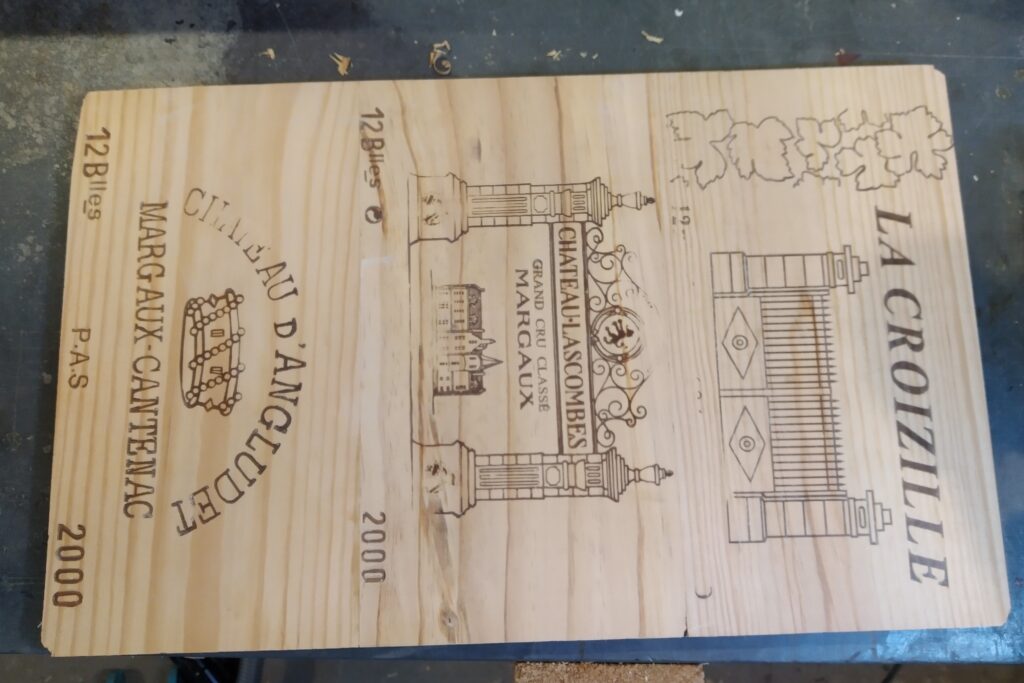
For the same reason, to avoid hiccups during the gluing, I made the connection between the bottom panel and slots to have some play. The slots and rebates are 6 mm deep but in the calculation of the length of the sides I only consider that they will slide 4 mm into one another thus giving 2 mm play on each side.
Finger joints
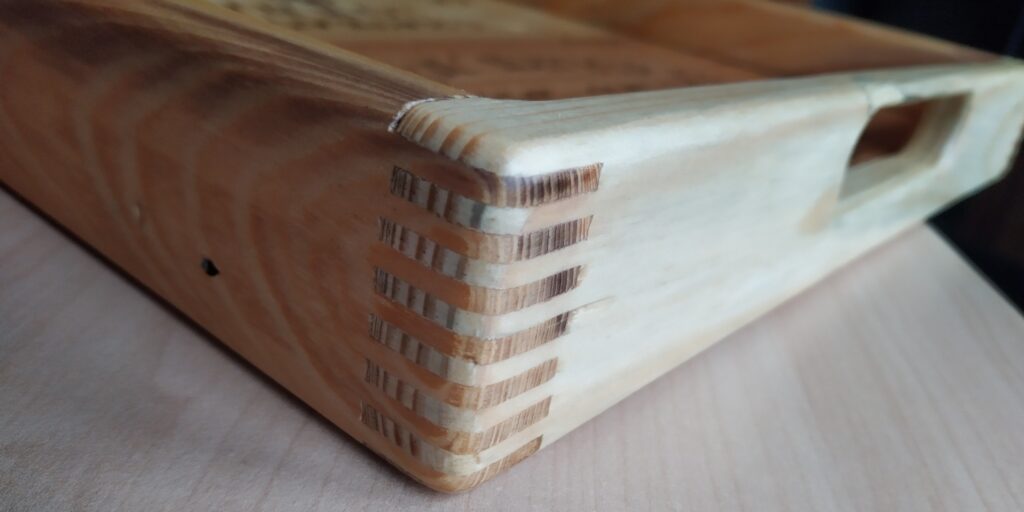
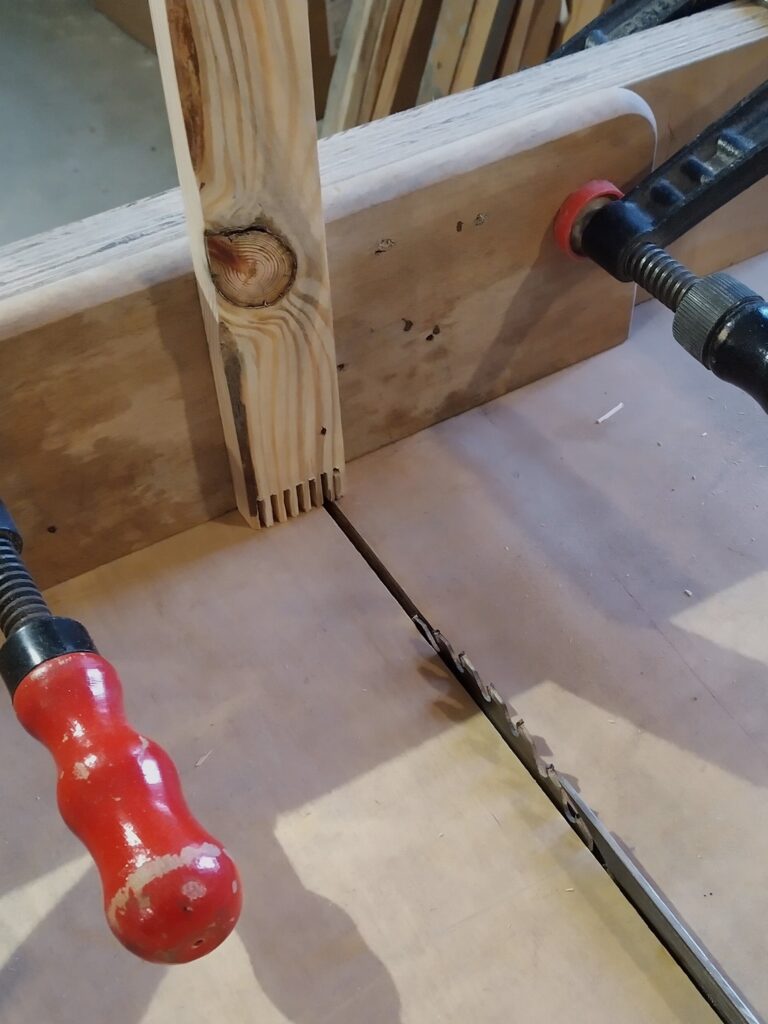
To join the sides, I wanted a connection that was exceptionally strong while also being visually intriguing and aesthetically pleasing. A finger joint was the answer to this question. I mounted a finger joint jig to my crosscut sled and set the depth of the saw to 18 mm (the thickness of the side + 2 mm excess) and went cutting…
Assembly
Prior to gluing everything together I made a dry fit to make sure everything would fit. Especially for the finger joints, one has to find the sweet spot. If they are too tight you will not be able to fit them together (and surely not 4 in one go).
Once I am sure everything fits, I prepare the glue up: glue, clamps, rags, damp cloths..
First in the glue up, I glue one finger joint, then the next finger joint, thus forming a ‘U’ with 3 of the 4 sides. When gluing finger joints it is important that the glue penetrates everywhere. I typically use an old plastic card. Once the U is formed I open it up a little and I put glue into the slots for the bottom and slide in the bottom plate.
Finally I take the fourth side and put glue on the finger joints and slot for the bottom plate and fit it in place.
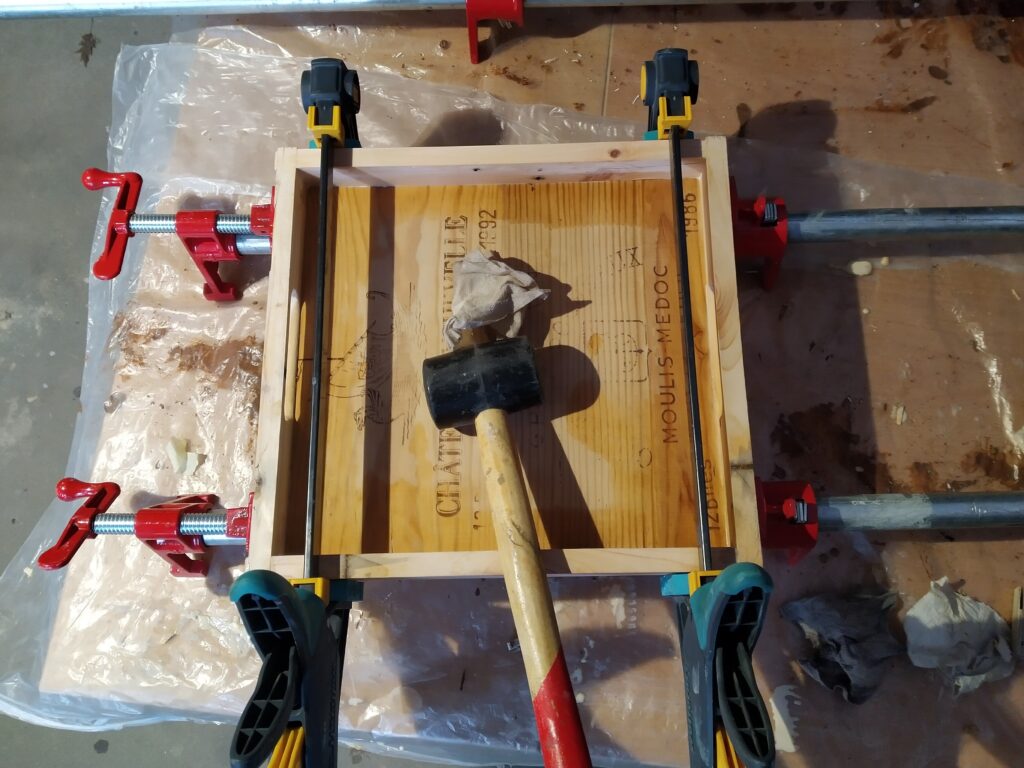
Next I put the tray on two tube clamps which I had prepared on my worktable and I add 2 clamps perpendicular on top. I make sure to locate the clamps as close to the joints as possible. I then start tightening the clamps one by one, tapping here and there with a rubber hammer from time to time.
It is important to remember that the slots and rebates are 6 mm deep but there is room for a little play so the bottom should only go about 4 mm into the slots. If one overtightens the clamps one will squeeze the sides into a banana and reduce this 2 mm play gap to 0. So when tightening the clamps one has to monitor that the finger joints are closing up and just that, do not over tighten.
It really becomes a mess, glue dripping and squeezing out everywhere. I have assembled a few of these trays by now and it always becomes a mess. So it is important to have sufficient damp rags available so one can clean up the excess glue as soon as one finishes tightening the clamps. This is especially important for the inside of the tray, as sanding there is difficult afterwards and might damage the print on the bottom plate.
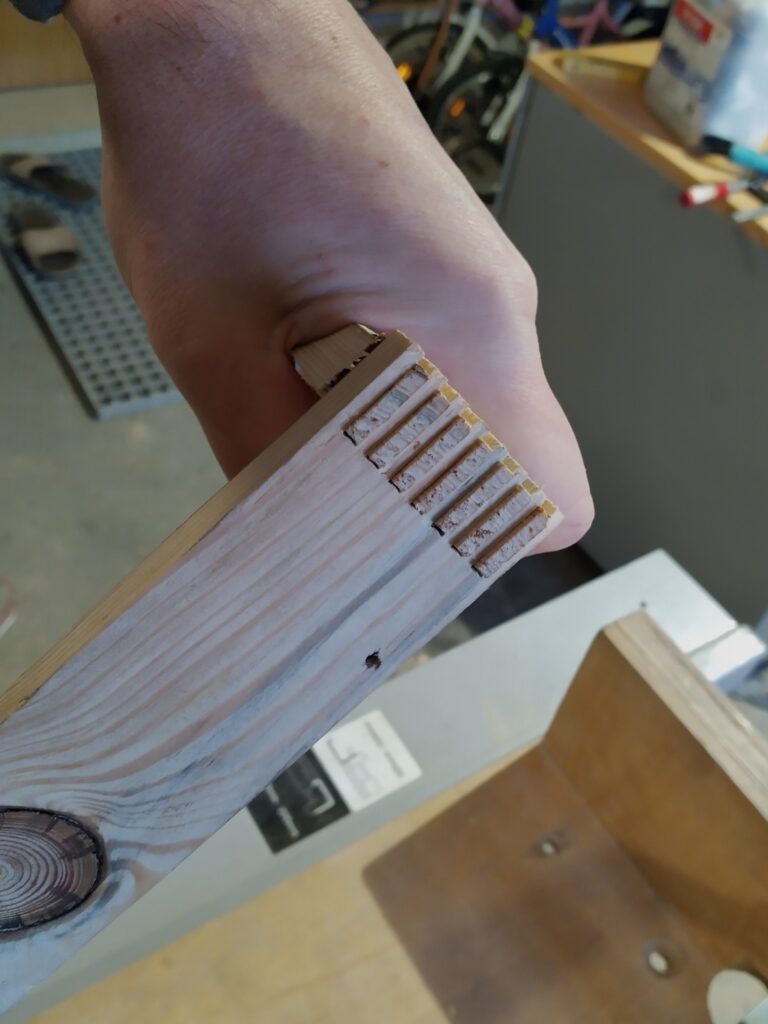
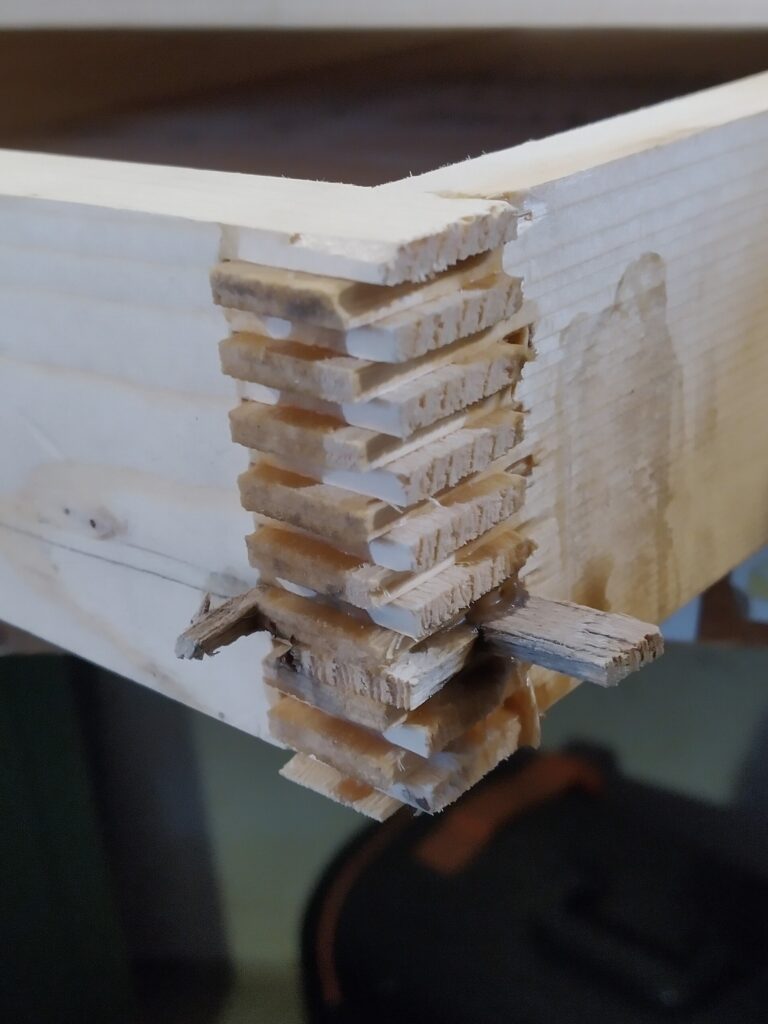
When I cleaned the excess glue on the inside of the tray (but the glue is still wet) I check if any of the finger joints need some repair. Sometimes some wood chips off when you cut them on the band saw. I always have some 3 mm strips of wood lying around. I cut them in a little wedge shape and tap them in where the pieces are missing. The picture on the right shows how those repairs look after drying.
The finishing touch
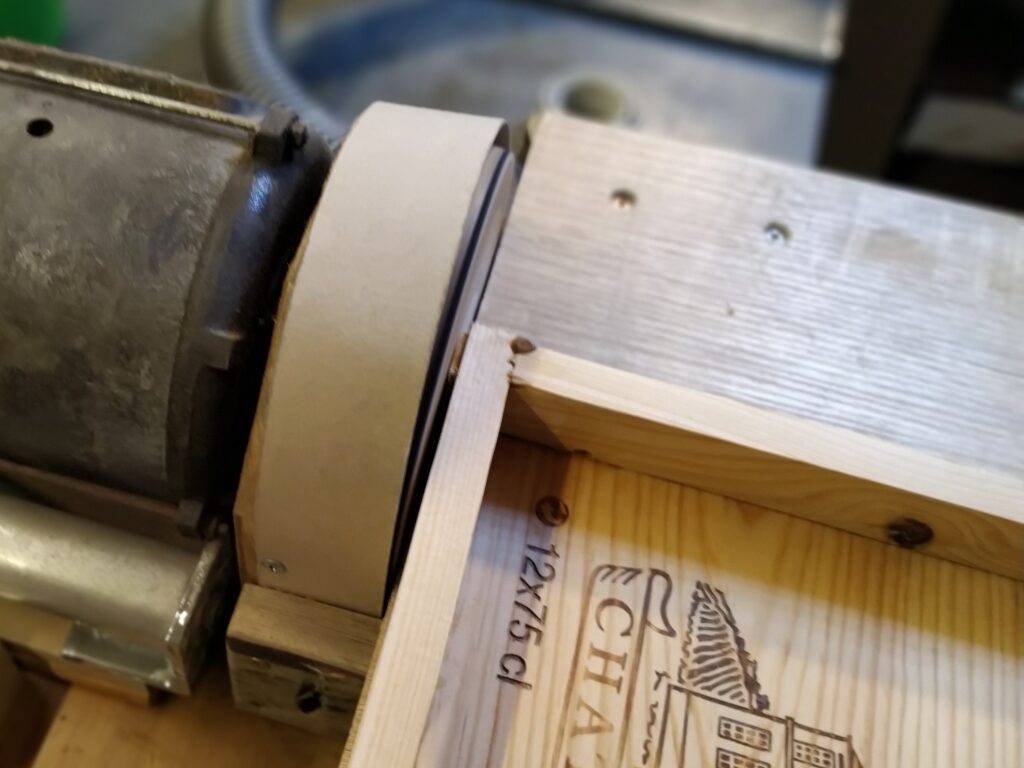
When the glue is thoroughly dry I take the tray to my disc grinder and carefully grind off the excess wood and glue from the finger joints until I get a nice clean straight corner. The disc grinder is really aggressive so the trick is to take it slow. One can do this also with a handheld grinder but with a disc grinder it is so much easier to keep the angles straight.
Once all 4 corners are straight I put a roundover bit on my router table and I round all outside and inside edges. Where the handle is, there sometimes isn’t enough wood to support the bearing of the round over bit so I will do this part by hand.
Finally I give all the edges a sanding with 120 and 240 grit and I apply my logo.
For the top of the bottom plate of the tray, I applied Osmo Polyx Oil Anti-Slip Extra (3088) in its clear matt finish. This provides excellent grip (R11 slip resistance rating) to prevent items from sliding around on the tray.
For the rest of the tray, I used Osmo Polyx Oil Original Matt (3062) clear matt. Both are natural oil-wax finishes based on vegetable oils and waxes, safe for humans and highly durable.
I applied two thin coats of each for optimal protection and a natural look.
The tray was positioned on some blocks so I can paint the top surface and sides in a single session. After applying two coats, I flipped it over to finish the bottom.
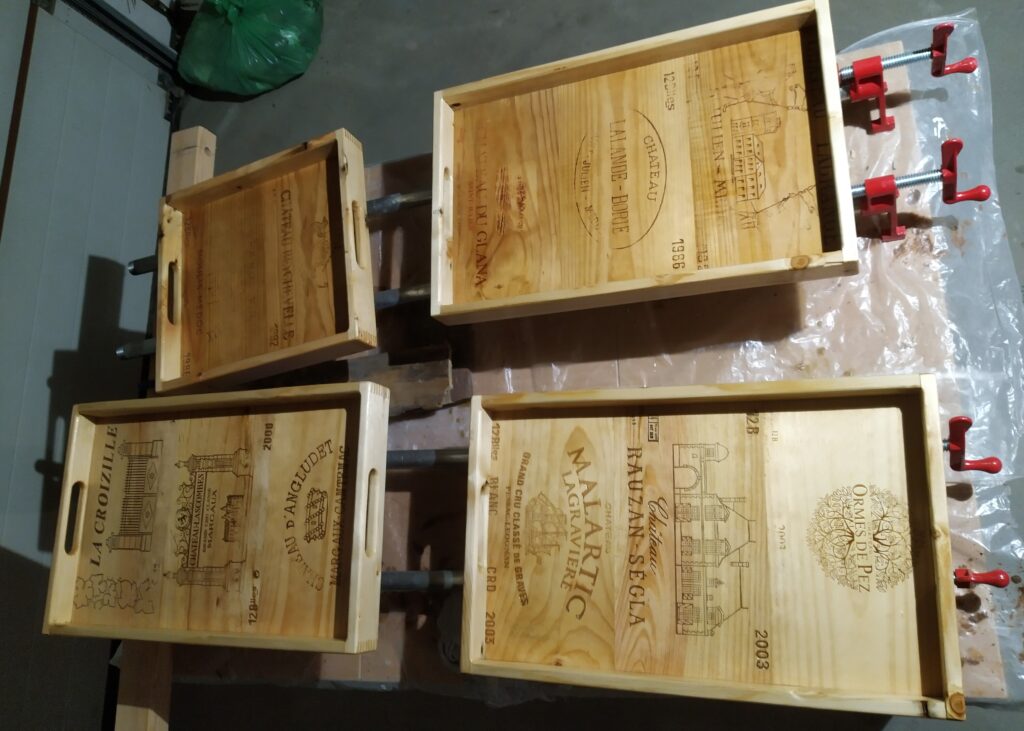
The result
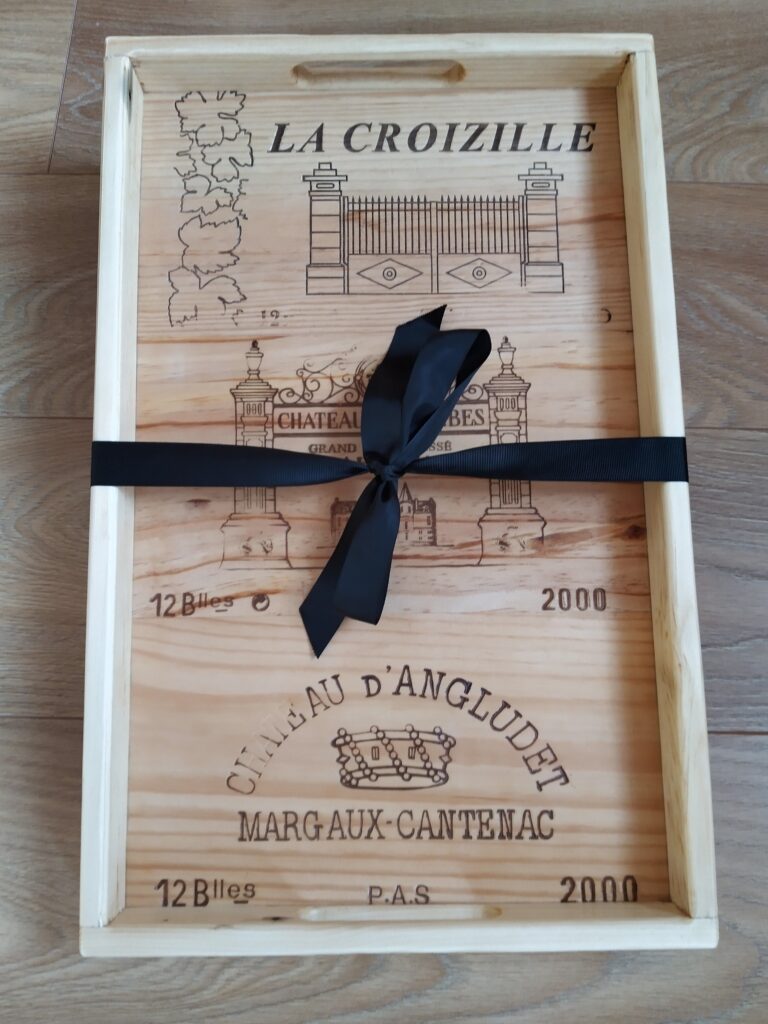
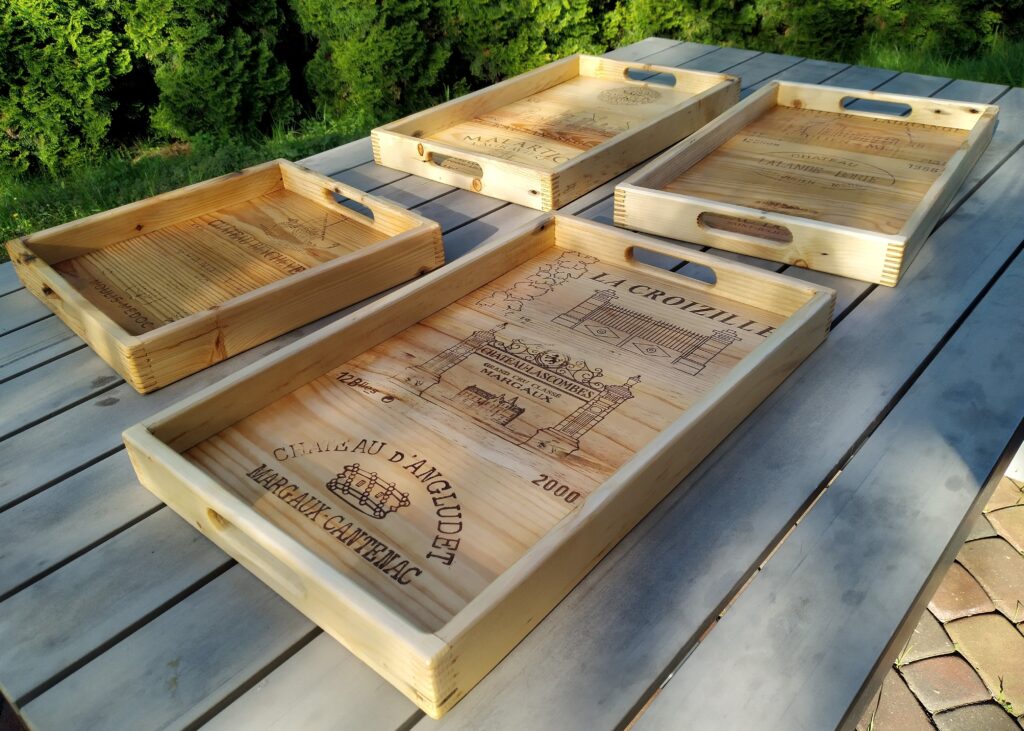
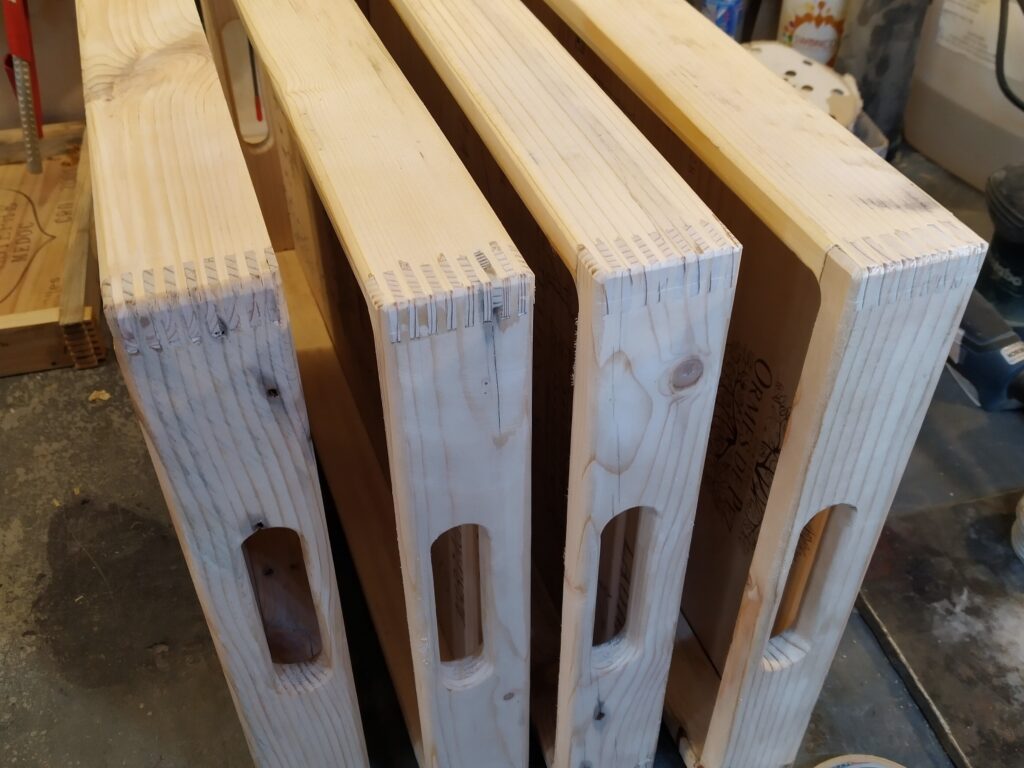
These trays came out beautifully, so I’ve ended up making several over the years. I like to add variety—by choosing different boards for the sides, I can shift the style from sleek and clean to nicely rustic.
Here are some pictures of the ones I’ve made.