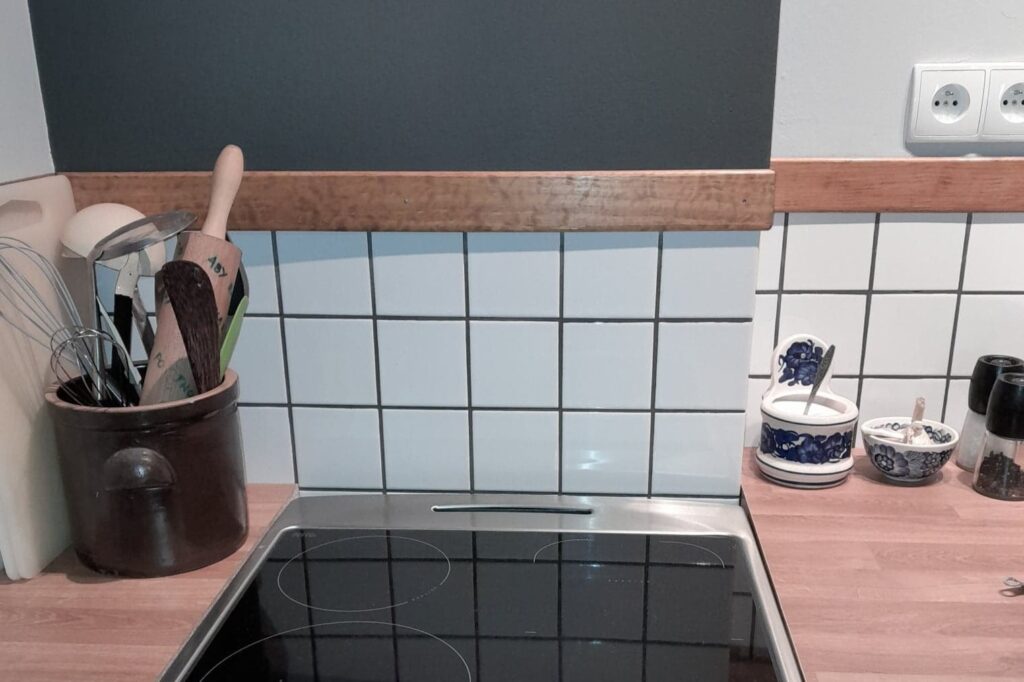

In this post I am going to:
- Try to repair an old floor with tiles I am going to try to recover
- Straighten and flatten out some walls
- Place tiles for a kitchen top splashback
Start
The below pictures show the starting point of the renovation works. In the corner stood a big wood fired kitchen stove. Instead of the big old stove will come some cupboards and an electrical stove.
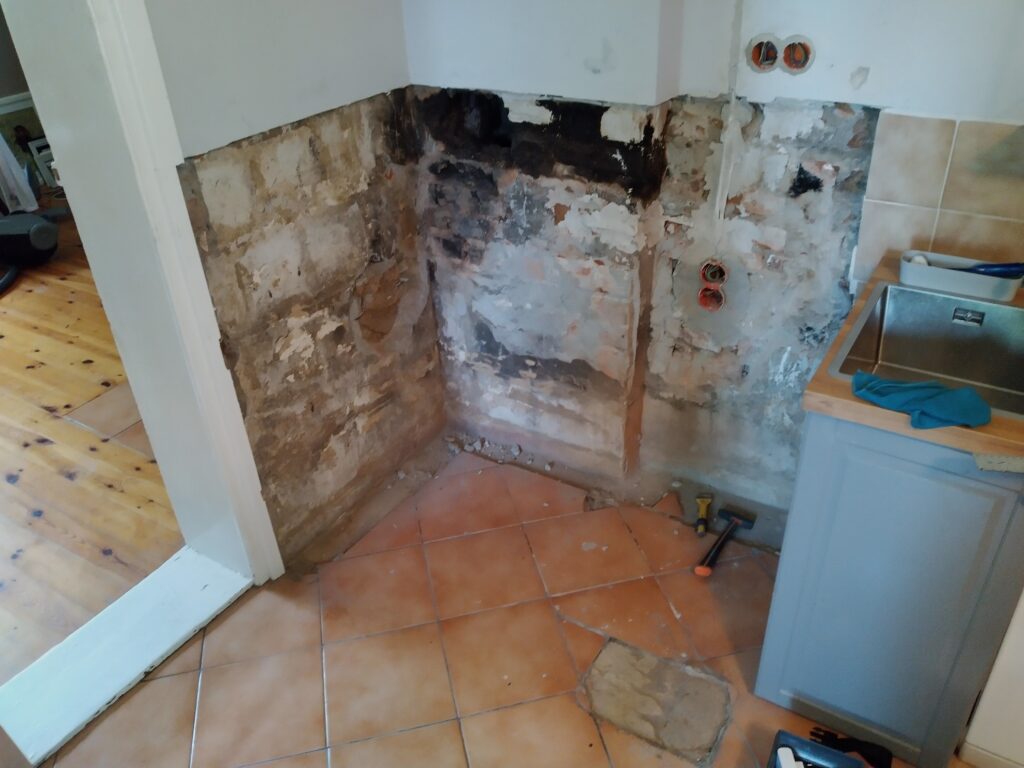
In the floor tiles is a big hole where a leg of the old stove stood. I want to try and recover some floor tiles from the back which will be below the cupboards/stove anyhow and see if I can repair the floor with them. The area which will be without tiles I plan to level with some mortar to have a solid base to place the cupboards & stove.
The walls are neither parallel nor perpendicular to each other… And to make things worse, the drywall which was installed on the top side of the walls at a prior renovation is also neither parallel nor perpendicular. As cupboards are square, I need to make the lower parts of the wall perpendicular and parallel to each other. For the transition to the non square top side of the walls, I will see how it works out and tackle it later.
The floor
The picture below shows how the floor was before I started renovating. On the right bottom side is the hole where the stove’s leg stood and on the left and back is a free space where the back wall of the stove was. I want to try to recover some complete tiles from the rear side, which will be under the future cupboards anyhow and use them to replace the cut tiles for the leg and on the left side.
Previously I have managed to recover installed tiles by gently tapping at a free edge until the tile came lose. But here this proved to be very difficult. First because of the age of the tiles, they were quite brittle Second, they were not glued to the floor with a continuous layer of mortar but rather with blobs. This made that when trying to tap them loose, the forces were concentrated in one area and they broke…
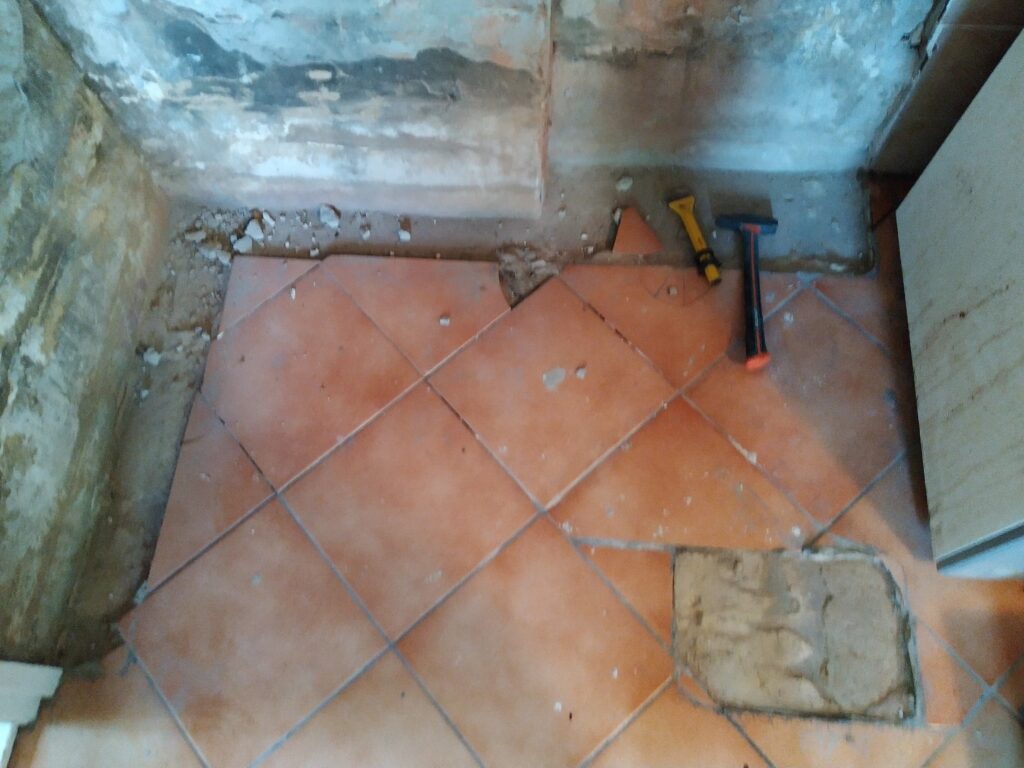
As they were so difficult to recover, I went even slower in tapping at the tiles and finally I managed to remove 3 tiles rather complete. They allowed me to replace the damaged tiles and give the floor a consistent look.
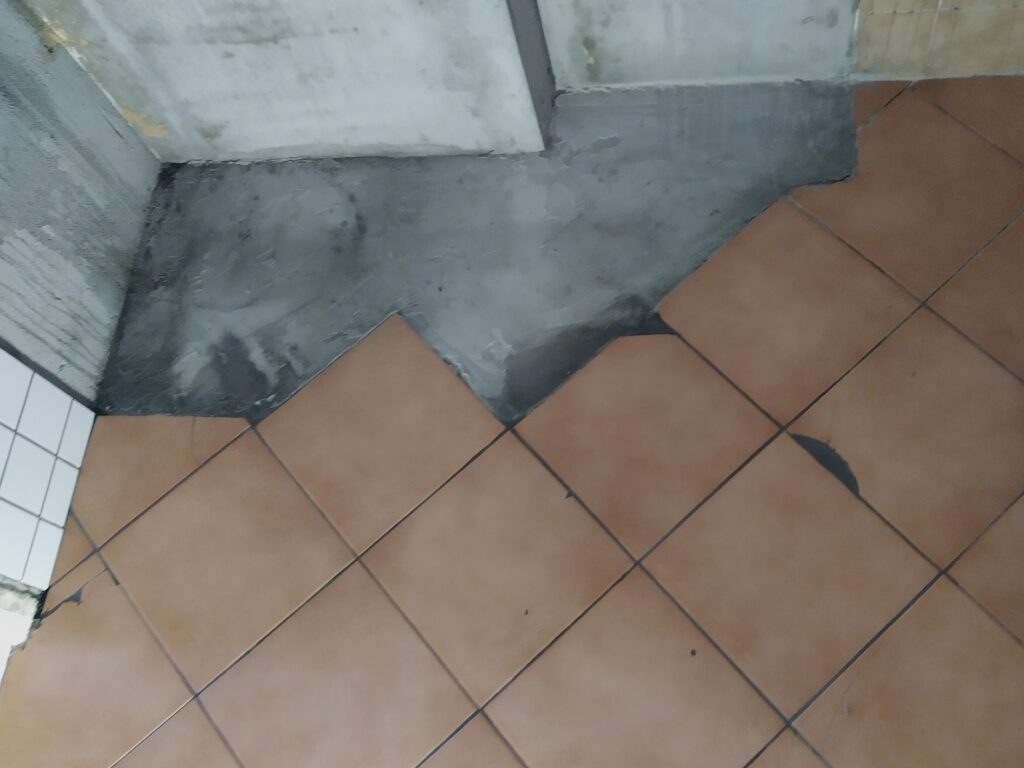
The area behind the tiles I filled with some mortar and levelled it to my best capabilities. This was quite challenging as the whole floor was rather crooked… The remaining irregularities will have to be taken care off by regulating the feet of the cupboards and stove.
In the end I grouted the tiles and wiped everything clean.
Straightening the walls
First I removed some of the old tiles. The ones which would be behind the cupboards I left in place. There was no need to remove them. Second I primed the walls with Ceresit CN 94 to settle the dust and regulate the absorption.
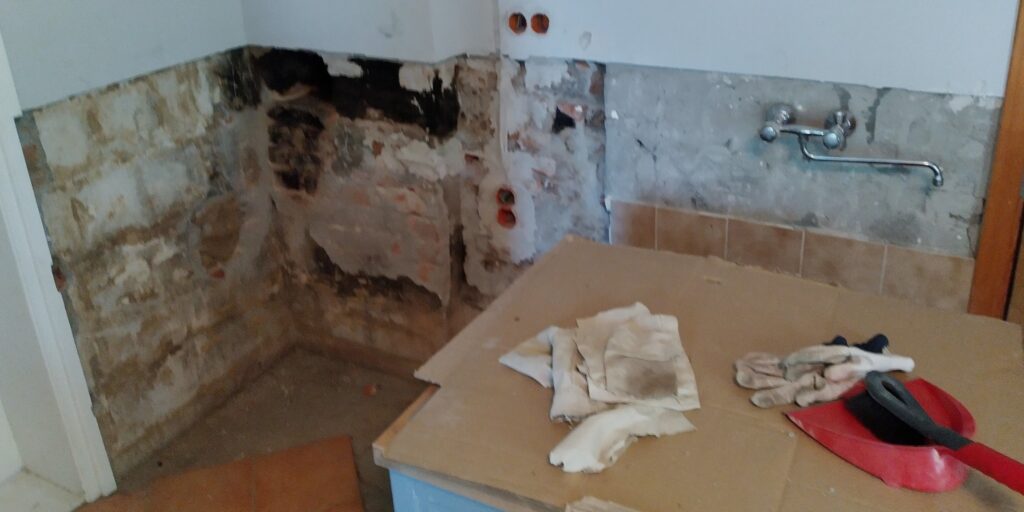
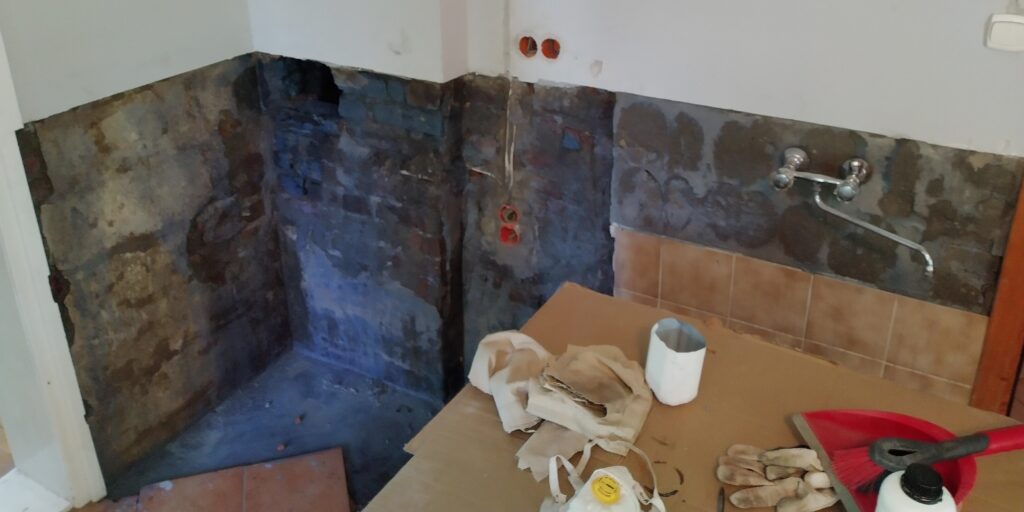
Then came the most important part of the whole job. I installed galvanized recessed screed beads. I took special care to made sure they were perfectly vertical. I also had to take care that all the walls were parallel to one another and/or perfectly perpendicular. (I also plugged up the wall boxes with some styrofoam.)
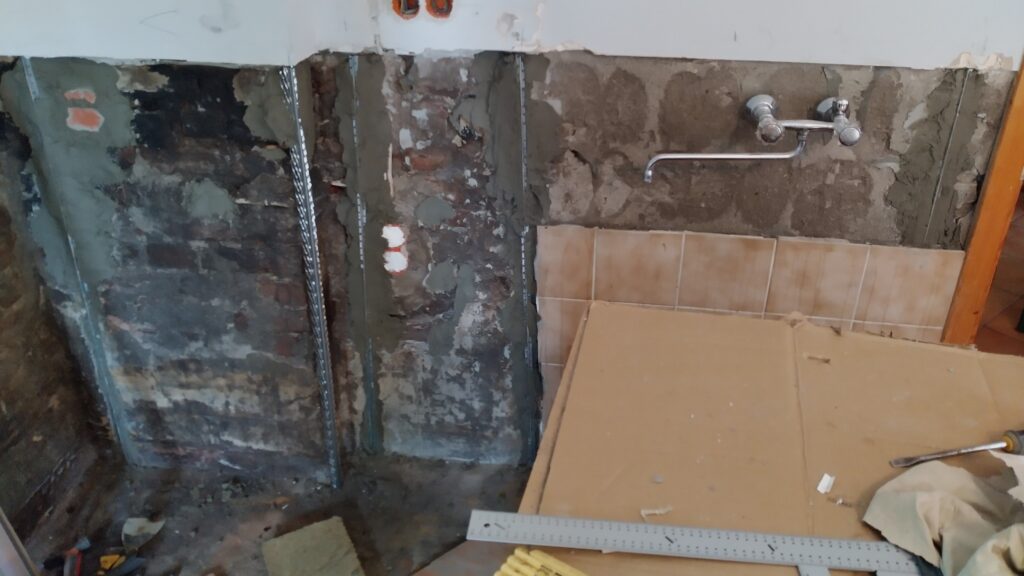
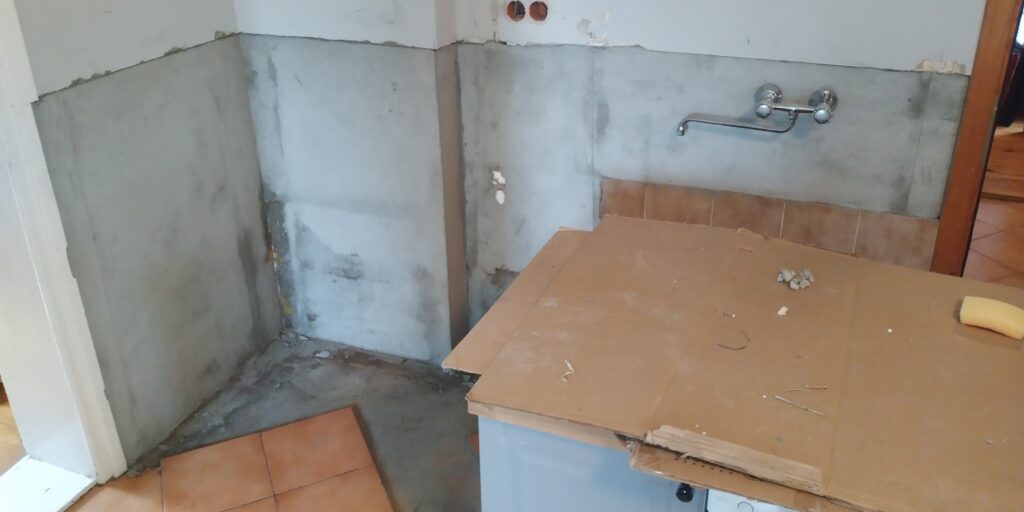
Once the mortar for the beads was sufficiently hardened, I applied a mortar based rendering (Mapei Buildfix Extra levelling compound) to the walls using the rails as guides to level everything out. I preferred a mortar based render instead of gypsum based because I wanted it to be more durable in a potentially humid kitchen environment. In certain areas the render was applied rather thick, I made sure to check the datasheet of the render to see how thick I could apply it. This specific render went up to 50mm. More than enough for this application.
Below a picture of how the wall looked after a week of drying out.
Tiling
To have a solid horizontal base to place the tiles I screwed some slats wooden slats to the wall. First I had measured the height 4 rows of tiles and grout lines would require. Then I searched the lowest point of the drywall above and installed the slats at exactly that measured distance lower from that point. I used a laser level to achieve a perfectly horizontal base across all 4 walls.
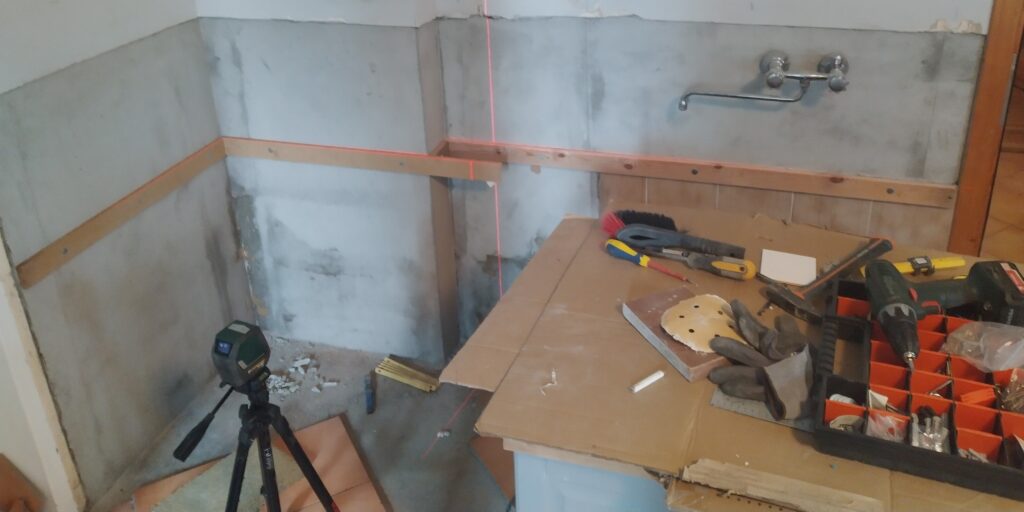
I then placed the tiles. I started on the right side and worked my way around the walls. I was lucky that the water tap was just placed between two tiles. No need to switch of the water and disconnect it. I could just tile my way around it. Once the tile glue was sufficiently set, I removed the slats and tiled my way down on the left wall. It is more comfortable tiling upwards but the tiles were rather light so I decided this would be the most convenient way for this small patch. I used Mapei Buildfix flexible cement based tile adhesive to place the tiles.
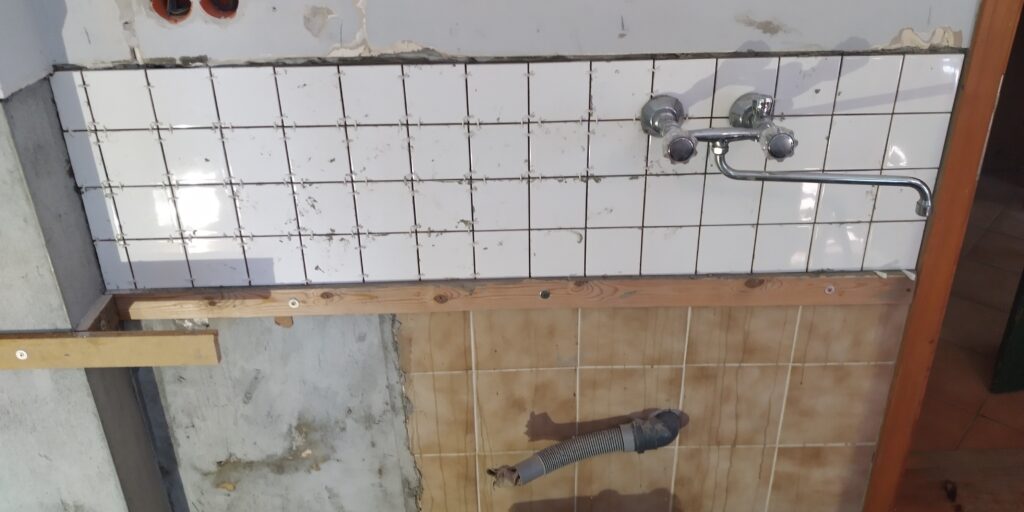
The next day I was sure the tile glue was dry (check the glue’s datasheet to see how long you should wait) and I grouted the tiles with Mapei ultracolor plus grout.
Finishing works
Next I protected the newly grouted tiles with some masking tape and plastic and I filled/repaired the area between the drywall and the tiles with some drywall mud.
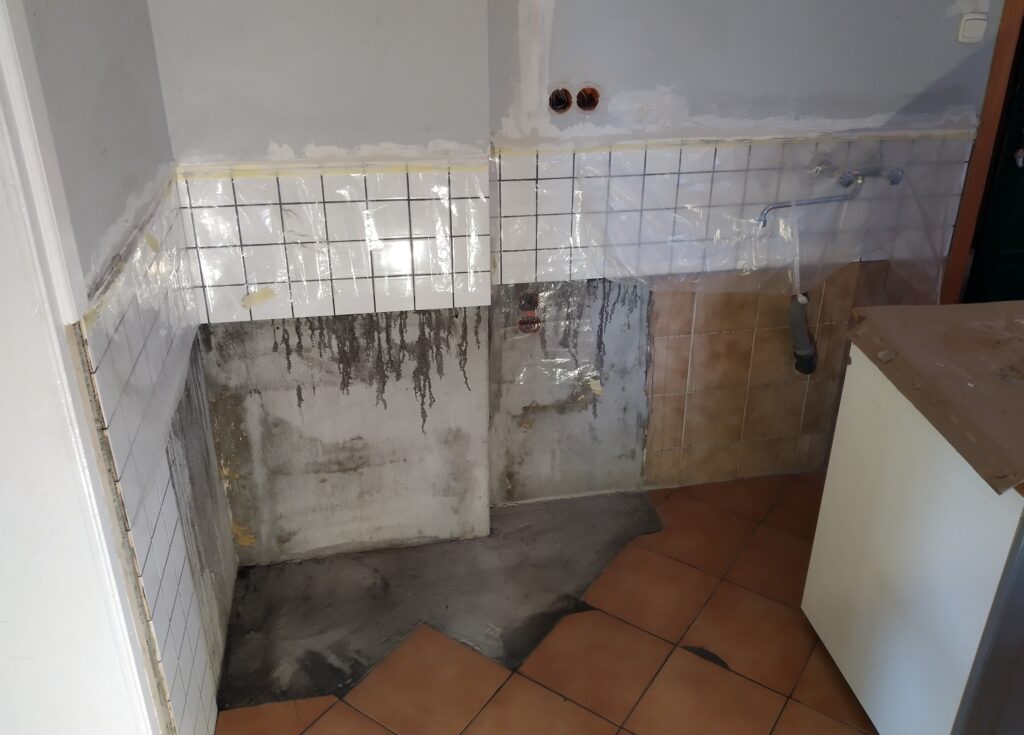
Once the mud was set but not yet completely dry, I removed the plastic and cleaned it in and upward movement with a damp sponge. This removed any drywall mud from the tiles and made the drywall repair smooth.
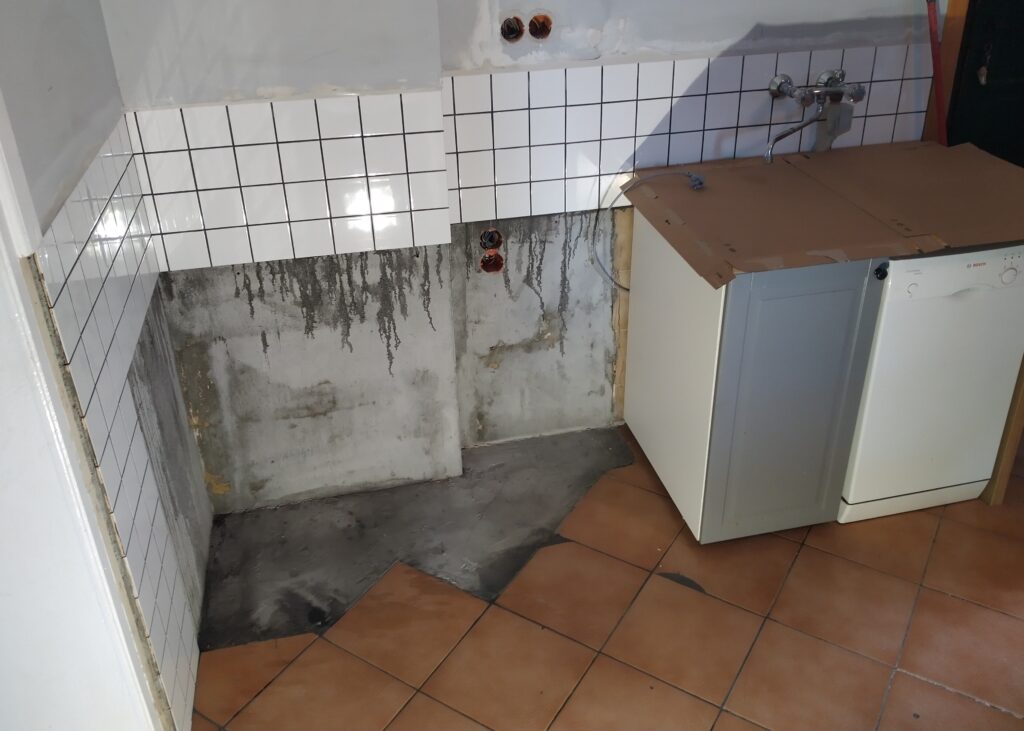
In the below pictures I try to show the misalignment between the tiles and the upper drywall. I is not really good visible. I should have looked for another lighting angle, maybe the issue would have stood out more clearly.
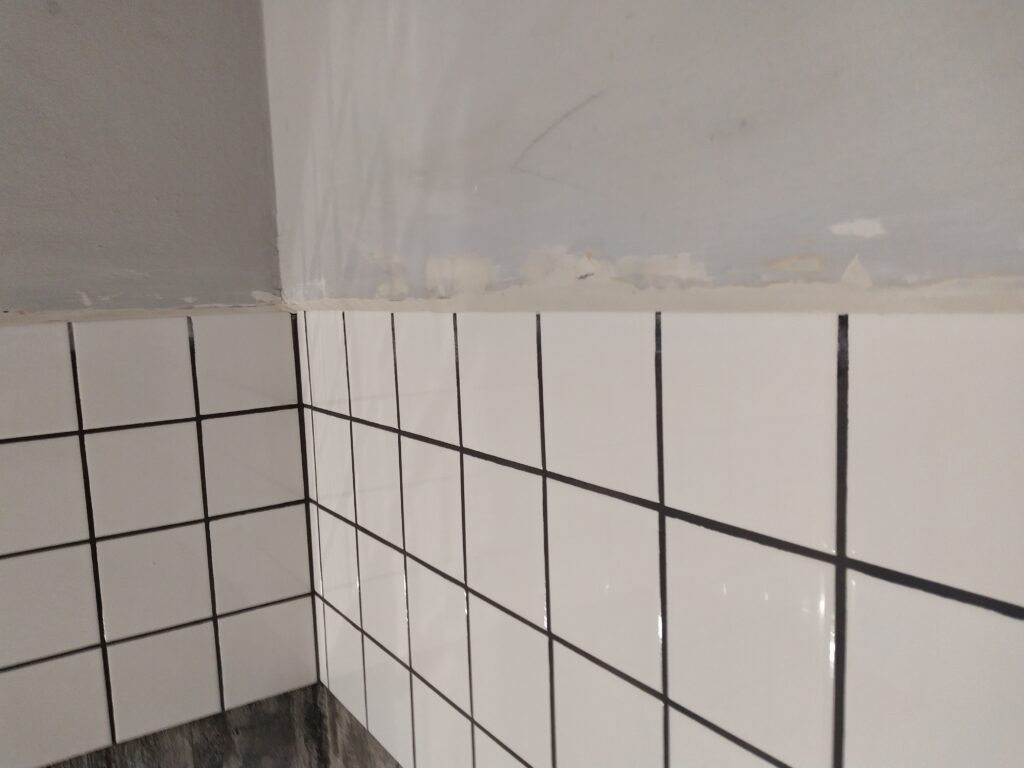
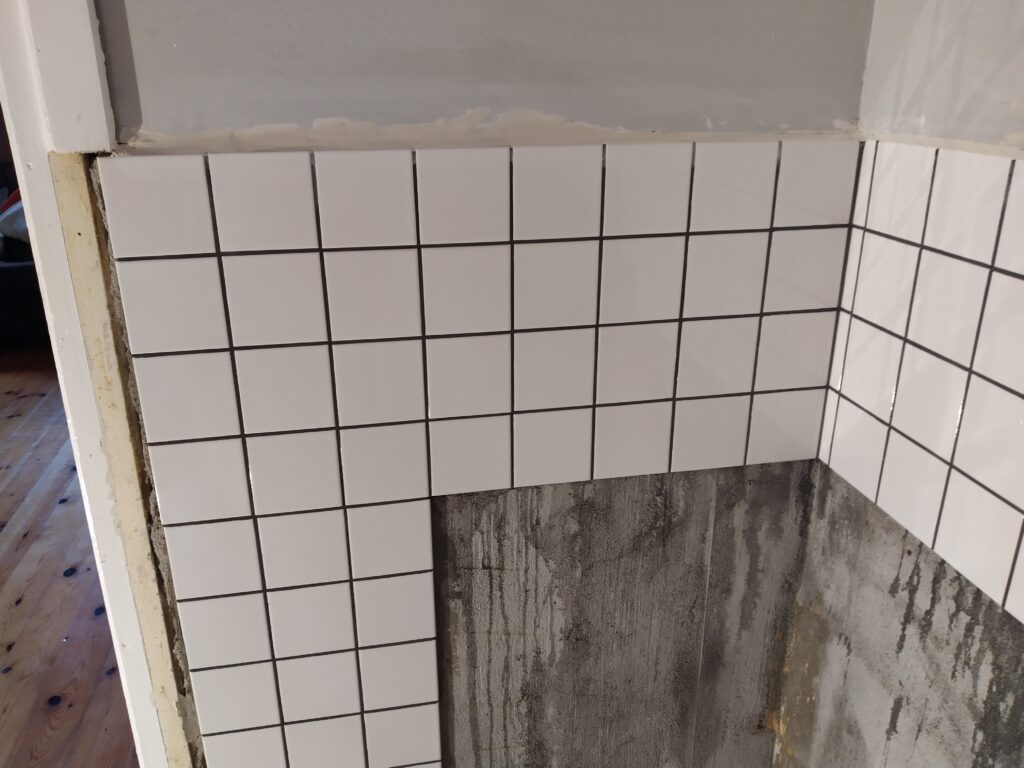
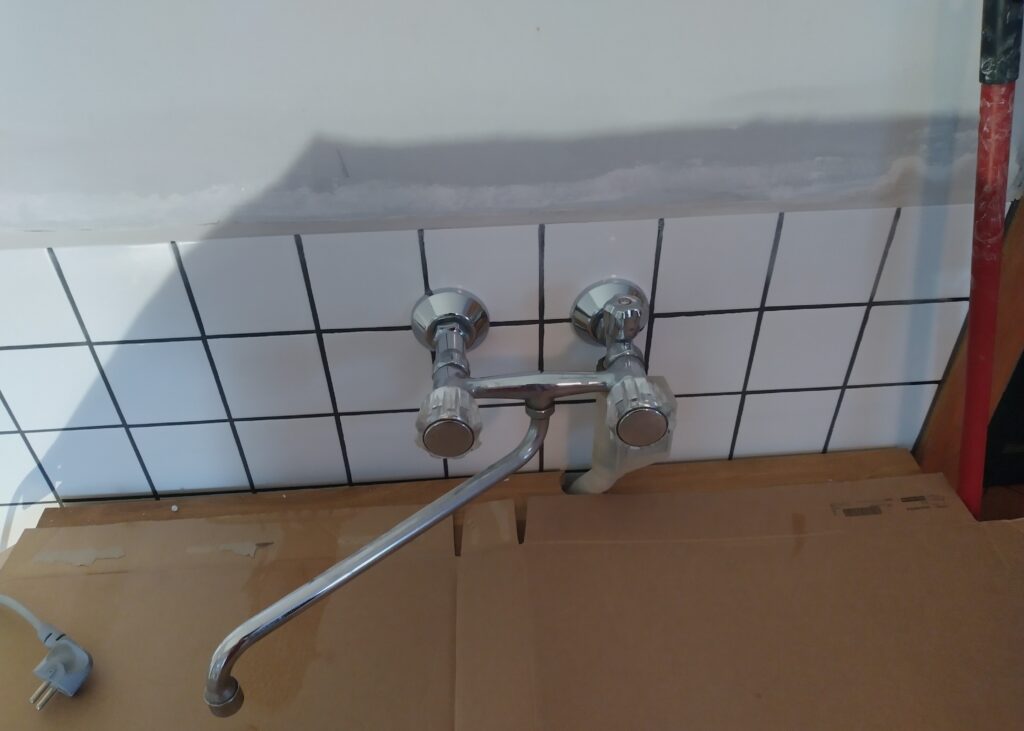
Finally, once all kitchen cabinets and the stove were placed, it was clear that all was perfectly square. The misalignment between the drywall and the tiles was camouflaged with a strip of wood. If you don’t know that there is an issue, you won’t notice…